You are currently viewing a new version of our website. To view the old version click .
Proceedings
  • Extended Abstract
  • Open Access

18 November 2020

Estimating the 3D Printing Defects by Micro-Computed Tomography †

,
,
,
,
,
and
1
National Institute for Research and Development in Chemistry and Petrochemistry-ICECHIM, 202 Spl. Independenţei, 060021 Bucharest, Romania
2
Department of Bioresources and Polymer Science, Politehnica University of Bucharest, Advanced Polymer Materials Group, 313 Splaiul Independentei, RO-060042 Bucharest, Romania
3
Faculty of Physics, University of Bucharest, 405 Atomistilor, 077125 Magurele, Romania
*
Author to whom correspondence should be addressed.
This article belongs to the Proceedings The 16th International Symposium “Priorities of Chemistry for a Sustainable Development” PRIOCHEM
Micro-computed tomography (µ-CT) is an X-ray technique with (sub)micron resolution, typically using an X-ray tube with cone-beam geometry as a source and a rotating sample holder. While conventional CT maintained a strong position in life science and low-resolution high-energy CT became widespread in industrial quality control, micro-CT has enjoyed a boost in interest from the materials science research community in the past decade []. The purpose of this paper is to present the usage of micro-computed tomography as method to estimate the defects of the 3D-printed items.
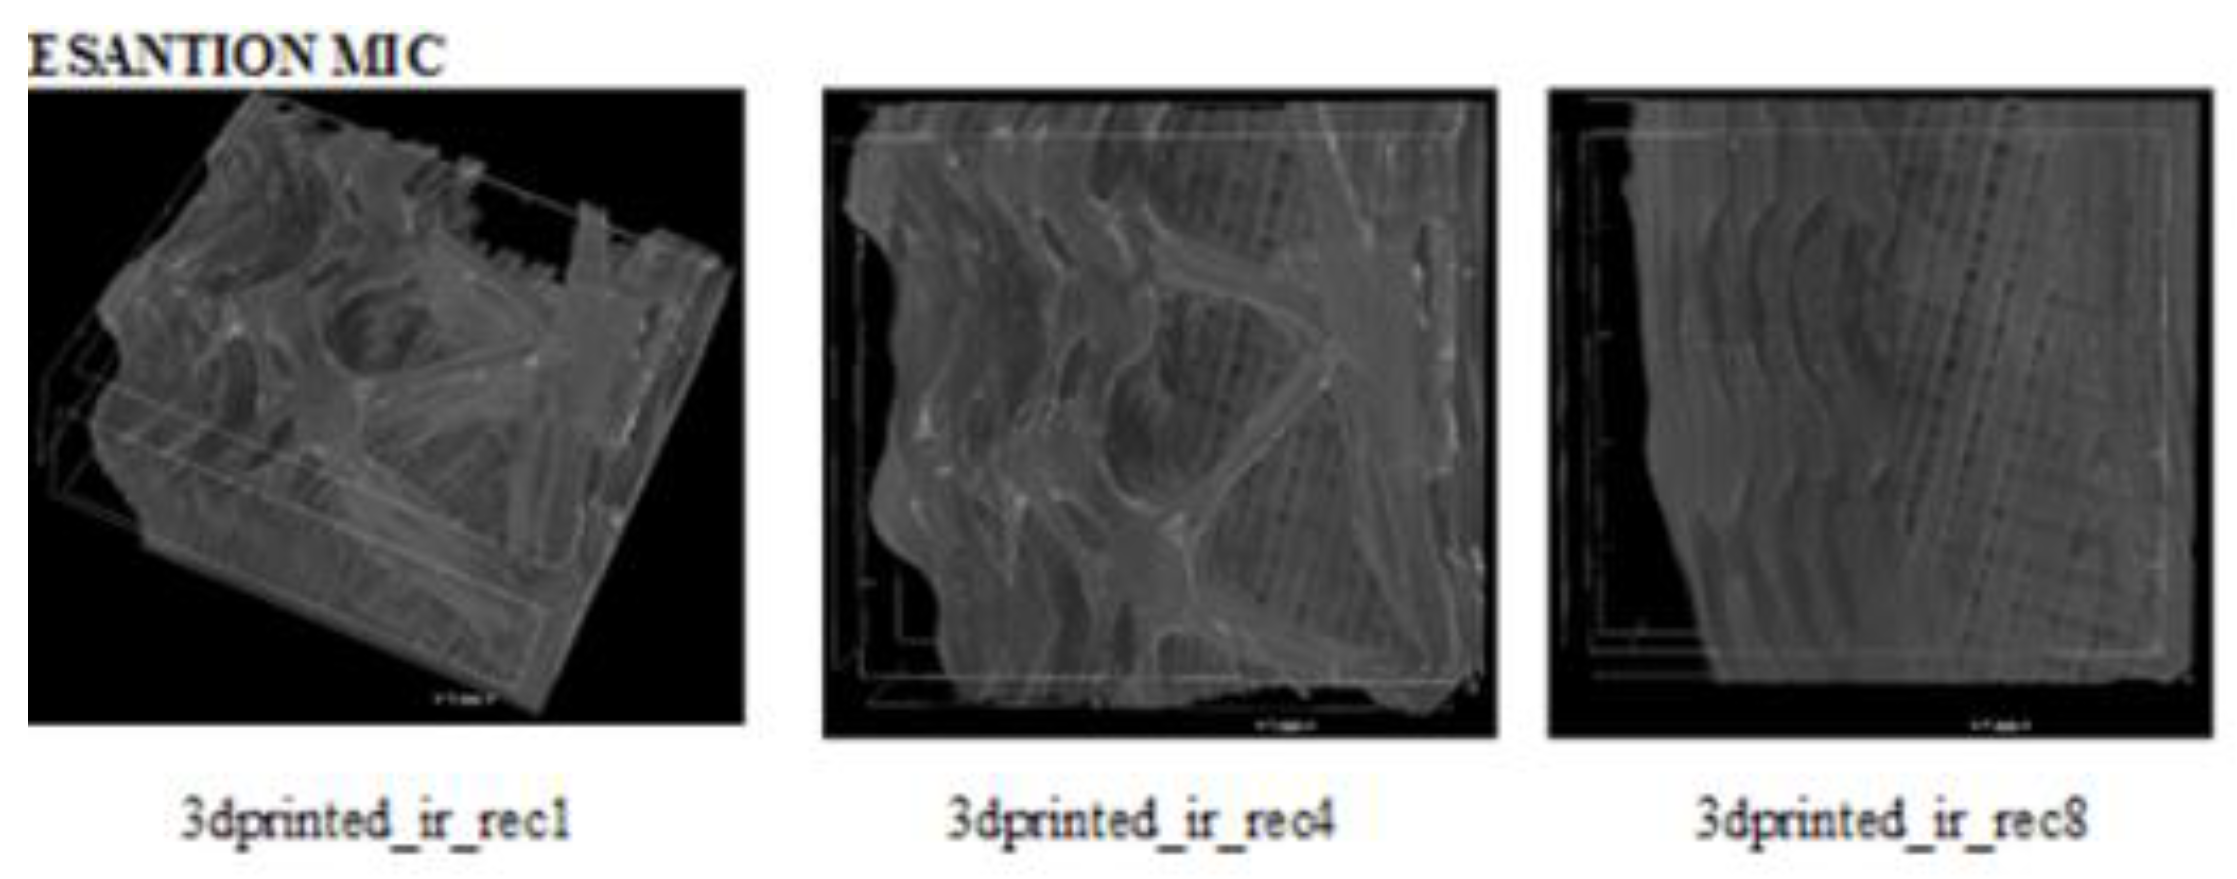
A PLA-based compound was shaped as filaments (Figure 1a) with optimal diameter and ovality (Figure 1b) for 3D printing (Figure 1). The identification of the defects of the 3D-printed item was performed by micro-computed tomography. To capture the global image of the 3D-printed sample, a Bruker 2211 nano-computer tomography (nano-CT) equipment was used. The scanning parameters were voltage: 60 kV; current intensity: 150 uA; exposure: 475 ms; resolution: 3 um; rotation step: 0.2 degrees; rotation: 180 degrees. The scanning process did not involve the use of a filter. The resolution of an X-ray was 4904 × 3280 pixels.
Figure 1. Variation of filament (a) diameter obtained from selected material (filament’s ovality) (b) 3D-printed item and morphology of the 3D-printed item visualized by µ-CT.
The obtained results showed that the defects are placed mainly at the interface between the superimposed layers and in the contact areas with the surface on which the deposit is made.
The versatile and non-destructive micro-CT is a characterization method widespread in industrial quality control. It can also be used for identifying the defects of the 3D-printed items. The obtained results showed that the defects are placed mainly at the interface between the overlayed material and in the contact areas with the surface on which the deposit is made.

Acknowledgments

This work was supported by a grant of the Romanian Ministry of Research and Innovation, CCCDI-UEFISCDI, project number PN-III-P1-1.2-PCCDI-2017-0428, 40/2018–5/3D-LONG LIFE within PNCDI III.

Reference

  1. Vásárhelyi, L.; Kónya, Z.; Kukovecz, Á.; Vajtai, R. Microcomputed tomography–based characterization of advanced materials: A review. Mater. Today Adv. 2020, 8, 100084. [Google Scholar] [CrossRef]
Publisher’s Note: MDPI stays neutral with regard to jurisdictional claims in published maps and institutional affiliations.

Article Metrics

Citations

Article Access Statistics

Multiple requests from the same IP address are counted as one view.