Analysis of the Effectiveness of Removing Surface Defects by Brushing
Abstract
1. Introduction
2. Materials and Methods
3. Results
3.1. Visual Defects Analysis before and after Brushing
3.2. Defects Depth before and after Brushing
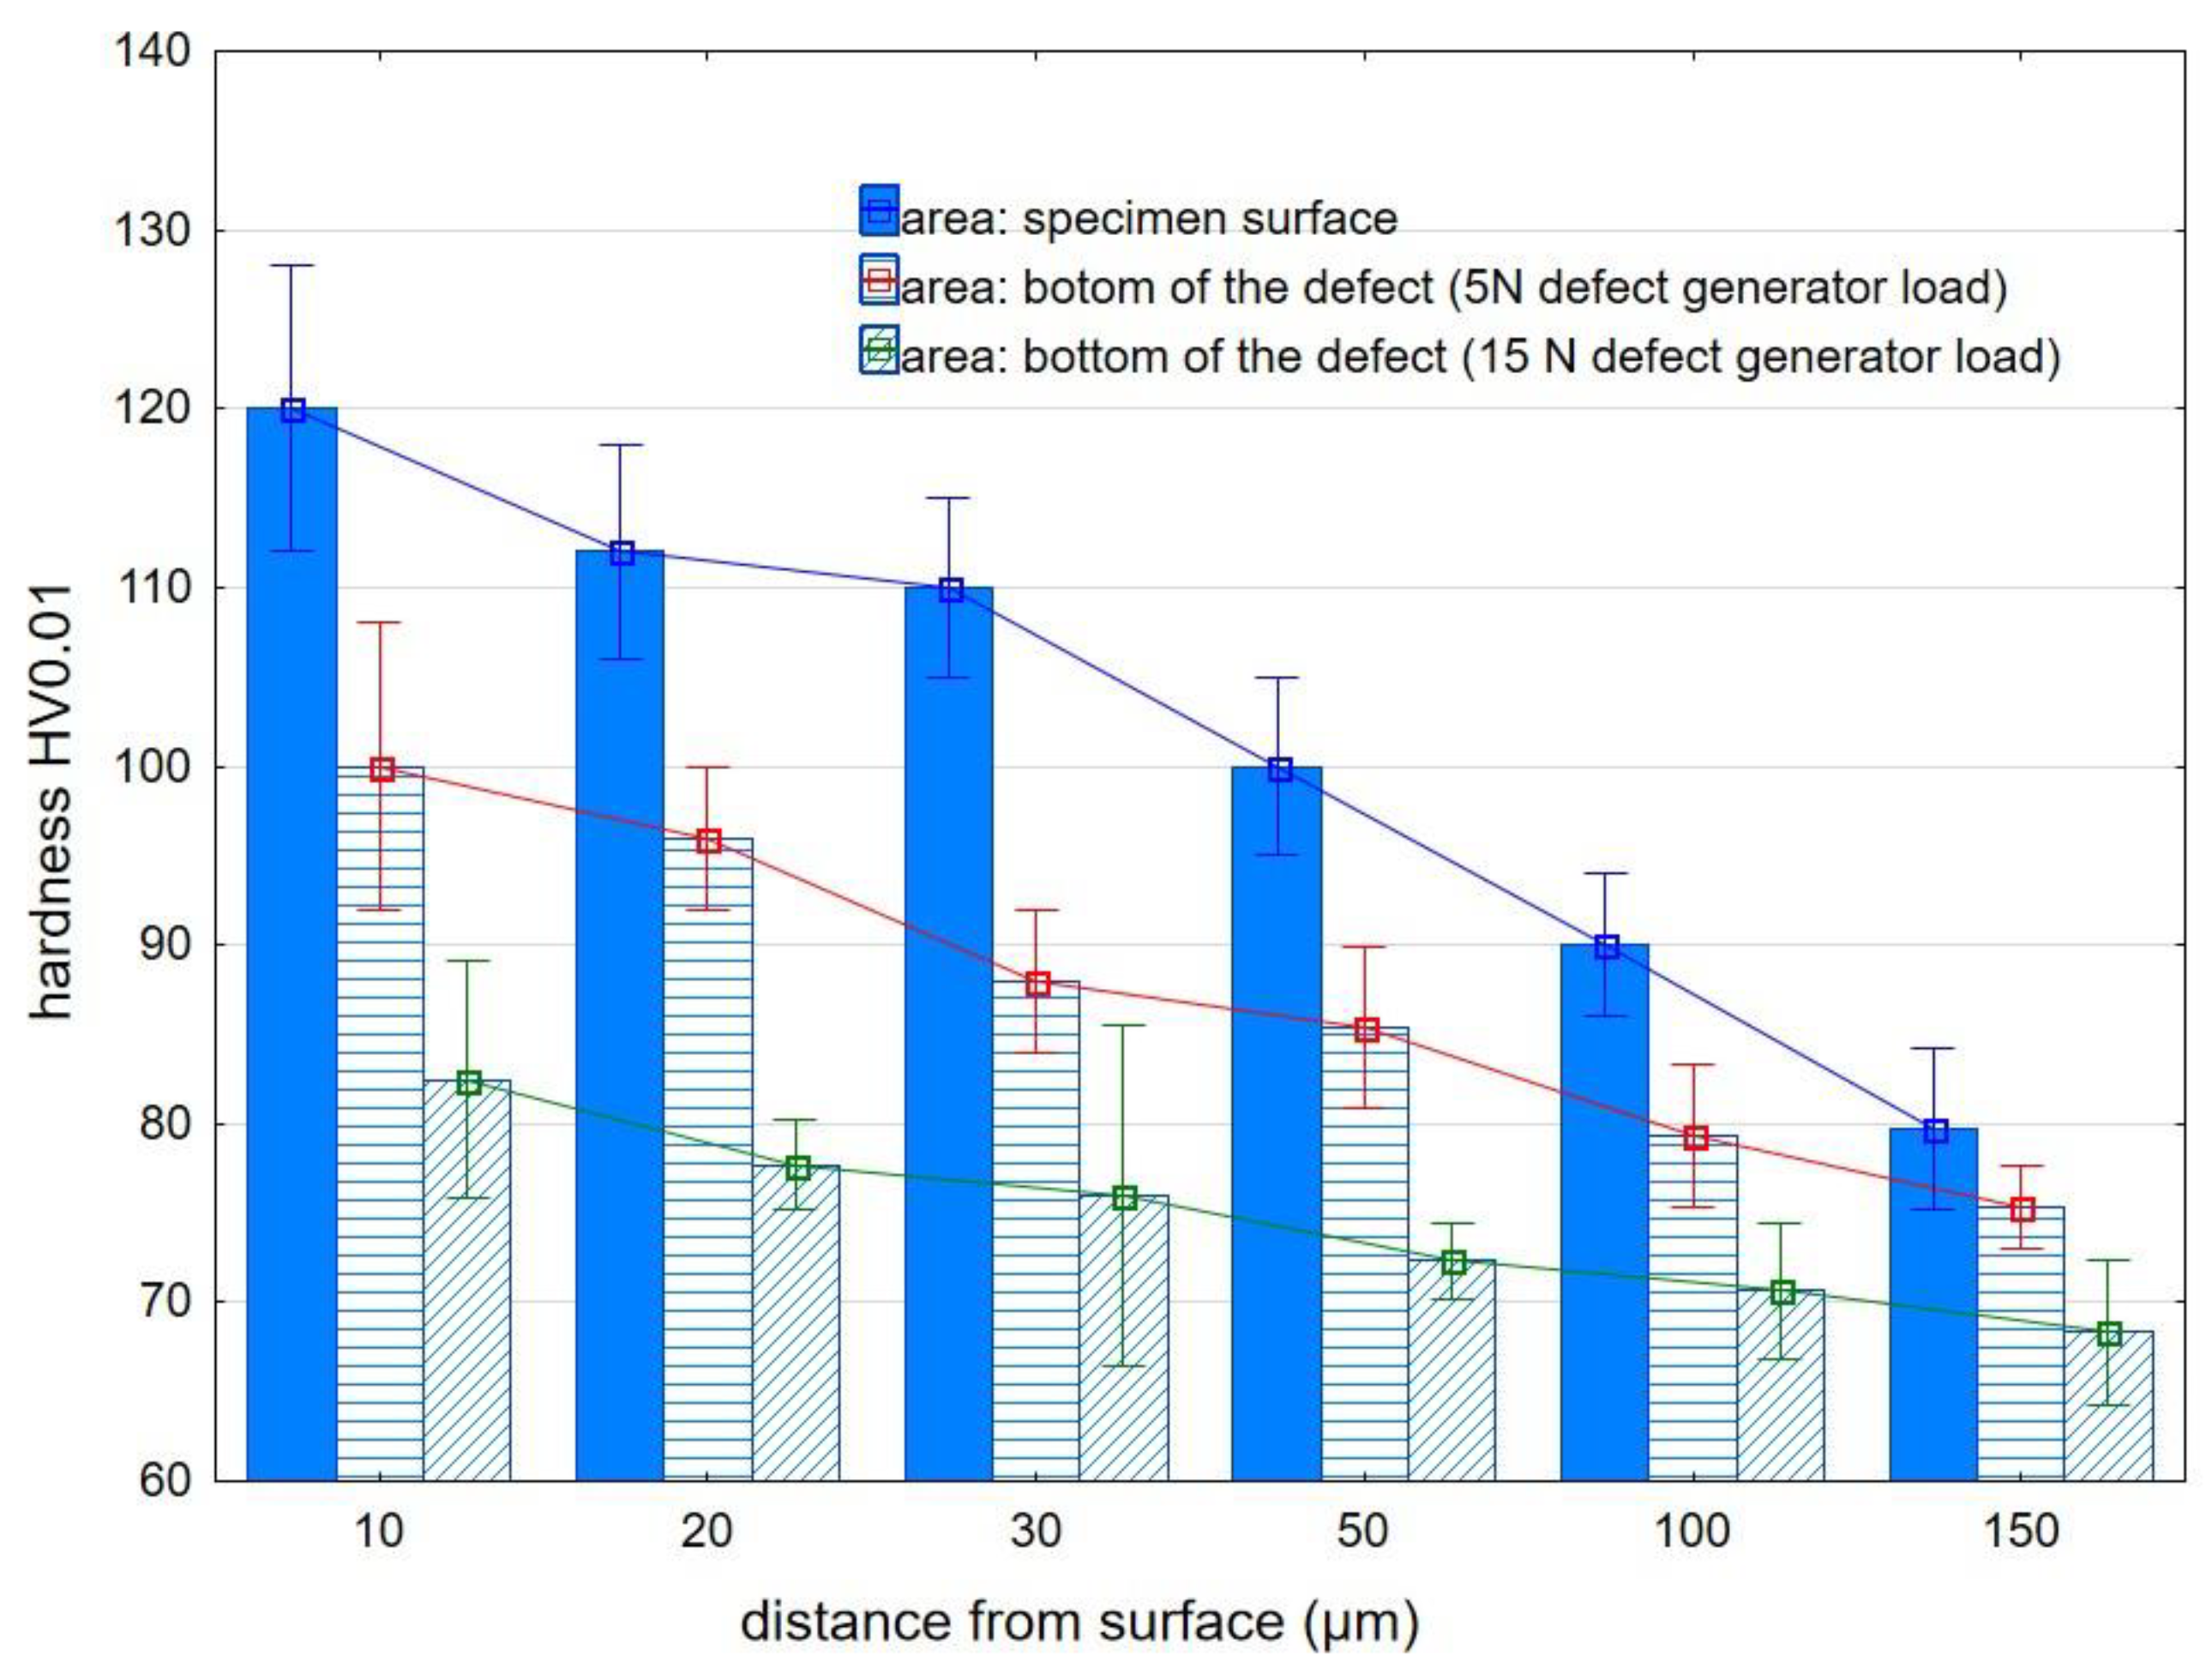
3.3. Microhardness Analysis
4. Conclusions
- -
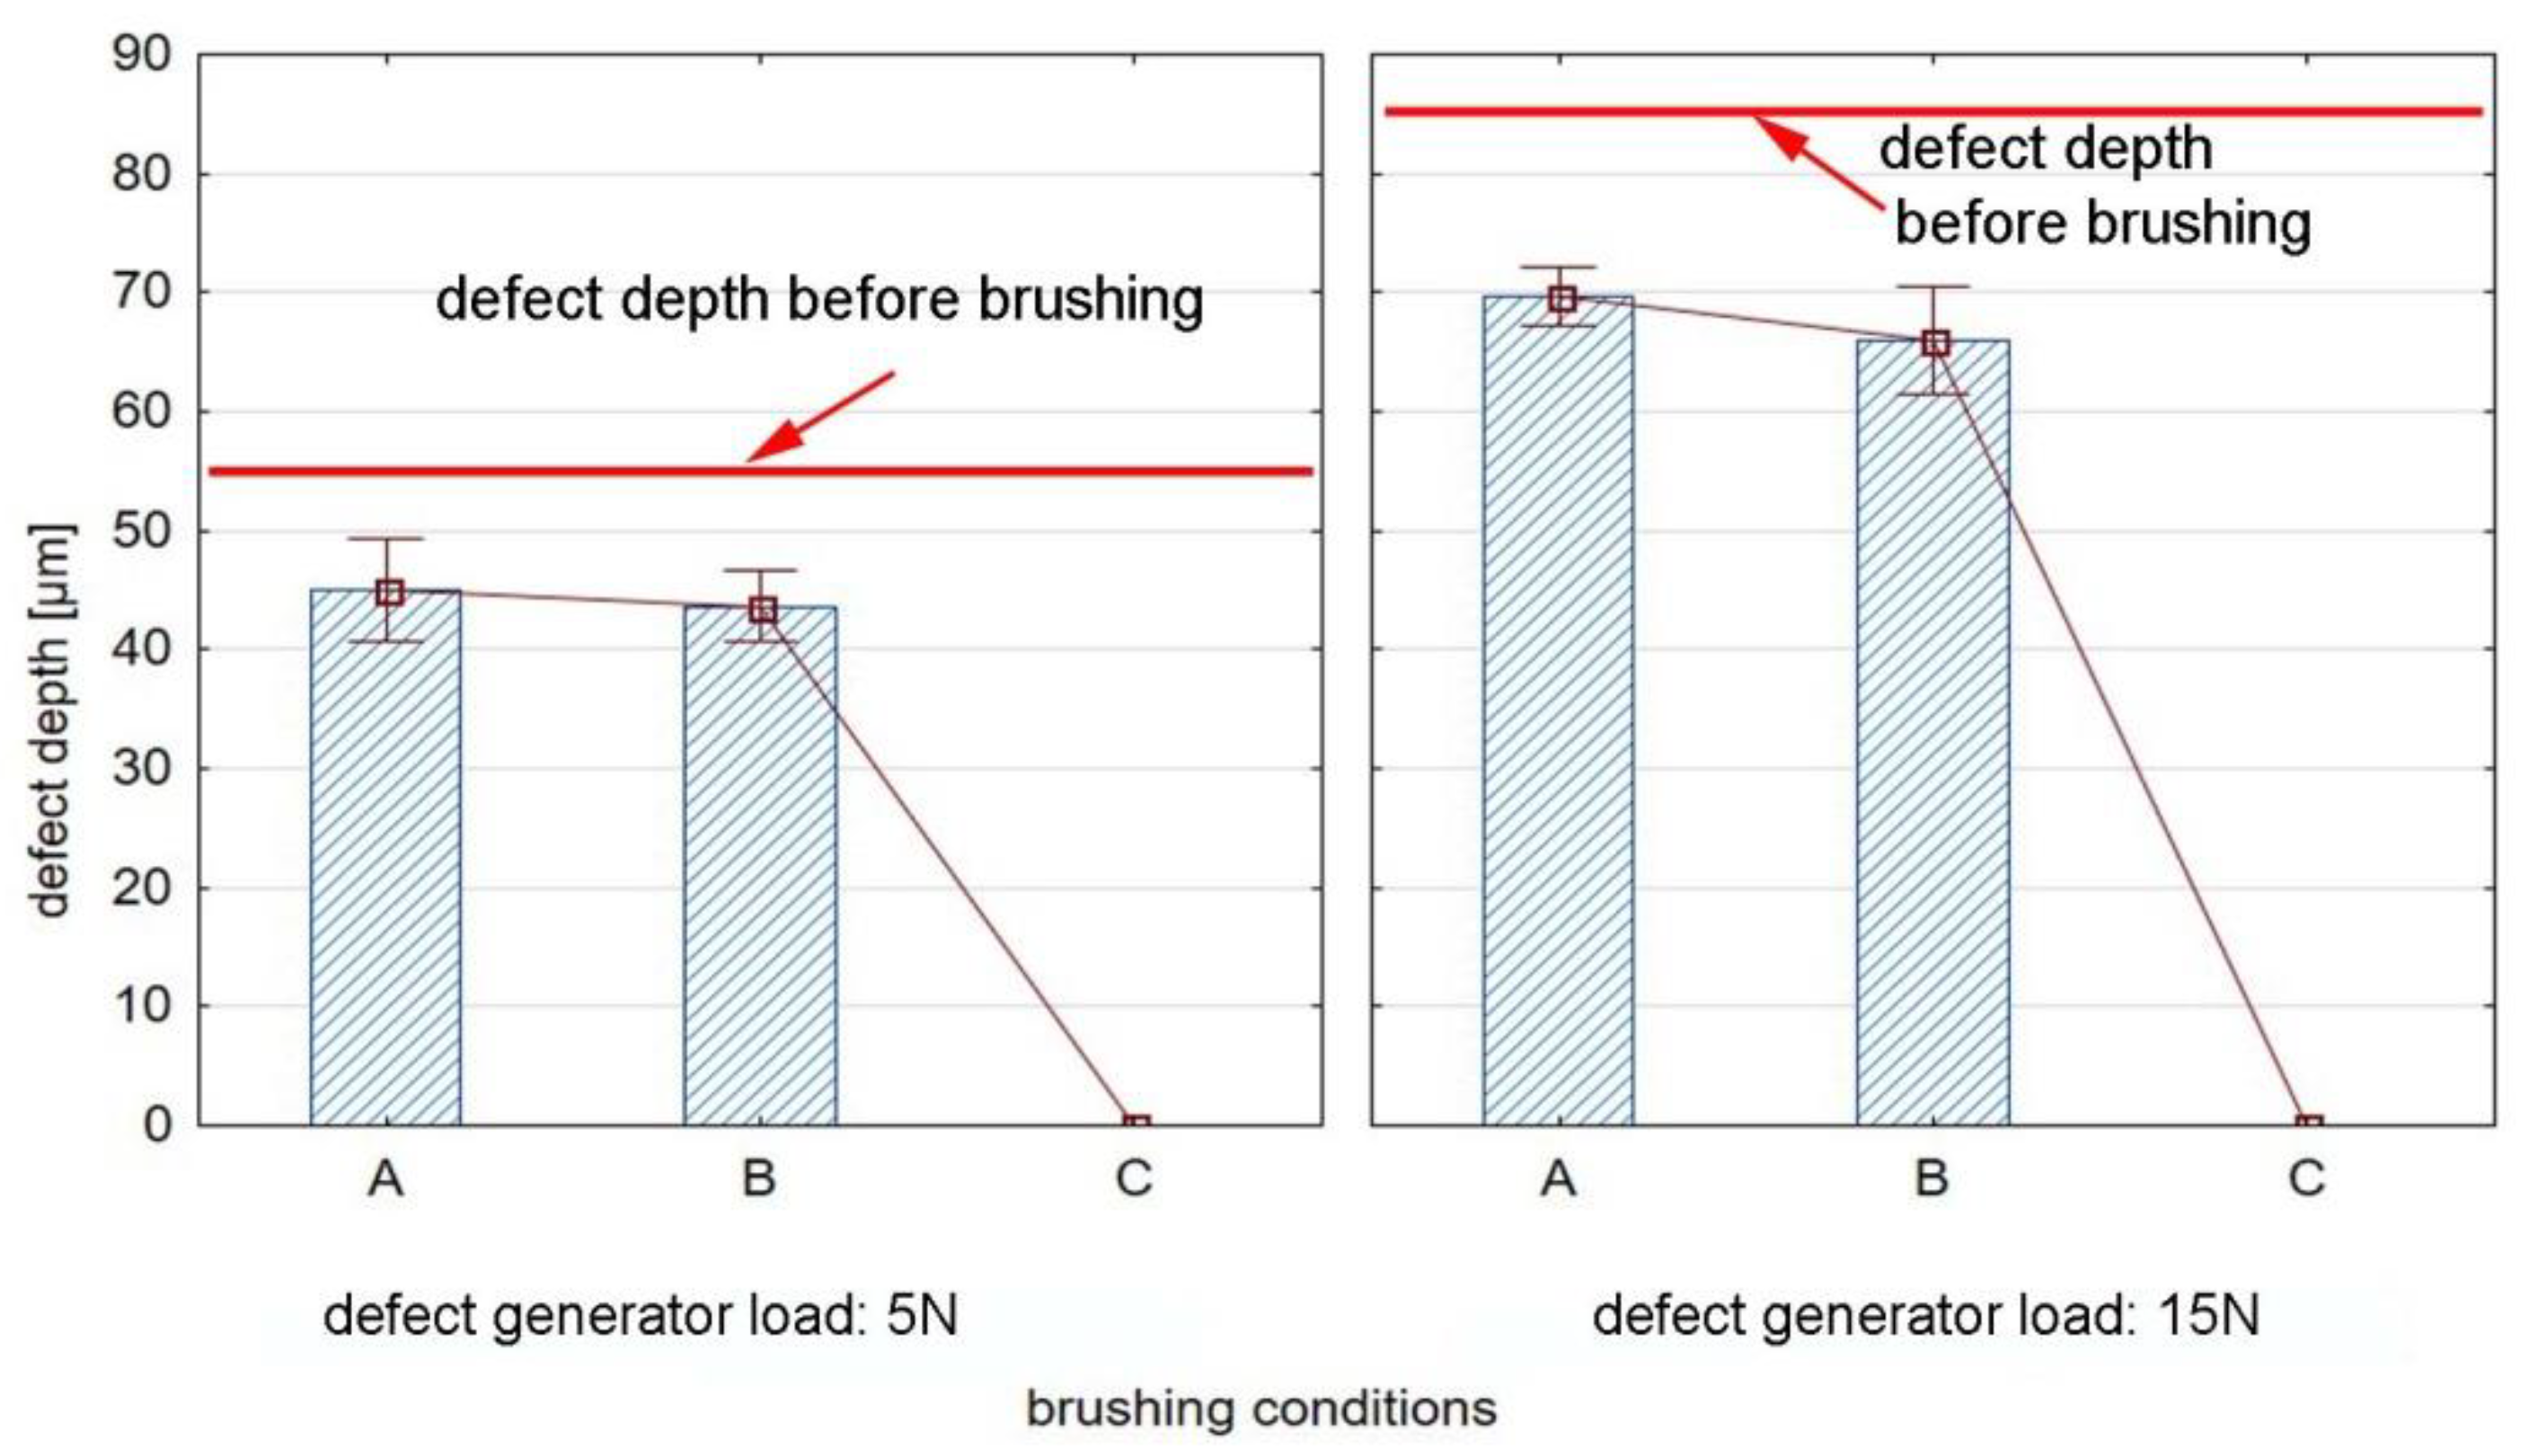
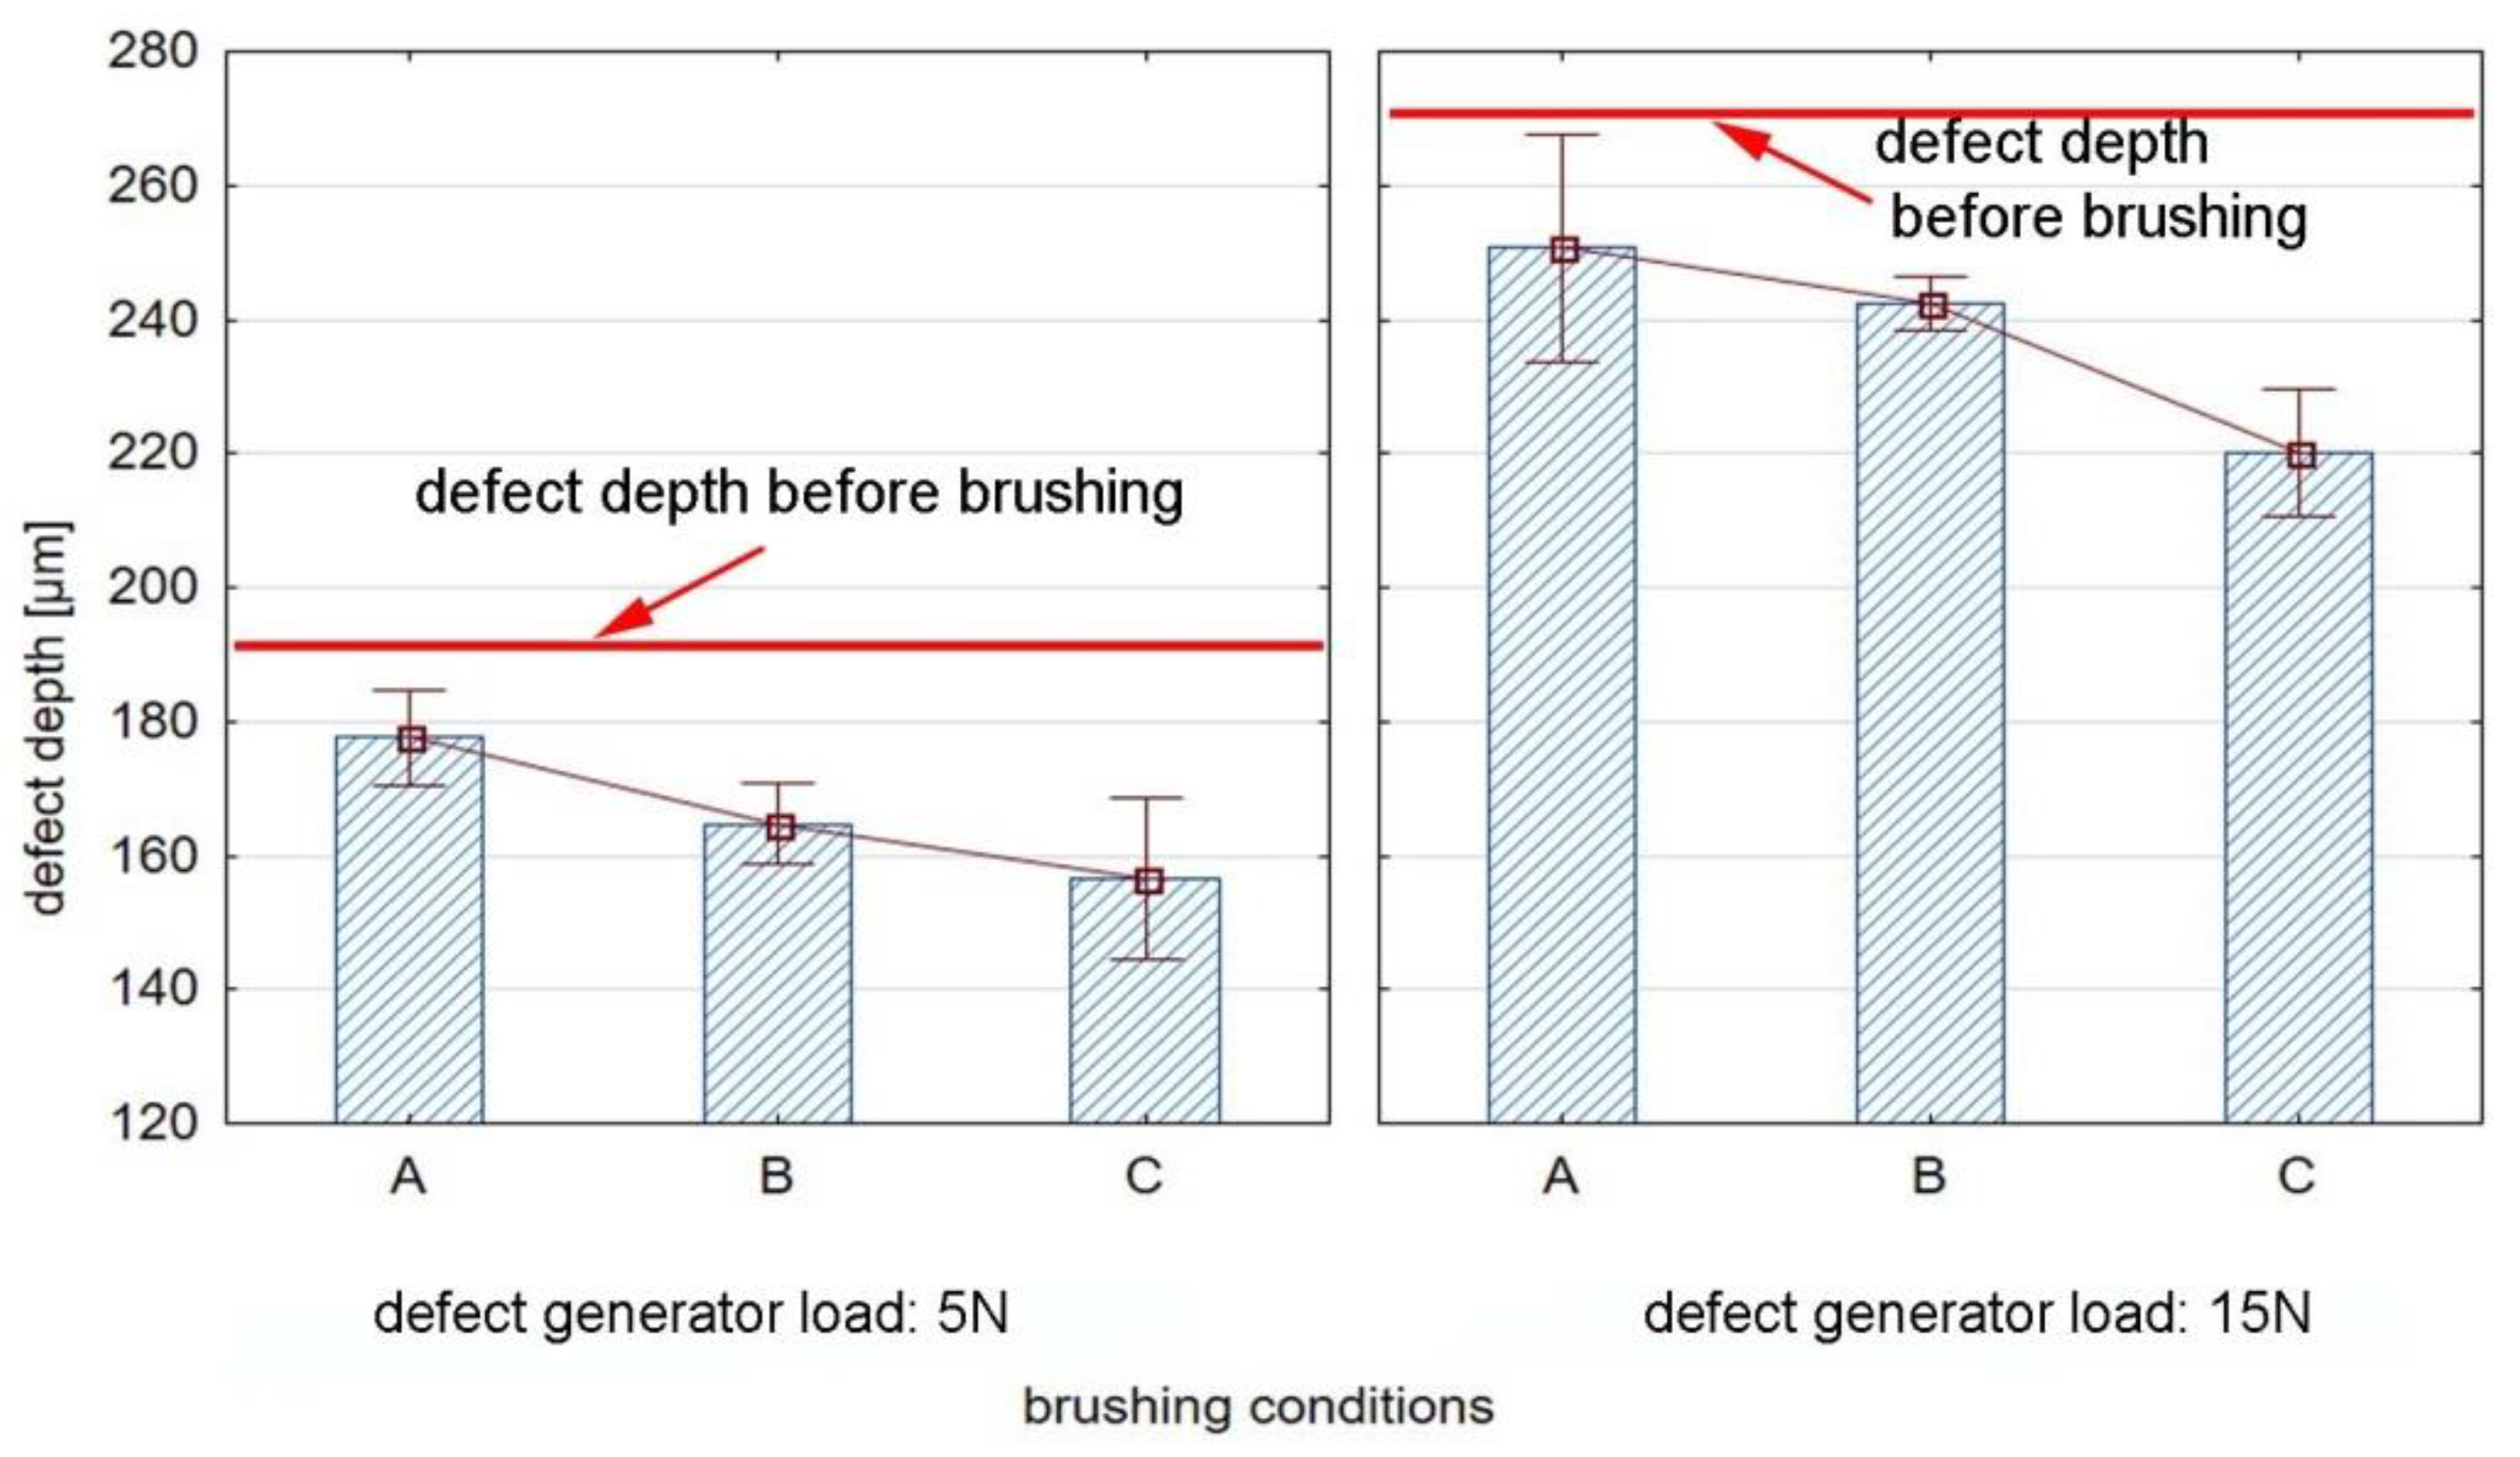
- The brushing treatment can be an effective method of reducing or removing surface defects;
- -
- For aluminum alloy EN-AW 2024 using a feed rate of vf = 370 mm/min and five brushing passes, surface defects were removed from the workpiece surface;
- -
- AZ91HP magnesium alloy is characterized by a much greater depth of defects formed on the surface (both in the process of generating them and after the brushing process) compared to EN-AW 2024 aluminum alloy;
- -
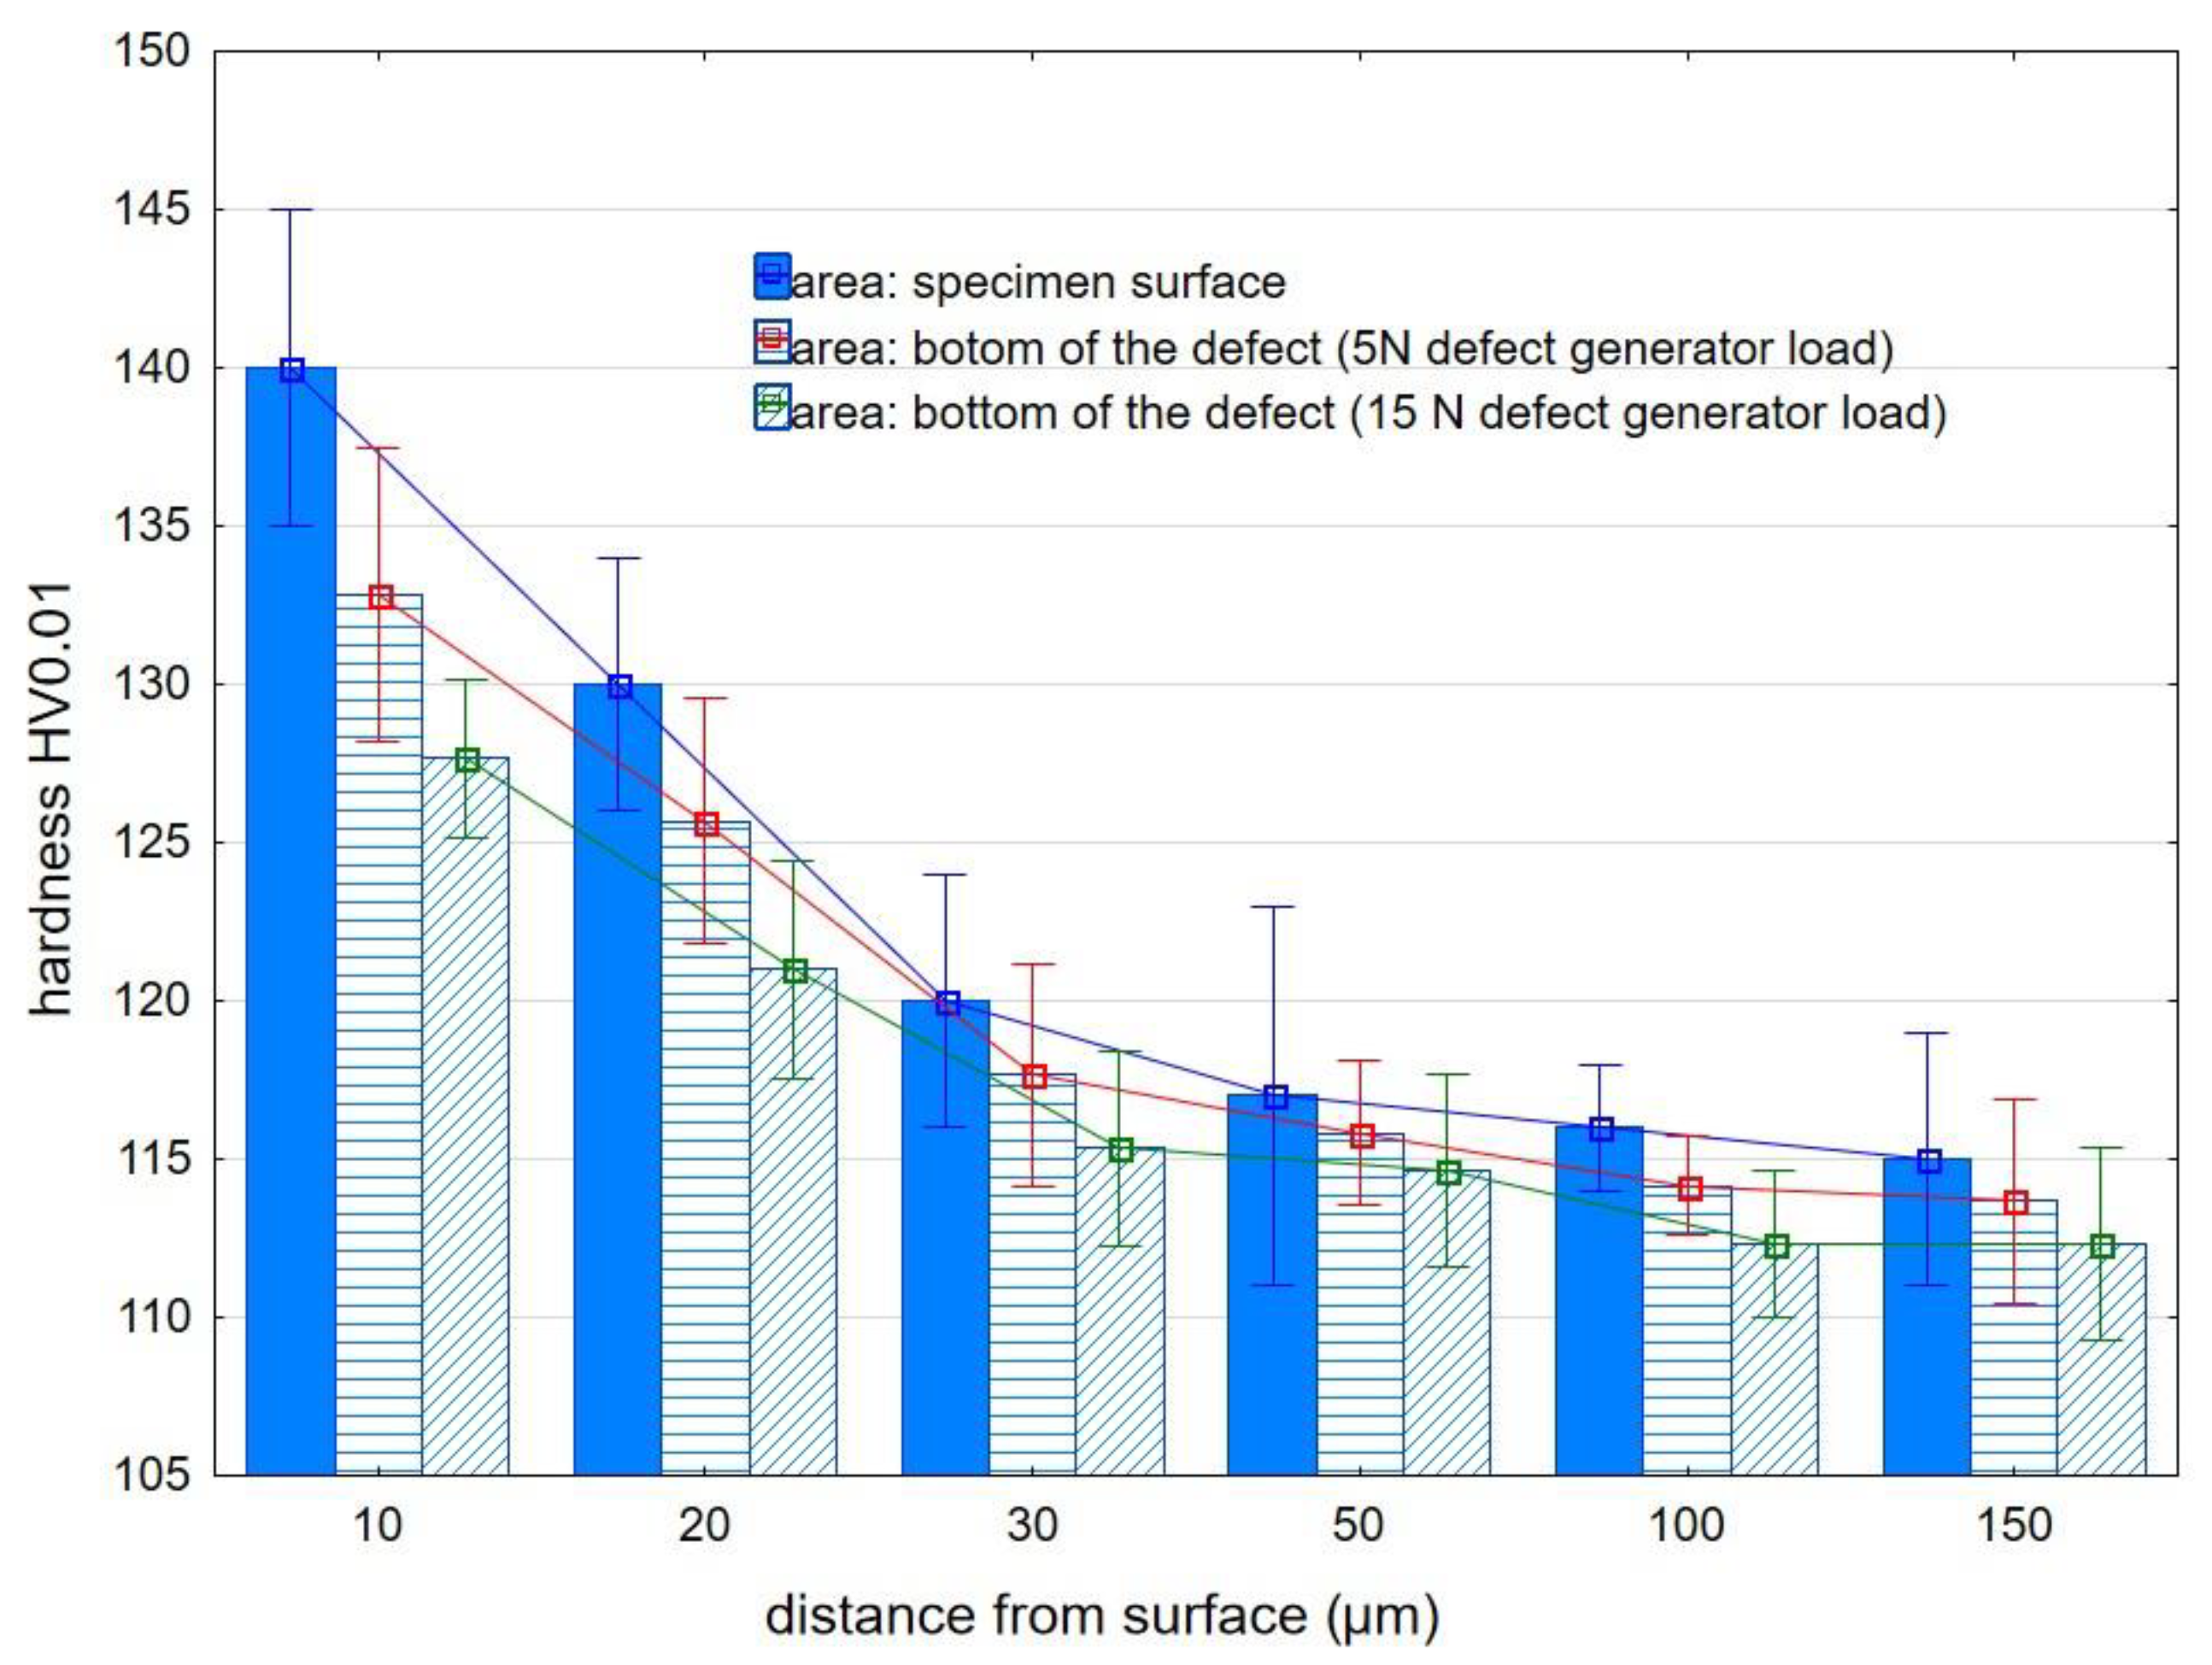
- Brushing treatment leads to the hardening of the surface layer.
Author Contributions
Funding
Institutional Review Board Statement
Informed Consent Statement
Data Availability Statement
Conflicts of Interest
References
- Xu, Y.; Balint, D.S.; Dini, D. On the Origin of Plastic Deformation and Surface Evolution in Nano-Fretting: A Discrete Dislocation Plasticity Analysis. Materials 2021, 14, 6511. [Google Scholar] [CrossRef] [PubMed]
- Tsai, D.-M.; Rivera Molina, D.E. Morphology-Based Defect Detection in Machined Surfaces with Circular Tool-Mark Patterns. Measurement 2019, 134, 209–217. [Google Scholar] [CrossRef]
- Liu, S.; Wang, X.; Liu, Z.; Wang, Y.; Chen, H. Machined Surface Defects Monitoring through VMD of Acoustic Emission Signals. J. Manuf. Process. 2022, 79, 587–599. [Google Scholar] [CrossRef]
- Jayakumar, N.; Senthilkumar, G.; Vignesh Kumar, S. Investigation on Surface Defect Machining of AISI 4340 Steel. Mater. Today Proc. 2022, 66, 1189–1195. [Google Scholar] [CrossRef]
- Kosicka, E.; Krzyzak, A.; Dorobek, M.; Borowiec, M. Prediction of Selected Mechanical Properties of Polymer Composites with Alumina Modifiers. Materials 2022, 15, 882. [Google Scholar] [CrossRef]
- Ciecieląg, K. Effect of Composite Material Fixing on Hole Accuracy and Defects During Drilling. Adv. Sci. Technol. Res. J. 2021, 15, 54–65. [Google Scholar] [CrossRef]
- Ciecieląg, K.; Skoczylas, A.; Matuszak, J.; Zaleski, K.; Kęcik, K. Defect Detection and Localization in Polymer Composites Based on Drilling Force Signal by Recurrence Analysis. Measurement 2021, 186, 110126. [Google Scholar] [CrossRef]
- Kecik, K.; Ciecielag, K.; Zaleski, K. Damage Detection by Recurrence and Entropy Methods on the Basis of Time Series Measured during Composite Milling. Int. J. Adv. Manuf. Technol. 2020, 111, 549–563. [Google Scholar] [CrossRef]
- Bao, L.; Li, K.; Zheng, J.; Zhang, Y.; Zhan, K.; Yang, Z.; Zhao, B.; Ji, V. Surface Characteristics and Stress Corrosion Behavior of AA 7075-T6 Aluminum Alloys after Different Shot Peening Processes. Surf. Coat. Technol. 2022, 440, 128481. [Google Scholar] [CrossRef]
- Skoczylas, A.; Zaleski, K. Effect of Centrifugal Shot Peening on the Surface Properties of Laser-Cut C45 Steel Parts. Materials 2019, 12, 3635. [Google Scholar] [CrossRef]
- Kowalik, M.; Trzepieciński, T.; Kukiełka, L.; Paszta, P.; Maciąg, P.; Legutko, S. Experimental and Numerical Analysis of the Depth of the Strengthened Layer on Shafts Resulting from Roller Burnishing with Roller Braking Moment. Materials 2021, 14, 5844. [Google Scholar] [CrossRef] [PubMed]
- Grochała, D.; Berczyński, S.; Grządziel, Z. Modeling of Burnishing Thermally Toughened X42CrMo4 Steel with a Ceramic ZrO2 Ball. Arch. Civ. Mech. Eng. 2017, 17, 1011–1018. [Google Scholar] [CrossRef]
- Matuszak, J.; Zaleski, K.; Skoczylas, A.; Ciecieląg, K.; Kęcik, K. Influence of Semi-Random and Regular Shot Peening on Selected Surface Layer Properties of Aluminum Alloy. Materials 2021, 14, 7620. [Google Scholar] [CrossRef] [PubMed]
- Przestacki, D.; Kukliński, M.; Bartkowska, A. Influence of Laser Heat Treatment on Microstructure and Properties of Surface Layer of Waspaloy Aimed for Laser-Assisted Machining. Int. J. Adv. Manuf. Technol. 2017, 93, 3111–3123. [Google Scholar] [CrossRef]
- Bartkowska, A.; Bartkowski, D.; Przestacki, D.; Kukliński, M.; Miklaszewski, A.; Kieruj, P. Laser Processing of Diffusion Boronized Layer Produced on Monel® Alloy 400—Microstructure, Microhardness, Corrosion and Wear Resistance Tests. Materials 2021, 14, 7529. [Google Scholar] [CrossRef] [PubMed]
- Jażdżewska, M.; Kwidzińska, D.B.; Seyda, W.; Fydrych, D.; Zieliński, A. Mechanical Properties and Residual Stress Measurements of Grade IV Titanium and Ti-6Al-4V and Ti-13Nb-13Zr Titanium Alloys after Laser Treatment. Materials 2021, 14, 6316. [Google Scholar] [CrossRef]
- Chwalczuk, T.; Lisiak, P.; Siwak, P.; Przestacki, D.; Szablewski, P. Laser Assisted Turning of Inconel 718 Alloy. Mechanik 2016, 89, 1118–1119. [Google Scholar] [CrossRef][Green Version]
- Stango, R.J. Filamentary Brushing Tools for Surface Finishing Applications. Met. Finish. 2002, 100, 82–91. [Google Scholar] [CrossRef]
- Matuszak, J.; Zaleski, K. Effect of Brushing Parameters upon Edge States after Wire Brushing of AZ91 HP Magnesium Alloy. Adv. Sci. Technol. Res. J. 2013, 7, 55–60. [Google Scholar] [CrossRef]
- Cariapa, V.; Stango, R.J.; Chen, L.; Hermann, R. Aspects of Process Model for Automatic Control of Edge-Deburring with Filamentary Brush. J. Eng. Ind. 1992, 114, 294–300. [Google Scholar] [CrossRef]
- Shia, C.-Y.; Stango, R.J. Analysis of a Compliant Honing Tool for Brushing Cylindrical Surfaces. J. Manuf. Sci. Eng. 1997, 119, 441–444. [Google Scholar] [CrossRef]
- Matuszak, J. Effect of Ceramic Brush Treatment on the Surface Quality and Edge Condition of Aluminium Alloy after Abrasive Waterjet Machining. Adv. Sci. Technol. Res. J. 2021, 15, 254–263. [Google Scholar] [CrossRef]
- Gillström, P.; Jarl, M. Mechanical Descaling of Wire Rod Using Reverse Bending and Brushing. J. Mater. Process. Technol. 2006, 172, 332–340. [Google Scholar] [CrossRef]
- Sidhom, N.; Moussa, N.B.; Janeb, S.; Braham, C.; Sidhom, H. Potential Fatigue Strength Improvement of AA 5083-H111 Notched Parts by Wire Brush Hammering: Experimental Analysis and Numerical Simulation. Mater. Des. 2014, 64, 503–519. [Google Scholar] [CrossRef]
- Makhlouf, K.; Sidhom, N.; Khlifi, A.; Sidhom, H.; Braham, C. Low Cycle Fatigue Life Improvement of AISI 304 by Initial and Intermittent Wire Brush Hammering. Mater. Des. 1980–2015 2013, 52, 1088–1098. [Google Scholar] [CrossRef][Green Version]
- Kuczmaszewski, J.; Zaleski, K.; Matuszak, J.; Mądry, J. Testing Geometric Precision and Surface Roughness of Titanium Alloy Thin-Walled Elements Processed with Milling. In Advances in Manufacturing II; Diering, M., Wieczorowski, M., Brown, C.A., Eds.; Lecture Notes in Mechanical Engineering; Springer International Publishing: Cham, Switzerland, 2019; pp. 95–106. ISBN 978-3-030-18681-4. [Google Scholar]
- Zawada-Michałowska, M.; Pieśko, P.; Józwik, J.; Legutko, S.; Kukiełka, L. A Comparison of the Geometrical Accuracy of Thin-Walled Elements Made of Different Aluminum Alloys. Materials 2021, 14, 7242. [Google Scholar] [CrossRef] [PubMed]
- Kitahara, H.; Yada, T.; Hashiguchi, F.; Tsushida, M.; Ando, S. Mg Alloy Sheets with a Nanocrystalline Surface Layer Fabricated by Wire-Brushing. Surf. Coat. Technol. 2014, 243, 28–33. [Google Scholar] [CrossRef]
- Song, D.; Ma, A.; Sun, W.; Jiang, J.; Jiang, J.; Yang, D.; Guo, G. Improved Corrosion Resistance in Simulated Concrete Pore Solution of Surface Nanocrystallized Rebar Fabricated by Wire-Brushing. Corros. Sci. 2014, 82, 437–441. [Google Scholar] [CrossRef]
- Novotný, F.; Horák, M.; Starý, M. Abrasive Cylindrical Brush Behaviour in Surface Processing. Int. J. Mach. Tools Manuf. 2017, 118–119, 61–72. [Google Scholar] [CrossRef]
- Kulisz, M.; Zagórski, I.; Matuszak, J.; Kłonica, M. Properties of the Surface Layer After Trochoidal Milling and Brushing: Experimental Study and Artificial Neural Network Simulation. Appl. Sci. 2019, 10, 75. [Google Scholar] [CrossRef]
- Overholser, R.W.; Stango, R.J.; Fournelle, R.A. Morphology of Metal Surface Generated by Nylon/Abrasive Filament Brush. Int. J. Mach. Tools Manuf. 2003, 43, 193–202. [Google Scholar] [CrossRef]
- Matuszak, J. Comparative Analysis of the Effect of Machining with Wire and Ceramic Brushes on Selected Properties of the Surface Layer of EN AW-7075 Aluminium Alloy. Adv. Sci. Technol. Res. J. 2022, 16, 50–56. [Google Scholar] [CrossRef]
- Matuszak, J.; Kłonica, M.; Zagórski, I. Measurements of Forces and Selected Surface Layer Properties of AW-7075 Aluminum Alloy Used in the Aviation Industry after Abrasive Machining. Materials 2019, 12, 3707. [Google Scholar] [CrossRef]
- Fredj, N.B.; Nasr, M.B.; Rhouma, A.B.; Habib, S.; Chedly, B. Fatigue Life Improvements of the AISI 304 Stainless Steel Ground Surfaces by Wire Brushing. J. Mater. Eng. Perform. 2004, 13, 564–574. [Google Scholar] [CrossRef]
- Aurich, J.C.; Dornfeld, D.; Arrazola, P.J.; Franke, V.; Leitz, L.; Min, S. Burrs—Analysis, Control and Removal. CIRP Ann. 2009, 58, 519–542. [Google Scholar] [CrossRef]




| Chemical Composition, wt. % | Physical Properties | ||
|---|---|---|---|
| Cu | 3.8–4.9 | Rm (MPa) | 469 |
| Mg | 1.2–1.8 | ||
| Fe | ≤0.5 | ||
| Si | ≤0.5 | Rp0.2 (MPa) | 324 |
| Mn | 0.3–0.9 | ||
| Zn | ≤0.25 | ||
| Zr + Ti | ≤0.2 | HB (Kgf/mm2) | 110 |
| Cr | ≤0.1 | ||
| Other | 0.2 | ||
| Al | Rest | ||
| Chemical Composition, wt. % | Physical Properties | ||
|---|---|---|---|
| Al | 9.45 | Rm (MPa) | 200 |
| Zn | 0.72 | ||
| Ni | 0.025 | ||
| Mn | 0.017 | Rp0.2 (MPa) | 135 |
| Cu | 0.016 | ||
| Si | 0.03 | ||
| Fe | 0.002 | HB (Kgf/mm2) | 65 |
| Mg | Rest | ||
| Velocity [m/min] | Feed Rate [mm/min] | Infeed [mm] | Number of Passes | Experimental Test |
|---|---|---|---|---|
| 1265 | 1000 | 3 | 1 | A |
| 370 | 1 | B | ||
| 370 | 5 | C |
| Brushing Conditions | |||
|---|---|---|---|
| A | B | C | |
| AZ91 HP | 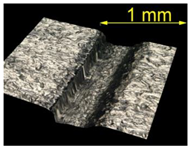 | 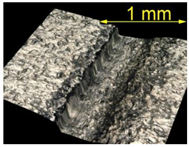 | 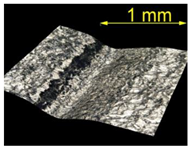 |
| EN AW 2024 | 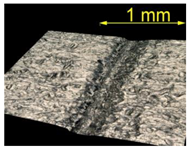 | 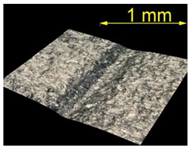 | 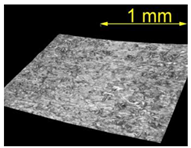 |
| Brushing Conditions | |||
|---|---|---|---|
| A | B | C | |
| AZ91 HP | 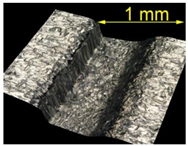 | 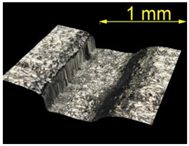 |  |
| EN AW 2024 | 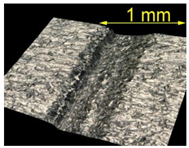 | 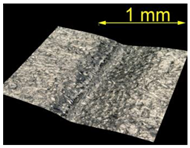 | 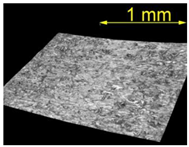 |
Publisher’s Note: MDPI stays neutral with regard to jurisdictional claims in published maps and institutional affiliations. |
© 2022 by the authors. Licensee MDPI, Basel, Switzerland. This article is an open access article distributed under the terms and conditions of the Creative Commons Attribution (CC BY) license (https://creativecommons.org/licenses/by/4.0/).
Share and Cite
Matuszak, J.; Zaleski, K.; Ciecieląg, K.; Skoczylas, A. Analysis of the Effectiveness of Removing Surface Defects by Brushing. Materials 2022, 15, 7833. https://doi.org/10.3390/ma15217833
Matuszak J, Zaleski K, Ciecieląg K, Skoczylas A. Analysis of the Effectiveness of Removing Surface Defects by Brushing. Materials. 2022; 15(21):7833. https://doi.org/10.3390/ma15217833
Chicago/Turabian StyleMatuszak, Jakub, Kazimierz Zaleski, Krzysztof Ciecieląg, and Agnieszka Skoczylas. 2022. "Analysis of the Effectiveness of Removing Surface Defects by Brushing" Materials 15, no. 21: 7833. https://doi.org/10.3390/ma15217833
APA StyleMatuszak, J., Zaleski, K., Ciecieląg, K., & Skoczylas, A. (2022). Analysis of the Effectiveness of Removing Surface Defects by Brushing. Materials, 15(21), 7833. https://doi.org/10.3390/ma15217833


