Abstract
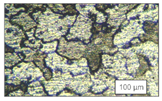
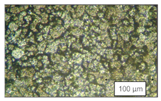
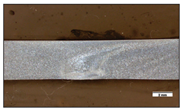
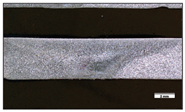
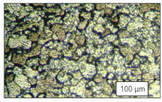
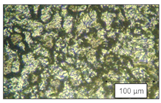
In order to meet the escalating demand in the shipbuilding business, suitable materials with enhanced qualities are required to maximize ship cargo while reducing fuel consumption. Aluminum (Al) and its alloys are competing contenders for use in a variety of complicated ship structures. The major challenge to enhancing joint quality and performance is the quest for a viable and efficient FSW parameter. The main focus of this study was to critically explore the effect of the tool pin profile and the preheat temperature used during the friction stir welding of AA 5052-H32 on its mechanical properties and weld microstructure characteristics. There are three pin profile variations, including samples that were cylindrical, samples with two flat sides, and samples with three flat sides, all of which were investigated in different preheat temperatures (150–300 °C). The results that were obtained during macrographic observation showed that tunnel defects were visible in the cylindrical and two-flat-sided pin profile designs. During observations of the microstructure, it was observed that the grain size became finer and smaller in the weld nugget compared to in the heat affected zone (HAZ) and thermo-mechanically affected zone (TMAZ) regions due to dynamic recrystallization. However, at the 300 °C preheat variation, the grain size appeared to be larger due to the slower cooling rate, causing a decrease in the mechanical properties of the samples. The results of the physical tests determined that the preheat temperature caused an increase in the mechanical properties until 250 °C, at which point the three-flat-sided pin profile tool demonstrated superior mechanical properties compared to the tools with a cylindrical design; a 12.2% tensile strength increase, a 15.3% and 9.4% face and root bending increase, and an 11.2% hardness increase were observed.
1. Introduction
Aluminum and its alloys have always been the primary candidates for material selection in the shipping industry. Aluminum alloys demonstrate a number of benefits when used in the hulls of small vessels such as patrol boats, including light weight, high corrosion resistance, high machinability, high formability, and normal ductility [1]. The increasing use of aluminum in the shipbuilding sector is the primary driving force behind the search for a viable and efficient technology that can be used to create aluminum alloys that do not degrade the material’s desirable mechanical, chemical, and metallurgical performance.
Welding is a common and important joining process that is used during the fabrication stage in the shipbuilding industry [2]. Many of these joining processes experience difficulties that are caused by the different thicknesses of dissimilar materials, and this is also the case when using aluminum alloys in shipbuilding applications [3,4]. Conventional fusion welding methods, such as gas metal arc welding or gas tungsten arc welding, are the most commonly used joining process technologies. These traditional technologies rely on phase regulator-transistorized power sources that consume a lot of energy and that require a long cooling period [5]. Moreover, traditional aluminum fusion welding can result in the oxide removal, porosity, distortion, poor solidification, shrinkage, and mismatching of the filler metal composition, resulting in the material needing to be reworked, which is a costly process that also involves the use of more material [6,7].
Friction stir welding (FSW) has been widely regarded as the most important advancement in aluminum joining technology in the last decade. Due to its energy efficiency, environmentally friendly nature, and versatility, it is considered to be a green technology [8]. As a permanent-type solid-state joining process, FSW plays a crucial role in obtaining a sound-quality weld without any defects [9]. Unlike traditional welding, the material does not experience a liquid state during the FSW technique, and the weld takes place in the solid phase, below the material’s melting point [10]. FSW works on the simple principle of inserting a rotating tool with a shoulder and pin into the abutting edges of the plates and moving it along the joint line [11]. As a result, all of the problems that are associated with the solidification of fused material are avoided.
Many experimental studies on the use of FSW with aluminum alloys have been conducted to improve the mechanical and metallurgical properties of FSW-made joints by changing either the tool geometry or the process conditions. Several FSW processes, such as the rotational speed of the tool, the shoulder plunge depth, and the dwell time, are crucial parameters for the determination of joint quality [12]. The geometry of friction stir tools, tool pin dimensions, and FSW process parameters influence material flow and thus the static strength of the joints that are made using this method [13]. The shape of the tool pin that is used during FSW plays an active role in improving weld quality and in delivering sound, defect-free welds. Particularly, the pin profile is an important component for the definition of weld geometry, localized heating, and stirring action [14]. Very few of the papers that have been published on the FSW process have discussed the effect of the pin profile on welding quality.
Elangovan et al. [15] investigated the effects of the tool pin profile and the welding speed on the behavior of the material flow and on the weld quality. They observed that the tool pin profile has a significant impact on the weld quality. Gopi and Manonmani [16] investigated the effect of pin profiles on the FSW of AA6082. It has been observed that a pentagon-shaped pin profile produces higher strength joints. Janeczek et al. [17] observed the influence of tool shapes (cylindrical and tapered-threaded tools) on an aluminum alloy, EN AW-3004 (AlMn1Mg1). When compared to the maximum results that had previously been obtained for the tapered-threaded joint, the cylindrical tool showed that it was able to produce higher mechanical value parameters of around 37%. By modifying the pin and shoulder geometries, Dawood et al. [18] and Trueba et al. [19] aimed to enhance the mechanical and metallurgical characteristics of FSW aluminum alloy joints. The joints were created with three distinct tool pin profiles: threaded-tapered cylindrical (T1), triangular (T2), and square (T3). It has been claimed that a triangular pin and tool shoulder with a raised spiral shape results in a stronger joint. An appropriate pin profile and tool design can provide adequate heat and can combine plasticized materials. Four different pin profiles: threaded cylindrical (TC), stepped cylindrical (SC), conical (C), and square (S), were used to fabricate AA6061-T6 joints with different rotations and traverse speeds by Emamian et al. [20]. Their findings demonstrated that the threaded cylindrical pin profiles created superior joints. Another study by Marzbanrad et al. [21] examined the influence of the tool pin profile (cylindrical and square pin) on the friction stir welding mechanical characteristics, microstructure, material flow, temperature, and strain distributions of AA5083. Moreover, a more comprehensive study was conducted by Verma et al. [22], which investigated the influence of four different pin profiles: threaded cylindrical, tapered cylindrical, square, and triangular, on the thermal, mechanical, and metallurgical characteristics of FSW aluminum joints. In another recent study, the effect of the FSW tool geometry and welding settings on FSW lap joint defect formation, material flow, and weld formation mechanisms was studied by comparing conventional right-handed thread cylindrical probes, three flat probes, and three types of thread in three cylindrical sections [23]. Compared to the standard threaded tool design, the tool shape with three flat sides and a mixed thread demonstrated apparent advantages for FSW lap joint fabrication. Apart from the exploration into the pin profile, other publications have discussed the influence of the pin diameter and dwell time [24], pin angle [25], tool plunge depth [26], and underwater dissimilar aluminum friction stir welding [27] on mechanical characteristics and microstructure.
Recently, a few reports have shown how preheating can be used as an alternate option to improve joint characteristics [28,29,30]. Preheating softens and increases the flow of the materials in the stir zone. As a result, welding forces are reduced, and efficiency is increased. Muhayat et al. [31] investigated the effects of preheating temperature on the mechanical characteristics and microstructure of friction stir welded (FSW) 5052 aluminum alloy joints. The increased preheating temperature resulted in coarser grain size, which resulted in a small loss in both tensile strength and joint hardness. Moreover, the influence of pre- and post-heat treatment on the hardness of Al alloy weld joints (7A52 and 6061) was explored by Jia et al. [32], and the effects of preheating and water cooling on the thermal, mechanical, metallurgical, and texture properties of friction-stir-welded AA6082 were investigated by Verma et al. [33]. It was observed that preheating has more of an impact on microhardness due to dynamic recrystallization.
The influence of each pin shape or preheating temperature on weld quality is explained in all of the abovementioned works of literature. However, research into the effects of those two parameters on the friction stir welding material AA 5052-H32 is limited. The purpose of this study was to clearly determine the effect of the pin profile and preheating temperature on the friction stir welding material AA 5052-H32. Welding is conducted with three variations of pin profiles: cylindrical, two-flat-sided, and three-flat-sided, and welding is conducted in conditions without preheating and with preheating temperatures of 150 °C, 200 °C, 250 °C, 300 °C, respectively. Tensile strength, bending, and hardness tests were used to determine the strengths of the materials created under the abovementioned conditions, and the micro and macro structures will be observed. The aim of this research was to determine the effect of the pin profile and the preheating temperature on the behavior, mechanical properties, and microstructure of an FSW welding material in four different welding areas.
2. Research Configuration and Scheme
2.1. Fundamental Research Concept
The FSW tool is critical for the production of high-quality welds. The FSW tool is made up of two parts: the shoulder and the pin. The tool’s primary functions are heat generation and material movement. The size of the pin and the shoulder is significant in terms of heat generation, and the pin shape is crucial for stirring the material and for material flow [34,35,36,37].
In the present study, several steps, including material and instrument preparation, the welding process, physical weld testing, and macrostructure and microstructure observations were conducted in order to investigate the influence of pin profiles and preheating temperatures on the mechanical strength of the welded specimens. The physical tests comprised tensile, bending, and hardness tests. The parameters that were used during the welding process are described in Table 1.

Table 1.
Welding process parameters.
2.2. Tested Materials
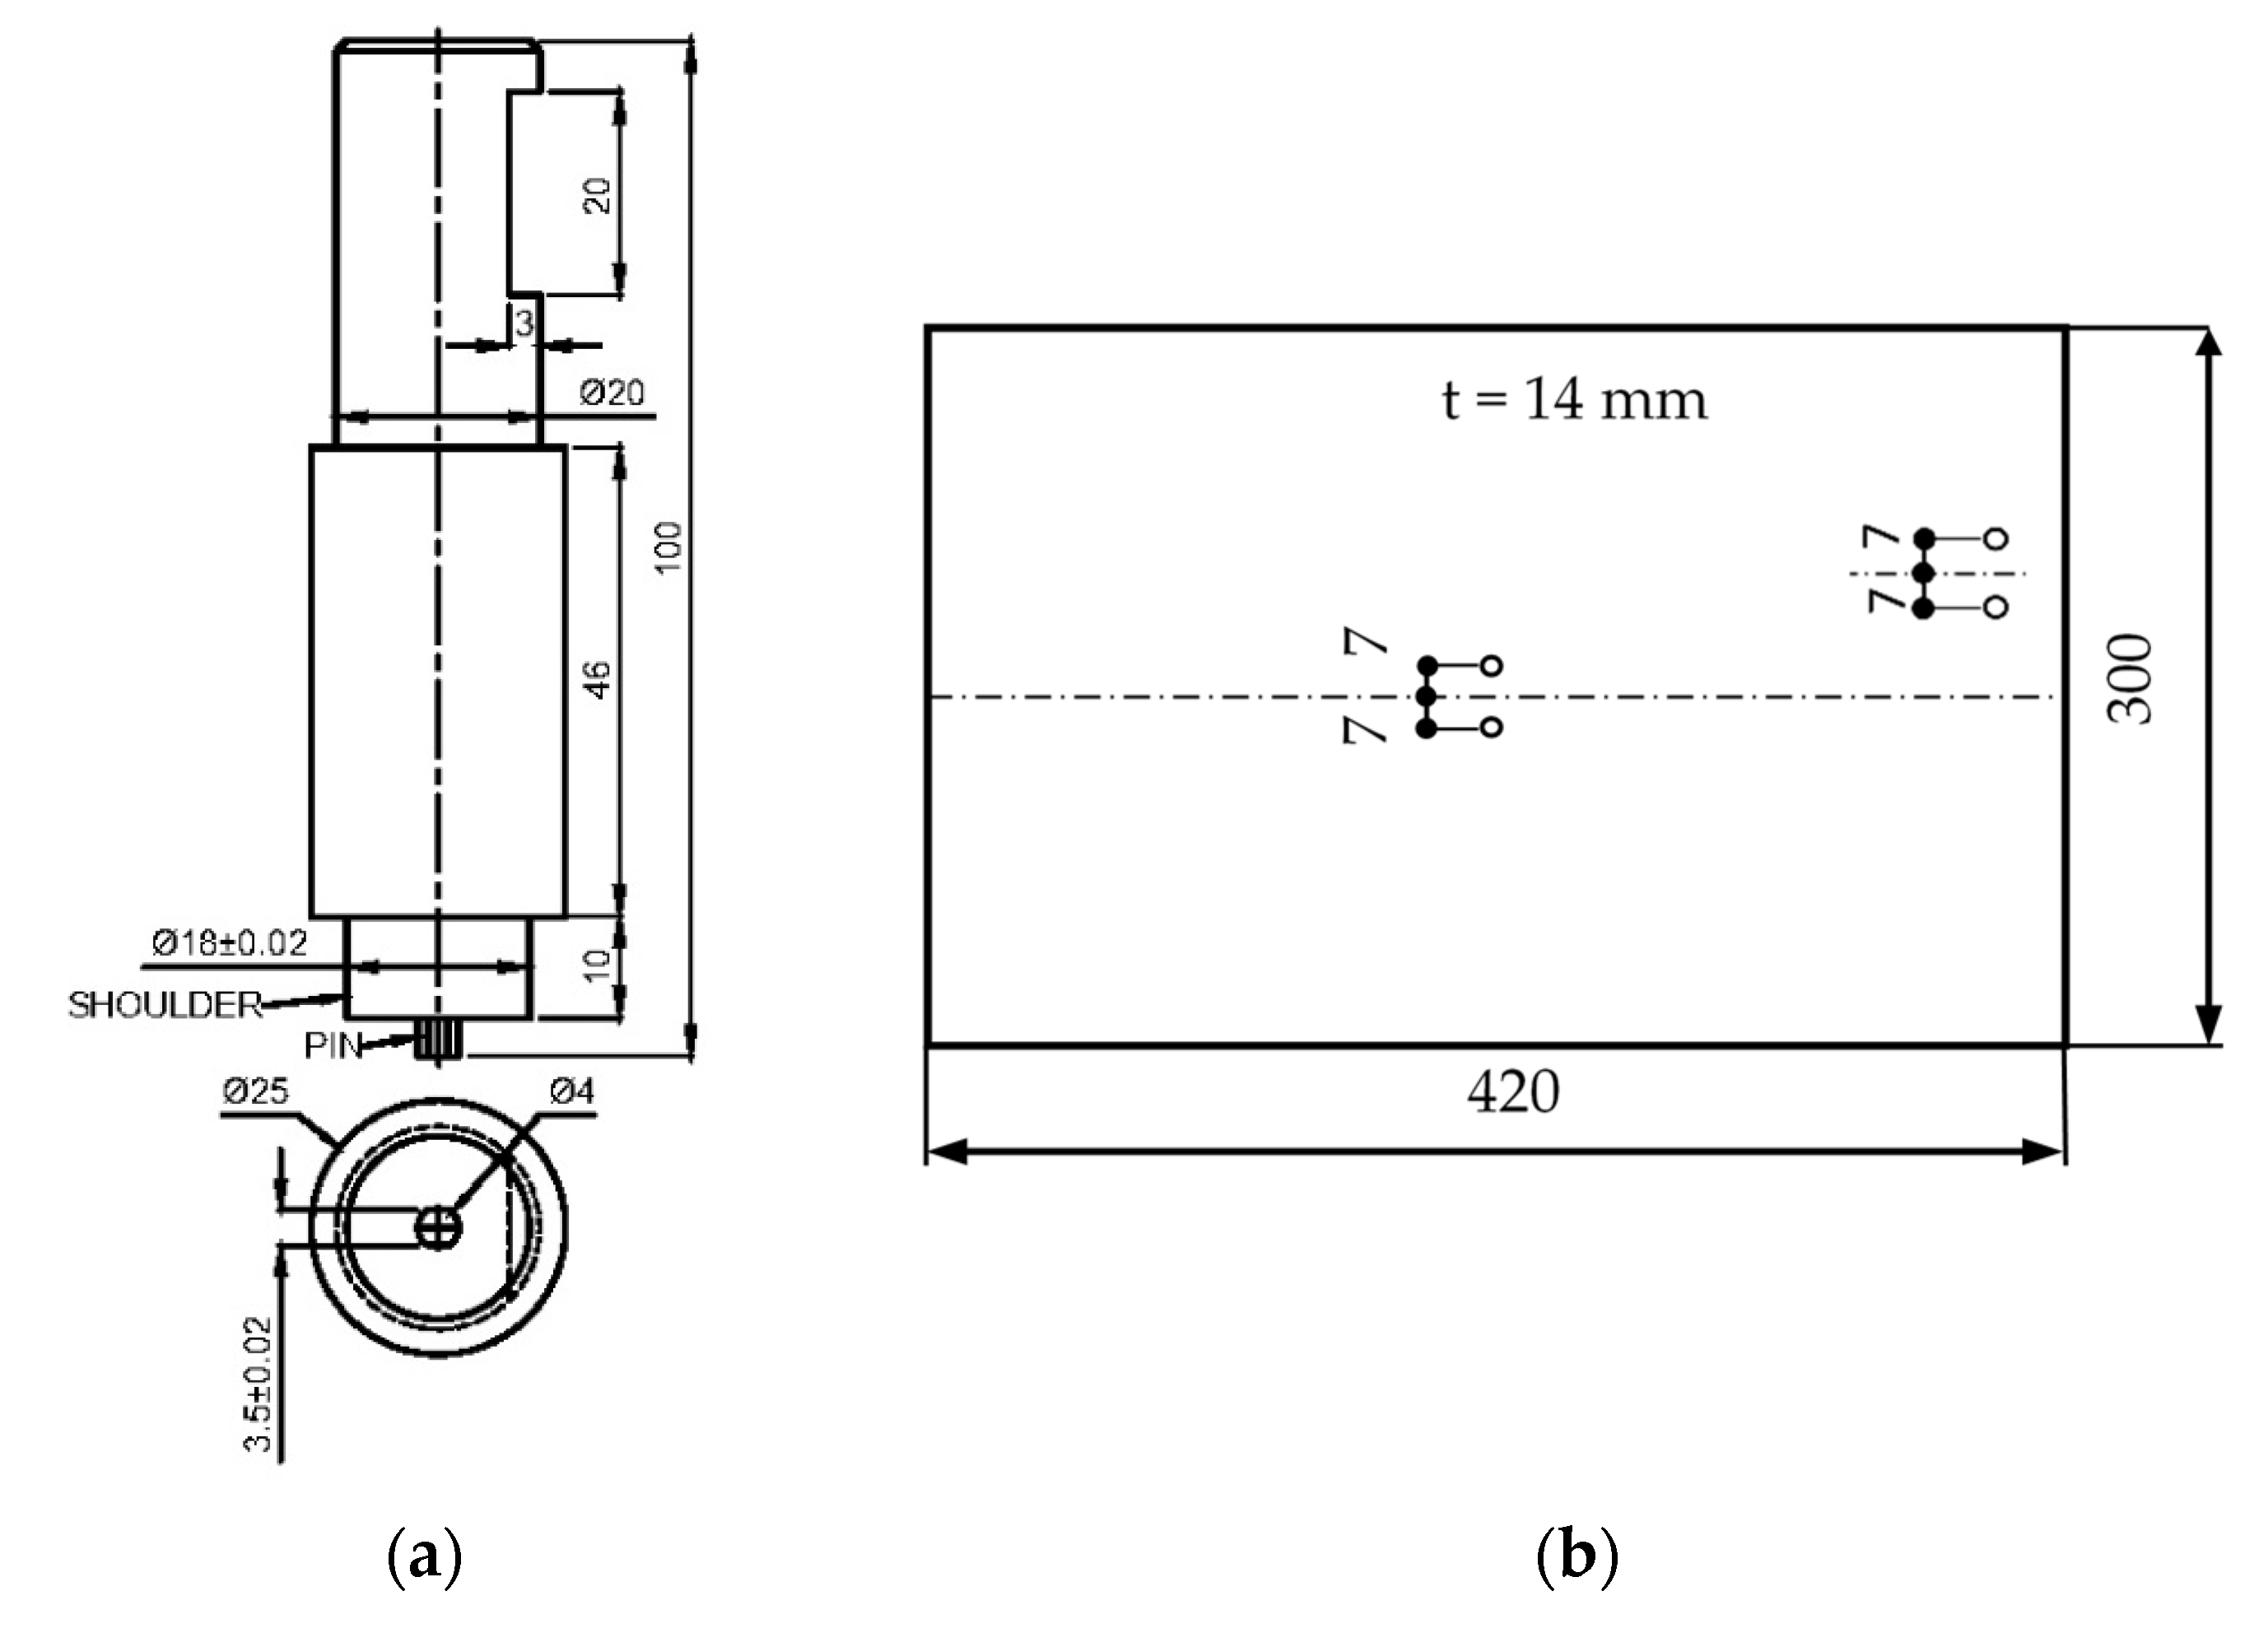
A base metal, tools, and a backing plate were used in this research. The base metal material comprised 24 5052-H32 aluminum alloy plates with a thickness of 4 mm with a length and width of 400 × 150 mm. The tool was made of Bohler K100 steel that had been thoroughly hardened to 59 HRc with a shoulder diameter of 18 mm. The test used three different tools with different pin profiles (cylindrical, two flat sides, and three flat sides), as shown in Figure 1a. The backing plate was the foundation, which was used to support the workpiece that was to be welded, and was made of mild steel (MS). The surface was flattened through the use of a grinding machine. Then two holes were made at the bottom and in the middle of the backing plate to create the thermocouple holder. The dimensions of the backing plate are shown in Figure 1b.

Figure 1.
(a) Cylindrical, two-flat-sided, and three-flat-sided tool geometry (sizes are in mm); (b) backing plate size and thermocouple hole position (sizes are in mm).
2.3. Research Instrument
In present experiment, equipment was required for specimen preparation, welding processes, and specimen testing. Specimen preparation and welding processes were carried out in the workshop at Polytechnic ATMI Surakarta, while specimen testing was carried out in the Sebelas Maret University (UNS) Laboratory. During specimen preparation, a YSD cutting machine HGO 31/6.35 (Huangshi Huaxin Machinery & Equipment, Huangshi, China), was used to cut the aluminum plate sheets into the base metal material. In addition, this machine was also used to cut the samples that were creating during the welding process into several specimens to be used in later tests. Moreover, the Mikron WF3 SA milling machine (Mikron, Agno, Switzerland), was used for the friction stir welding (FSW) process as well as for the finishing process of the piece that was cut from the cutting machine. The machine was also used to manufacture the test specimens. During the welding process, the temperature was measured using two Type K thermocouples connected to an ADVANTECH portable USB-4718 data acquisition module (Advantech, Taipei, Taiwan). The data that were obtained were then read using ADAMVIEW software (Advantech, Taipei, Taiwan), which had previously been installed on the laptop. A Compac dial indicator (Hexagon Metrology, Aarau, Switzerland) with a measuring range of 3 mm and an accuracy of 0.01 mm was also used in this study. Two types of dial indicators were used in this study; the dial indicators were used to measure the alignment and the alignment of the workpiece to the tool mounted on the machine spindle. A dial was mounted on the tool setter in order to adjust the distance of the tooltip to the workpiece surface. To measure the dimensions of the specimens, a dial caliper with an accuracy of 0.02 mm was used.
2.4. Welding Preparation and Process
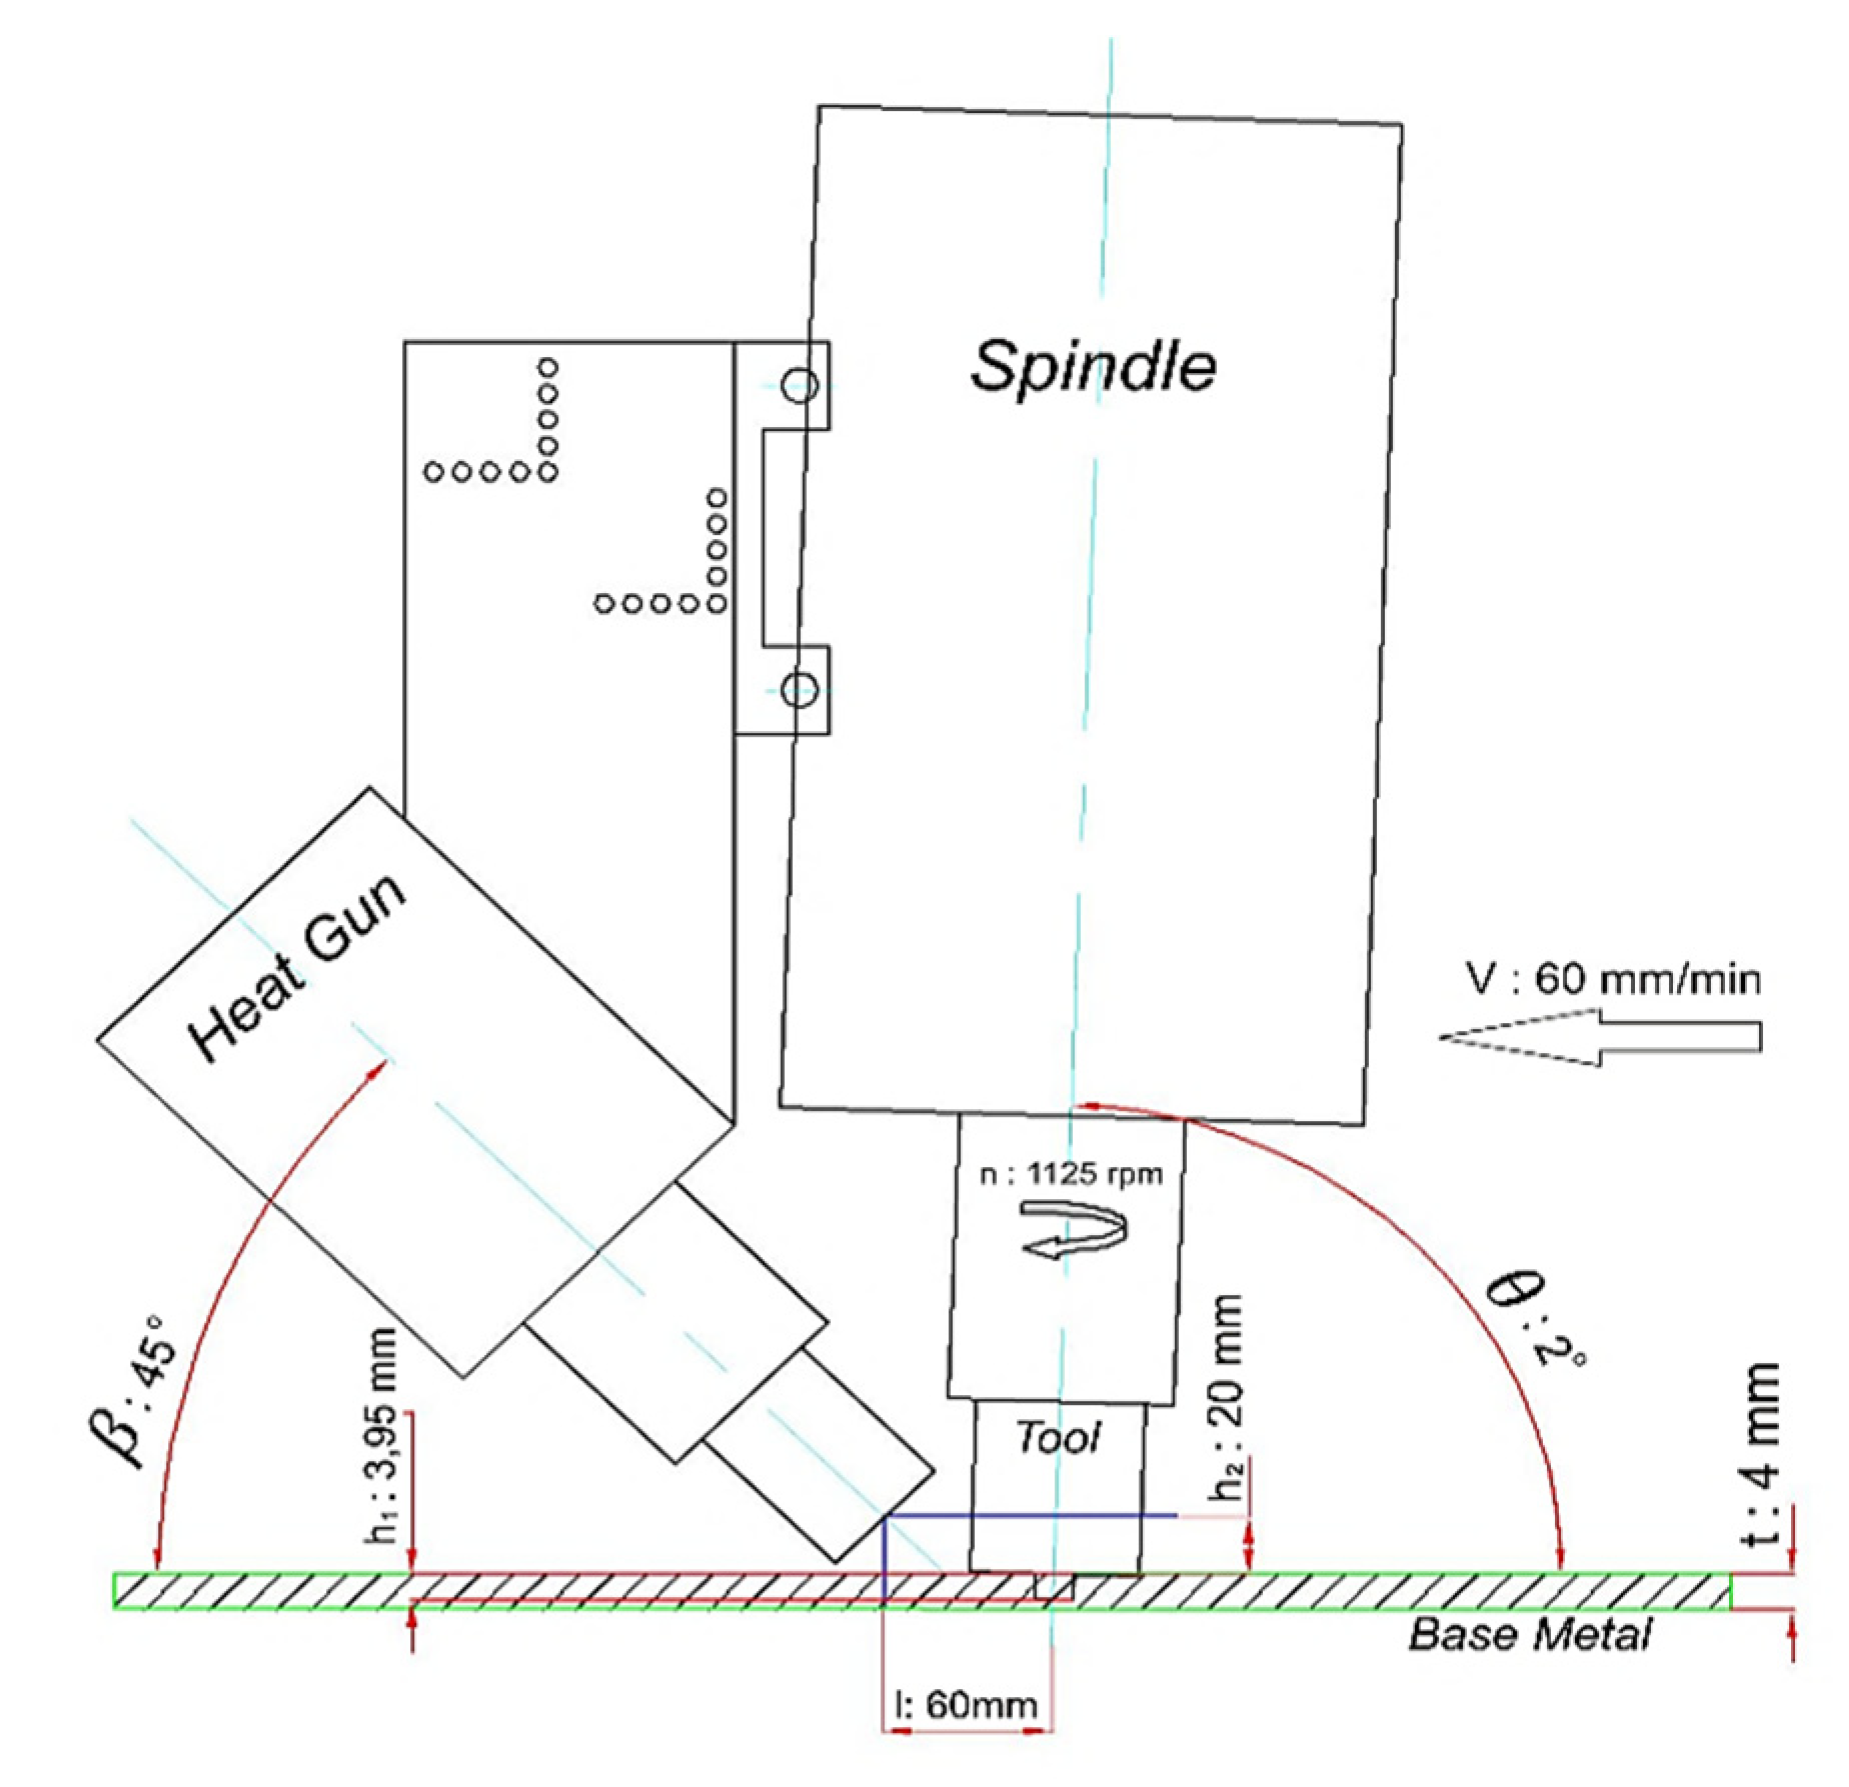
During the welding preparation stage, the first steps were conducted by installing the thermocouple on the backing plate and by setting the temperature measuring device. The backing plate was installed on the milling machine table. The next step involved the installation of the base metal above the back-side plate and clamping in order to ensure that it remained fixed to the plats. The position of the plate was adjusted using a dial indicator. Then, the tool, a Bosch heat gun CHG 630 DCE (Robert Bosch GmbH, Gerlingen, Germany), was installed, and the machine parameter settings are schematically shown in Figure 2. The tool was adjusted so that it was right on the welding line (joint line).
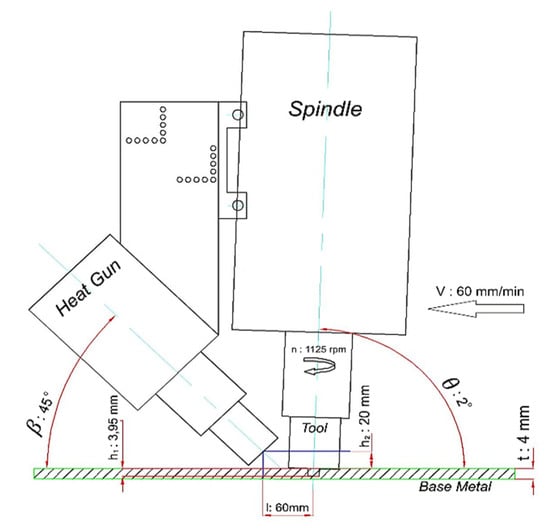
Figure 2.
Welding process parameters.
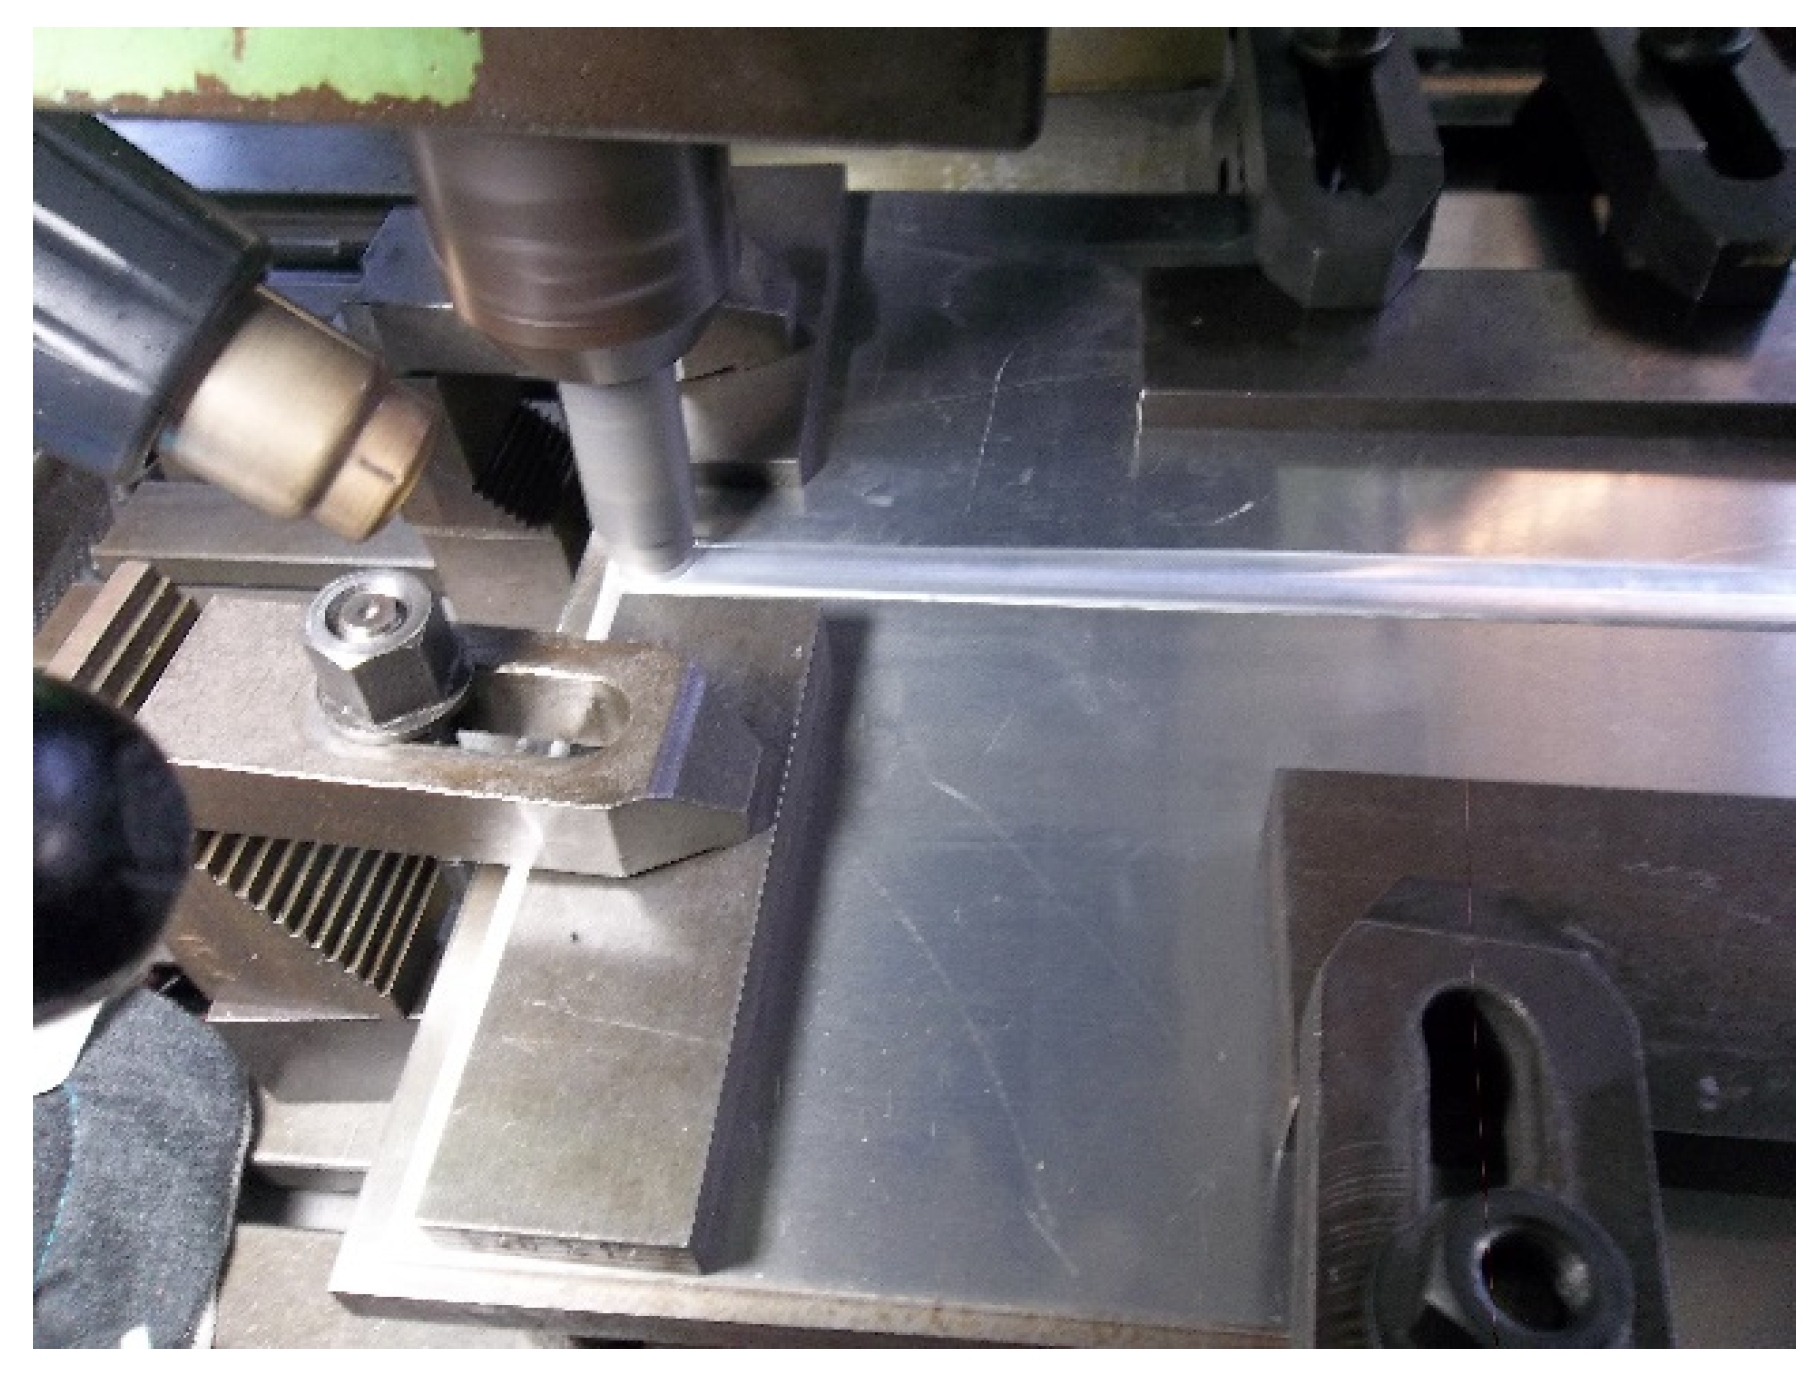
During the welding process, the tool had a welding angle of 2° and rotates at the initial position of the joint line. The machine table is moved up so that the tool pierces the aluminum plate to a depth (tool depth plunge) of 3.95 mm. The heat gun is turned on and set to an initial temperature of 150 °C. The tool inside the workpiece is left alone until the workpiece temperature reaches 150 °C, which can be determined on the temperature gauge. This ensures that the workpiece is soft due to the heat that is generated by the heat gun and to the friction between the pin and shoulder and the workpiece surface. The welding process begins when the tool starts to move along the joint line at a welding speed of 60 mm/min. The friction stir welding process is depicted in Figure 3. When the welding process is complete, the tool is lifted while it is still rotating. After the tool is removed, an exit hole is formed in the workpiece. The welding process was carried out with the different types of pins (cylindrical, two-flat-sided, and three-flat-sided) and with the different preheat temperatures (150 °C, 200 °C, 250 °C, 300 °C).
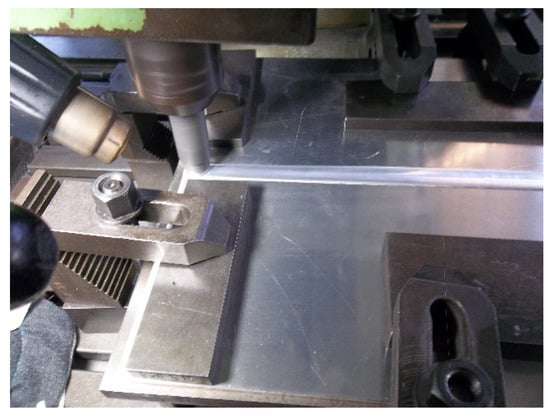
Figure 3.
The friction stir welding process.
As shown in Figure 4, the 400 × 300 mm base metal was cut into several parts based on the test specimen. The test specimens were collected according to the AWS D1.2 Standard structural welding code for aluminum. The specimen cutting layout is shown in Figure 4.
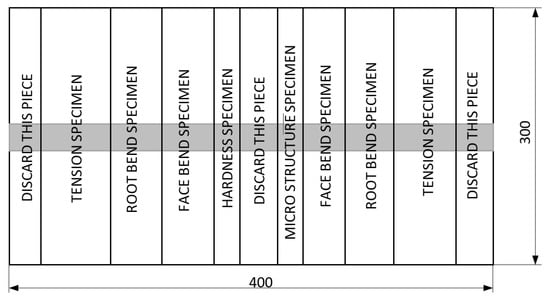
Figure 4.
Test specimen cutting layout. Sizes are in mm.
2.5. Welding Specimen Testing
Several tests, including tests to determine tensile strength, bending, and hardness, were conducted. A hardness test was conducted to determine the hardness of the specimens that were produced from the FSW welding process. The Micro Vickers Machine HIGHWOOD HWMMT-X7 (TTS Unlimited Inc., Osaka, Japan), was used for the hardness tests. For the hardness measurements, the applied load was 200 gf, with a loading time of 10 s. To measure the indentation distance, each specimen was placed at 1 mm away from each other, with the centre point of the specimen being used as a reference, resulting in a total of 29 test points. A bending test was carried out to determine the bending strength of the welding results using a Universal Testing Machine type SHT 4106 (MTS/LABSANS, Guangdong, China), with a rated load of 1000 kN at the Mechanical Engineering Materials Laboratory, UNS Surakarta. For the bending test, two specimens were taken from each of the samples that had been obtained through the FSW, ensuring that each of the different conditions were represented, according to the AWS D1.2 standard. The bending test was carried out by placing the specimen on the two supports of the workpiece. The workpiece supports were cylindrical, with a diameter of 30 mm and an inner distance of 38 mm between the two supports, while the pressure roller had a diameter of 27 mm. The specimen was carefully placed so that it was on the joint line and centered between the two supports. The dimensions of the bending test specimens are depicted in Figure 5.

Figure 5.
Dimensions of bending test specimens. Sizes are in mm.
Additionally, a tensile test was carried out to determine the tensile strength of the welding results using a Universal Testing Machine type SHT 4106 (MTS/LABSANS, Guangdong, China). The specimen was placed in the workpiece clamp, and careful attention was given to ensuring that the weld joint line was precisely between the two clamps. Figure 6 shows the dimensions of the tensile test specimens.

Figure 6.
Dimensions of the tensile test specimens. Sizes are in mm.
2.6. Macrostructure and Microstructure Observations
The microstructure was observed to determine the microstructure of the welded joint. This observation was carried out at the Mechanical Engineering Materials Laboratory of UNS Surakarta. In order to facilitate the observation process, the specimens were made to be 30 × 10 mm in size. The microstructures of the FSW-welded joints were observed under a microscope. Observations were made by first polishing the specimen and by then etching the specimen with a solution that consisted of 50 mL Poulton’s reagent (2 mL HF, 3 mL HCl, 20 mL HNO3, and 175 mL water), 50 mL HNO3, and 40 mL of a mixture containing 3 g chromic acid per 10 mL water. The micro photo process was then conducted for each specimen, which allowed the HAZ and weld nuggets to be observed at 400 times dilatation.
3. Welding Data Properties
3.1. Properties of Base Material
To obtain the material properties of the base material AA 5052-H32, several tests including tensile, face bending, root bending, and hardness tests, were conducted. Table 2 shows the mechanical properties of base metal.

Table 2.
Properties of base metal AA 5052–H32.
3.2. Experimental Data of Pin Profiles without Preheating
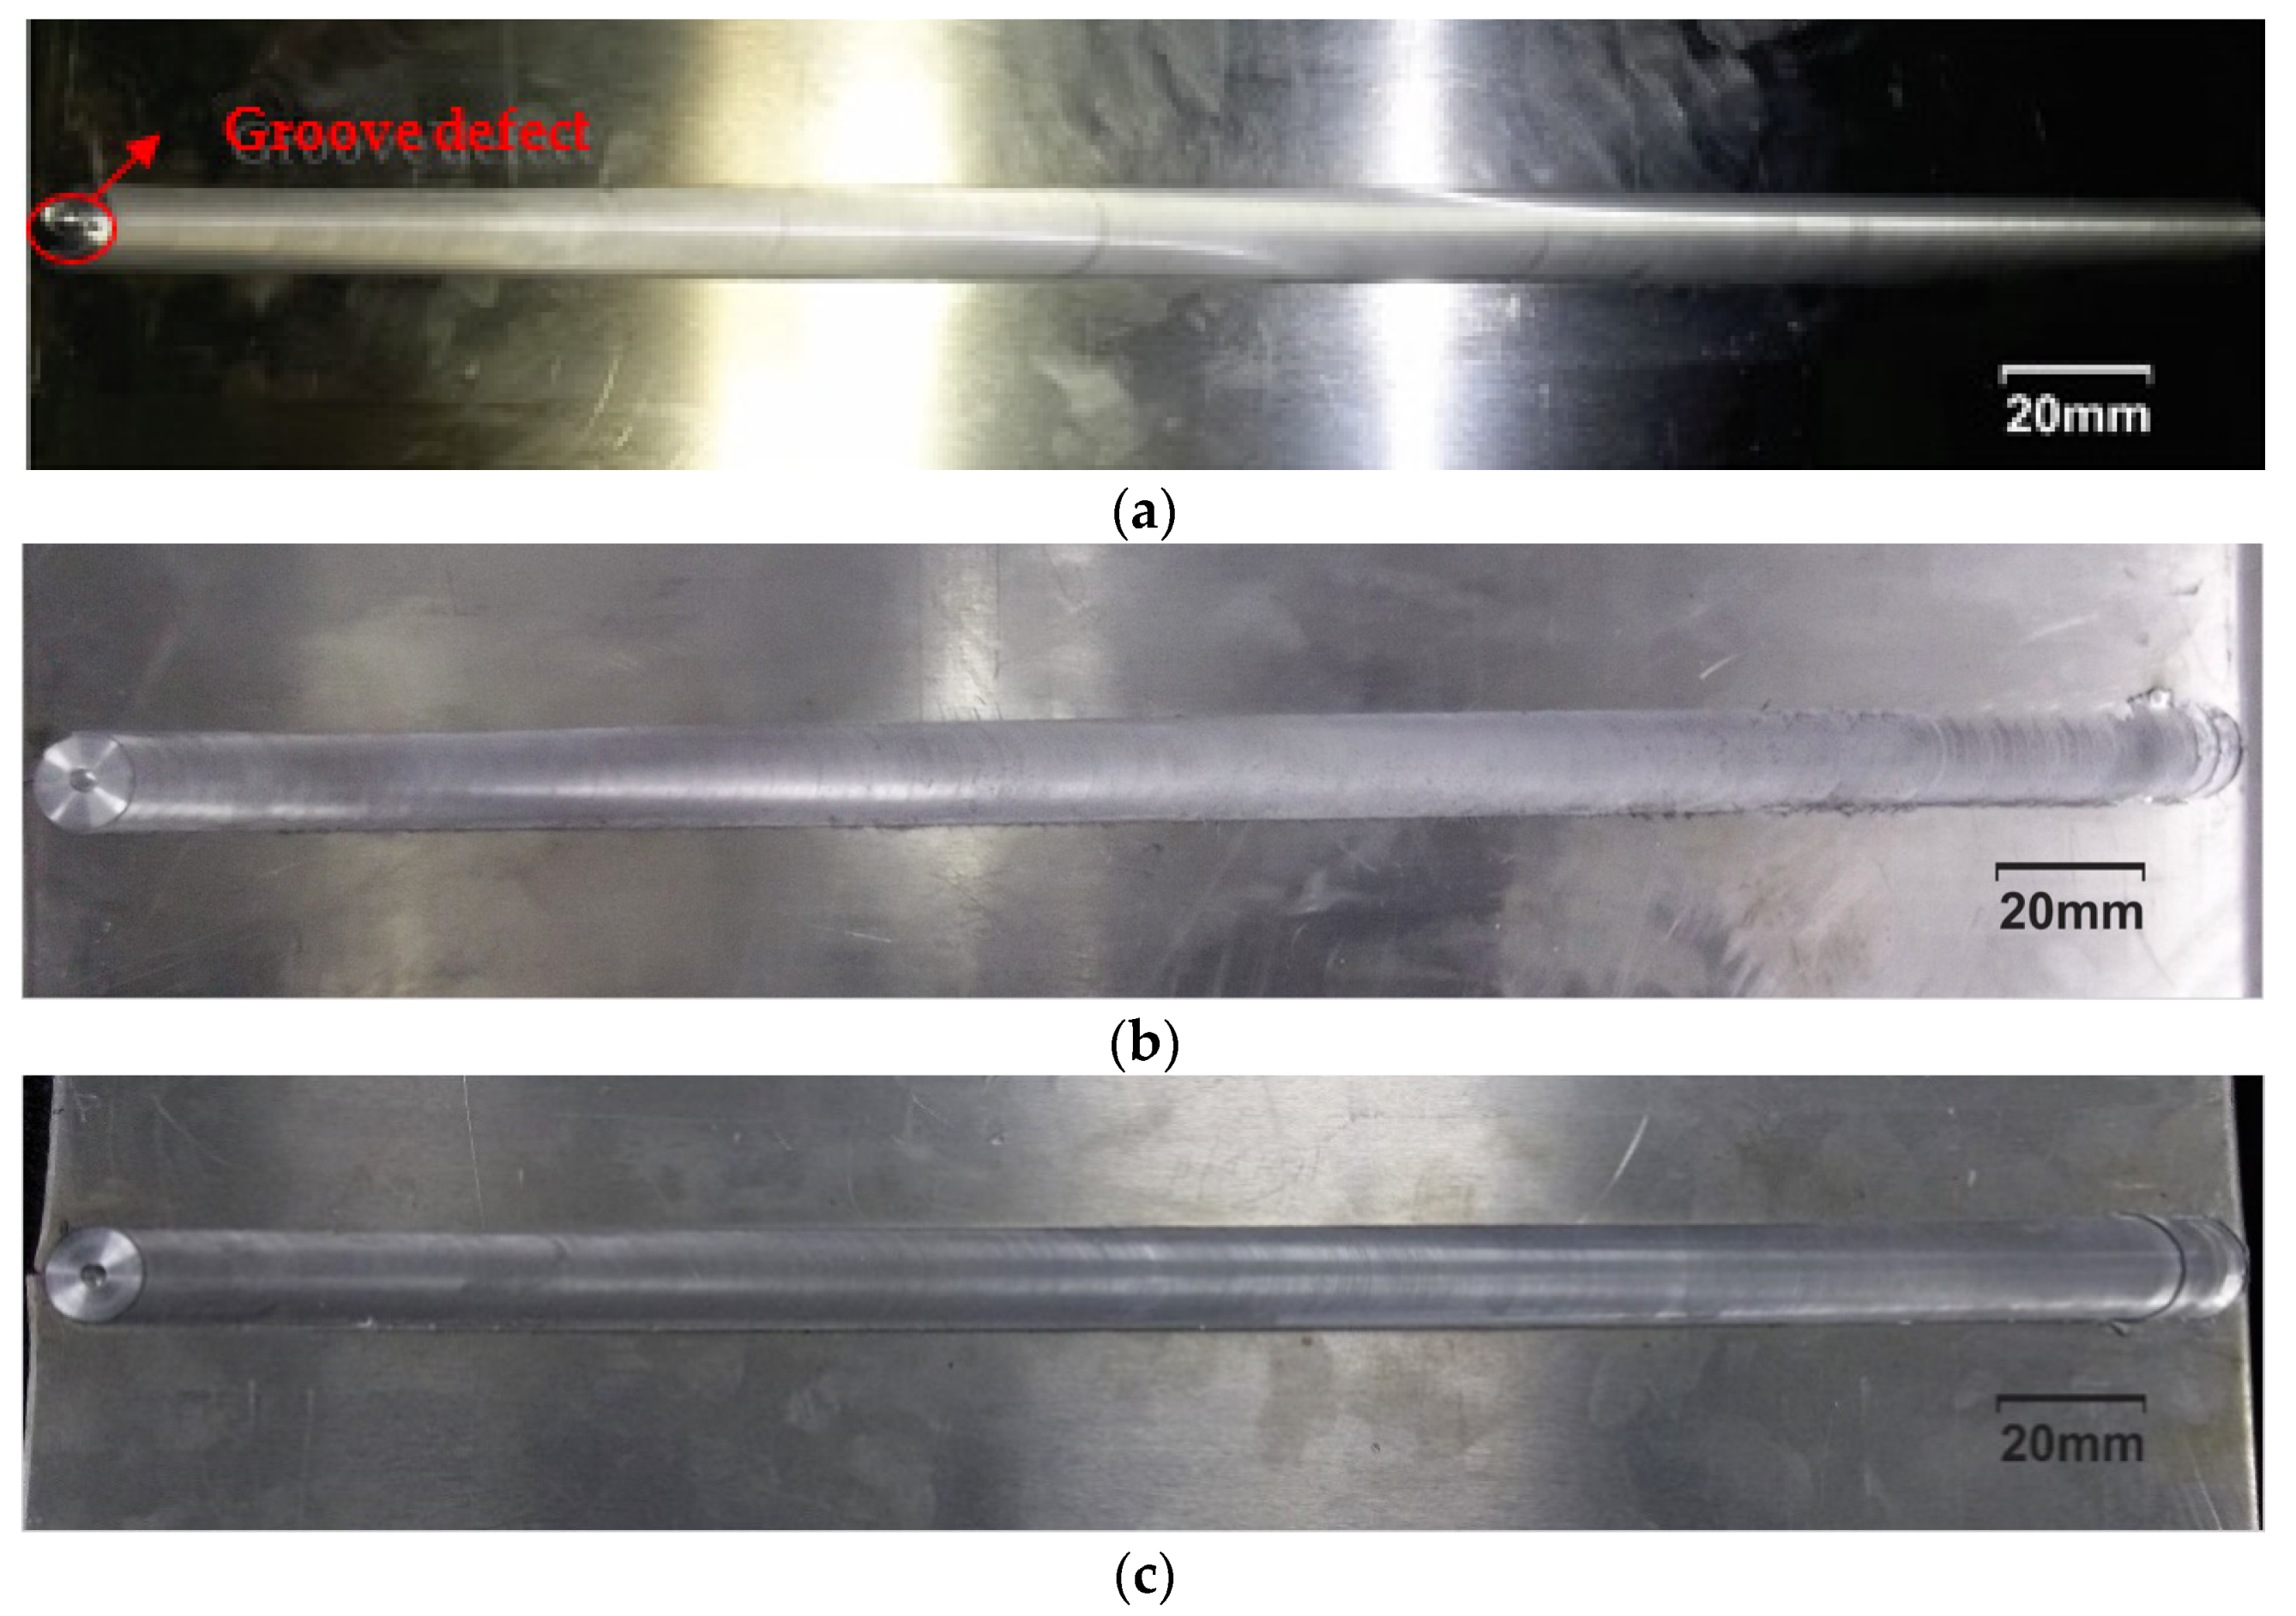
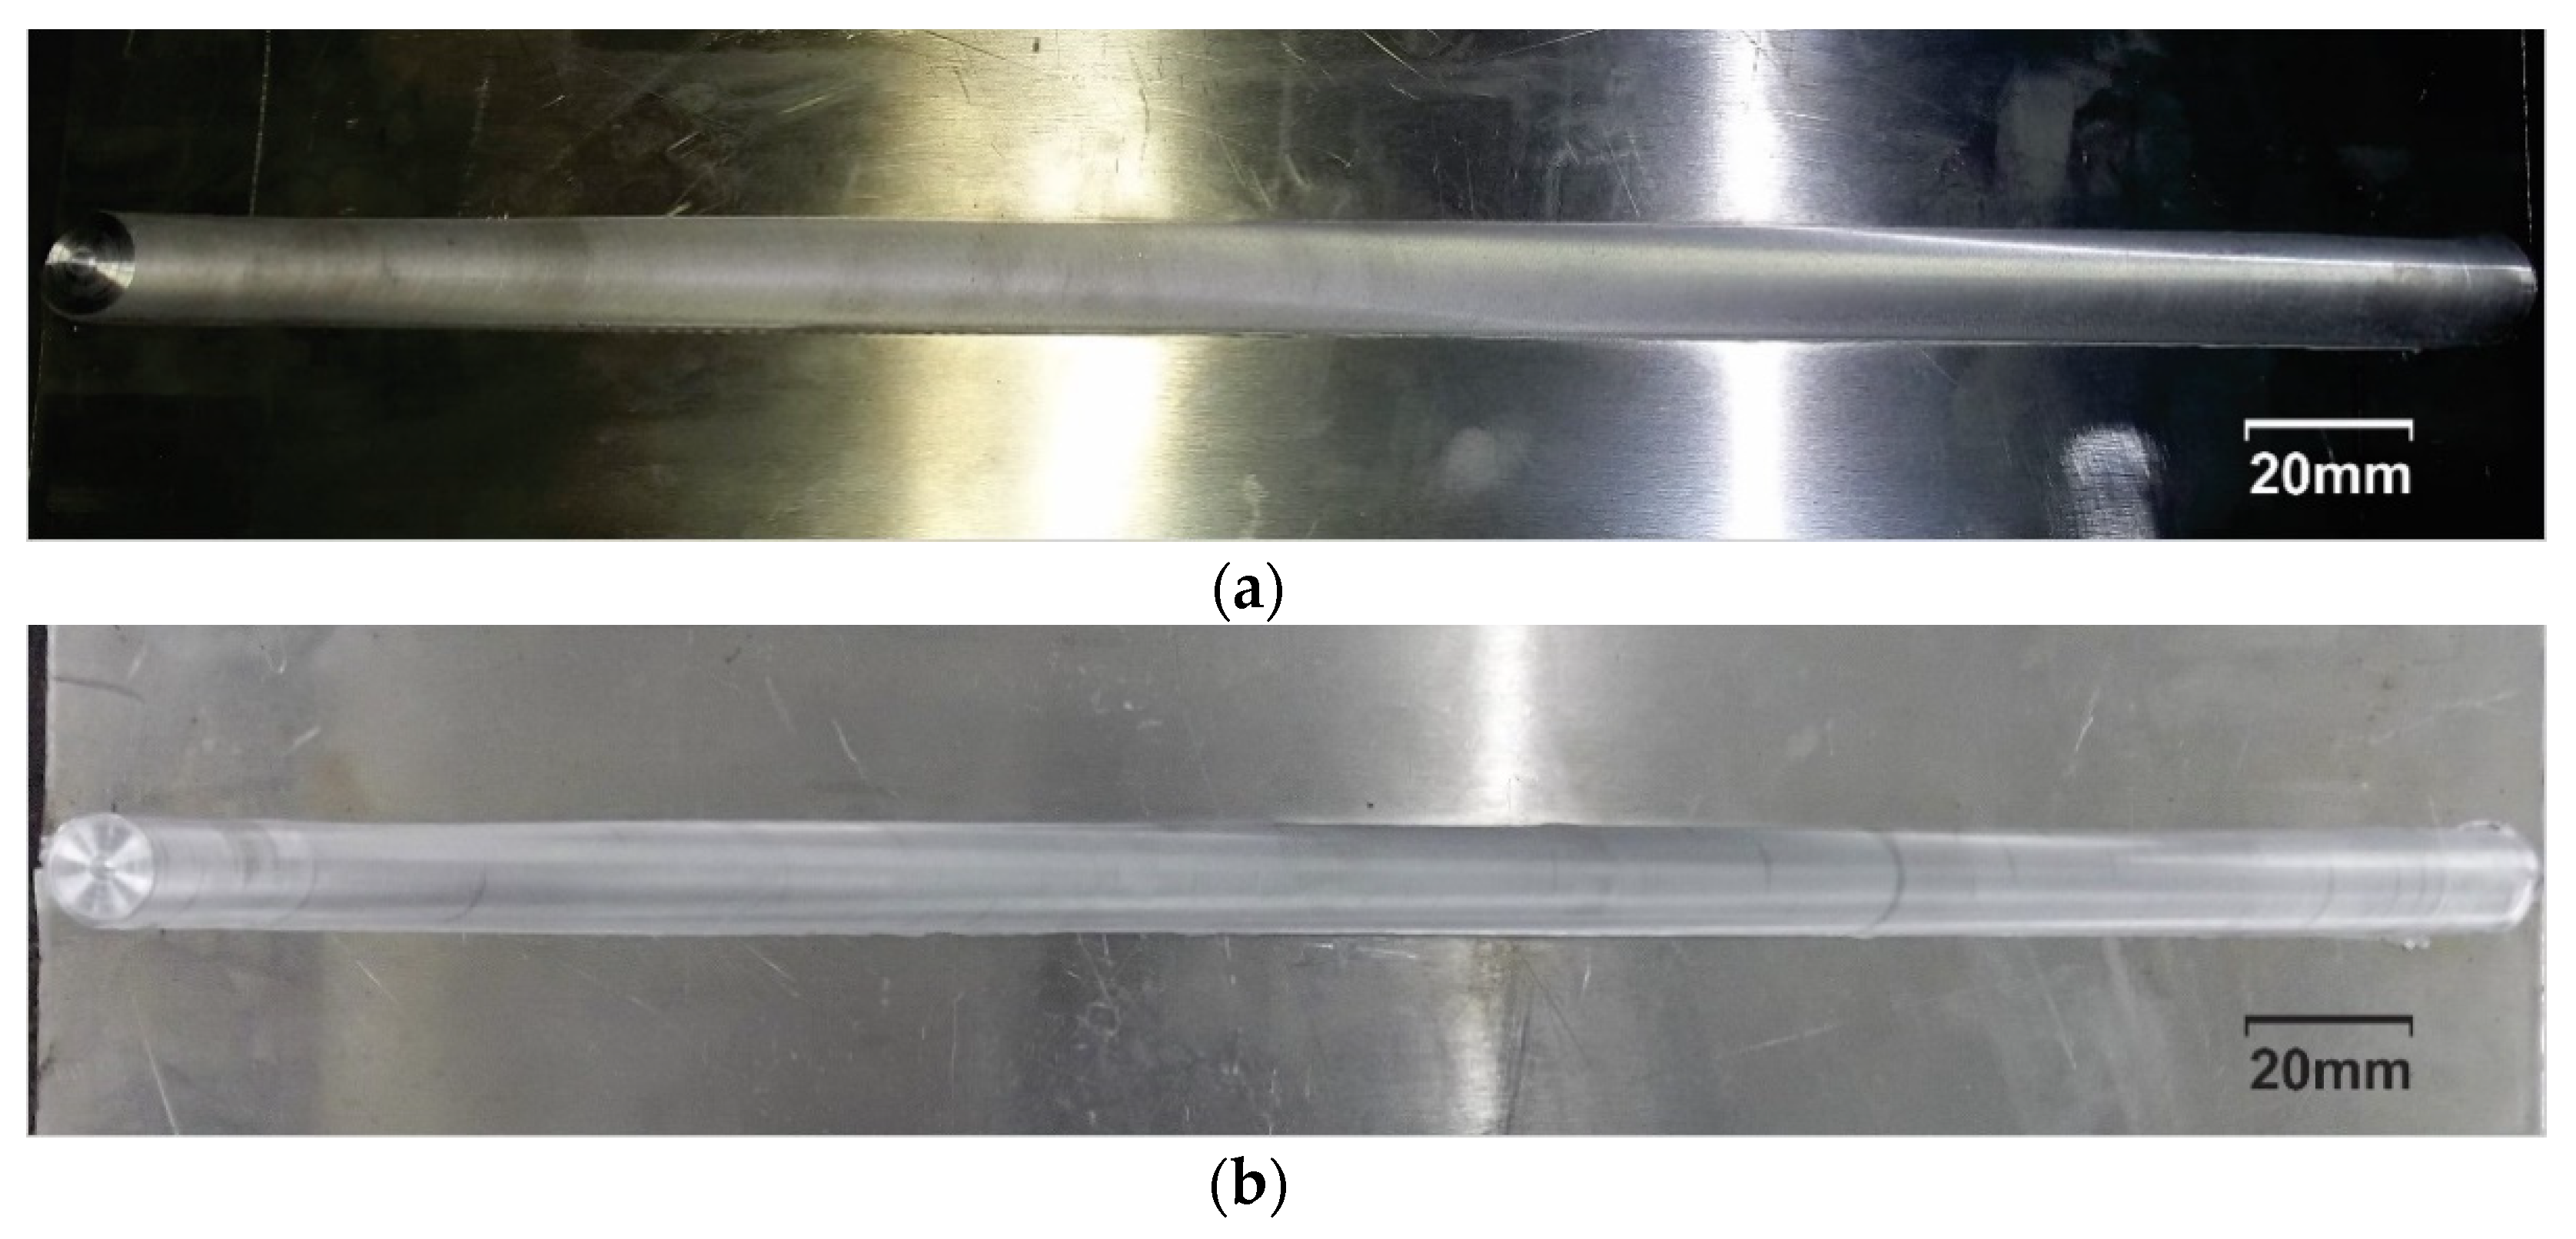
Welding was conducted with three-pin-profile variations, including cylindrical, two-flat-sided, and three-flat-sided variations, without preheating, with a rotational speed of 1125 rpm, a welding speed of 30 mm/min, a plunge depth of 3.95 mm, and a tilt angle of 2°. The welding process without preheating produced the welded joints depicted in Figure 7. It can be seen that a groove defect can be found on the exit hole of the cylindrical pin profile variation when there is no pre-heating.
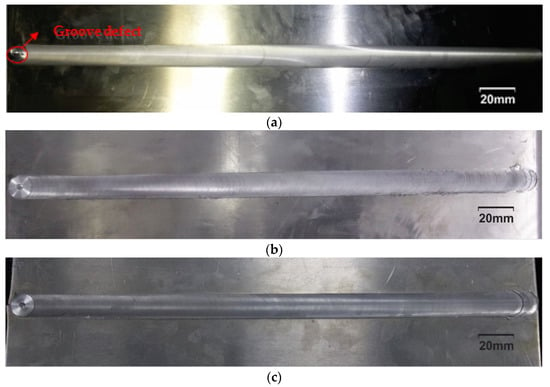
Figure 7.
Welded joints resulting from the pin profile variations. (a) Cylindrical, (b) 2 flat sides, (c) 3 flat sides.
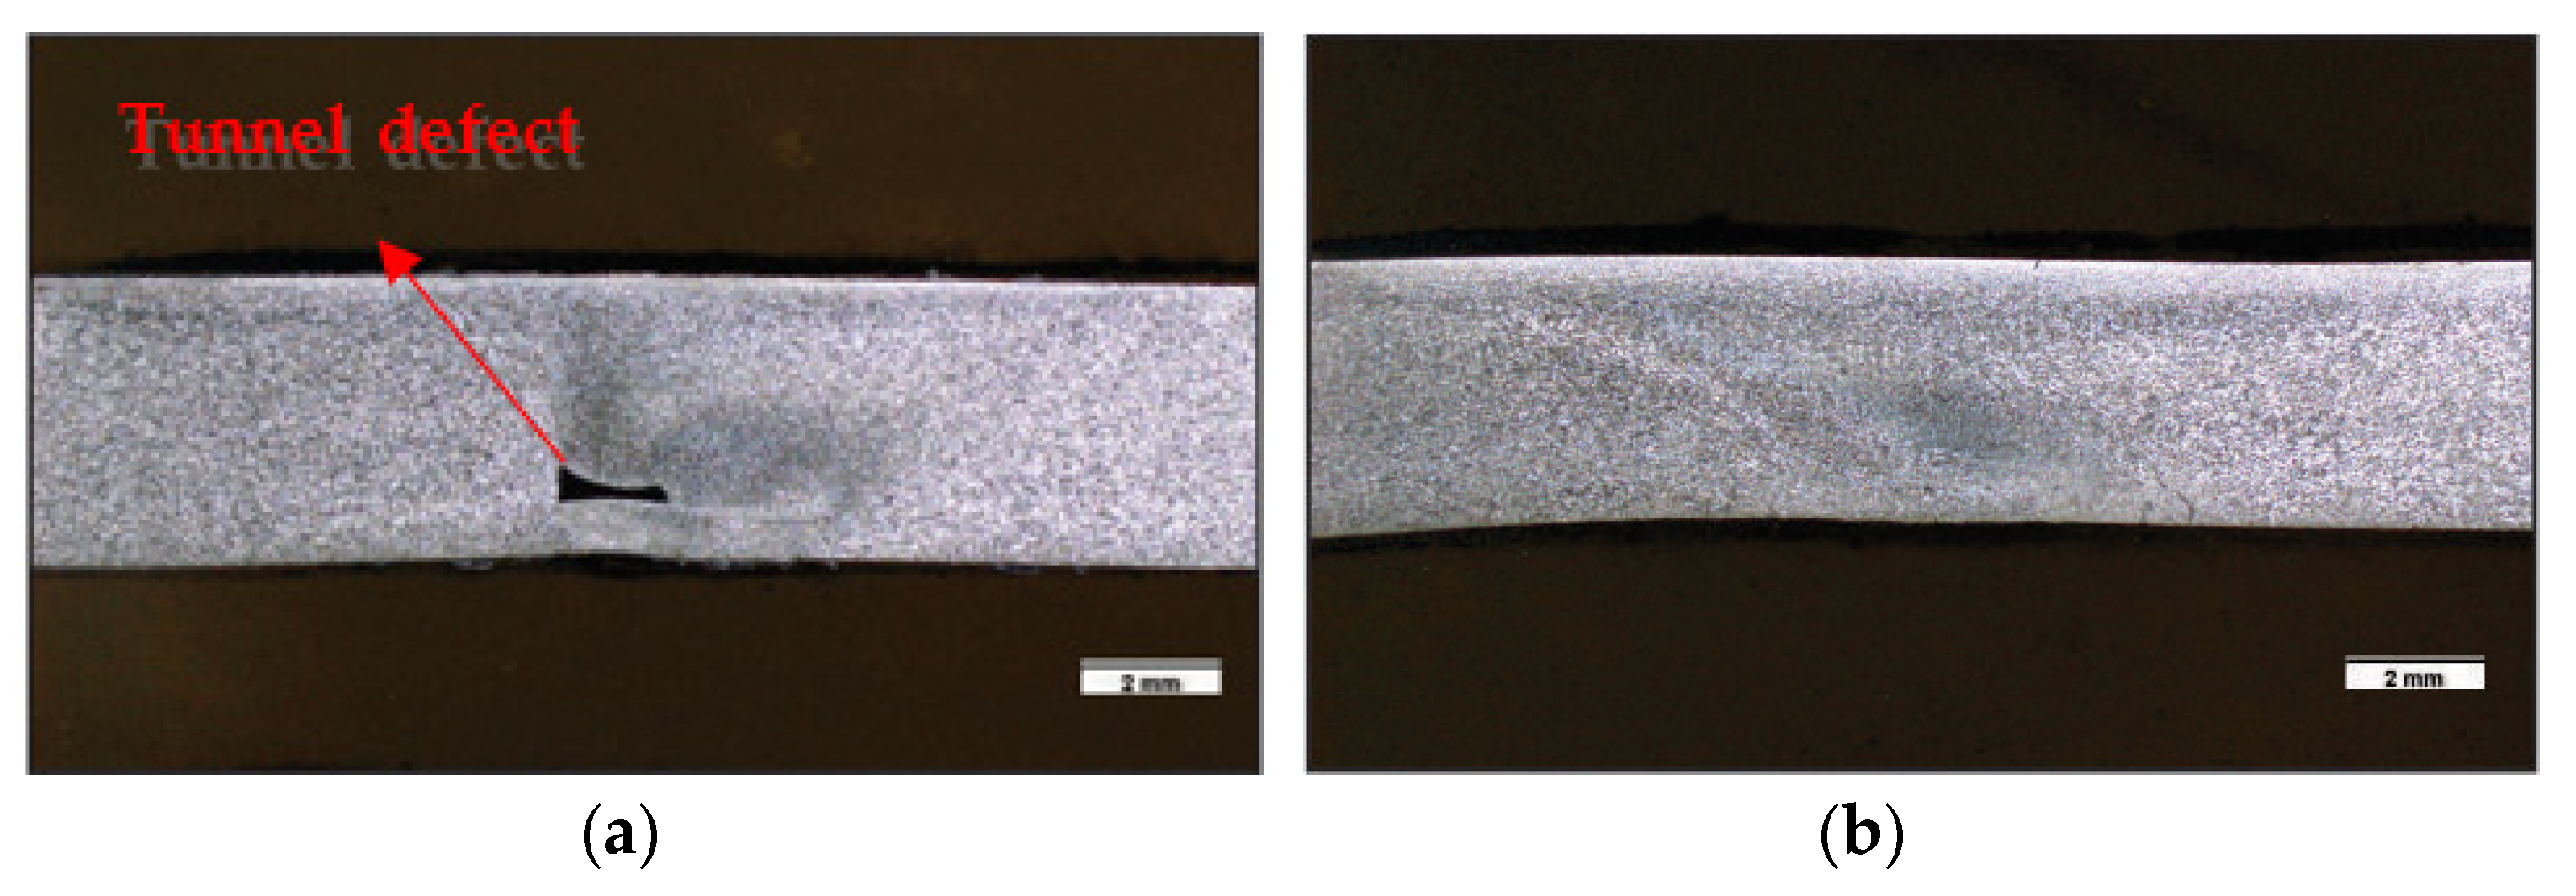
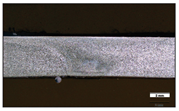
Figure 8 shows macro photos demonstrating the specimens that were obtained without preheating and using the cylindrical, two-flat-sided, and three-flat-sided variations, respectively. The macro photos of the cylindrical pin profile and the samples that were obtained using the pin with two flat sides show welding defects due to incomplete stirring. No defects can be observed in the macro photo of the specimens that were created using the three-flat-sided variation.

Figure 8.
Macro photo data of FSW-welded joints created without preheating among the pin profile variations (scale in (a–c) is 2 mm): (a) cylindrical, (b) two-flat-sided, (c) three-flat-sided.
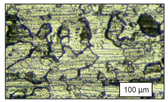
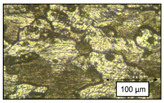
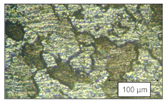
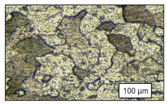
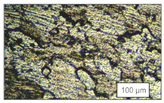
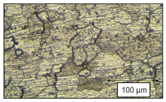
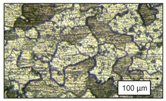
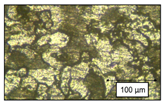
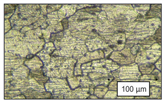
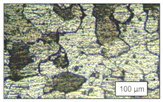
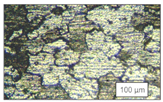
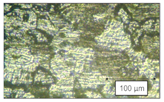
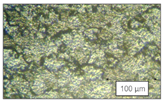
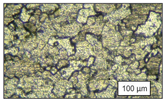
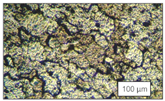
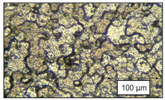
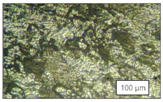
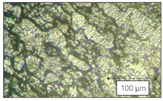
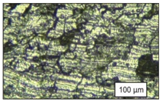
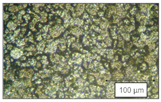
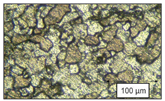
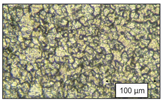
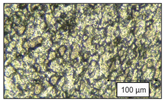
Table 3 shows photos of the microstructure in five different regions of the samples that were obtained without preheating and using the three different pin profile variations. When observing the microstructure, it can be determined that the weld nugget area became deformed due to the pin mortar and that the grain size became finer and smaller. The TMAZ area was affected by the pin mixing, and the grain size became much larger in size, while in the HAZ area, which tends to be affected by high temperatures, it can be observed that the grain size became larger as a result of the higher temperature.

Table 3.
Micro photo data of FSW without preheating between cylindrical, two-flat-sided, and three-flat-sided variations (view scale is 100 μm).
Table 4 shows the results of the tensile strength, face bending, root bending, and average hardness tests on the three variations of the pin profile without preheating. The highest tensile strength results were determined for the three-flat-sided pin profile, and the lowest tensile strength results were determined for the cylindrical pin profile. These results are directly proportional to those that were obtained in other studies for face bending, root bending, and hardness.

Table 4.
Data properties of the pin profile without preheating between cylindrical, two-flat-sided, and three-flat-sided variations.
3.3. Experimental Data of Cylindrical Pin Profiles with Different Preheat Temperature
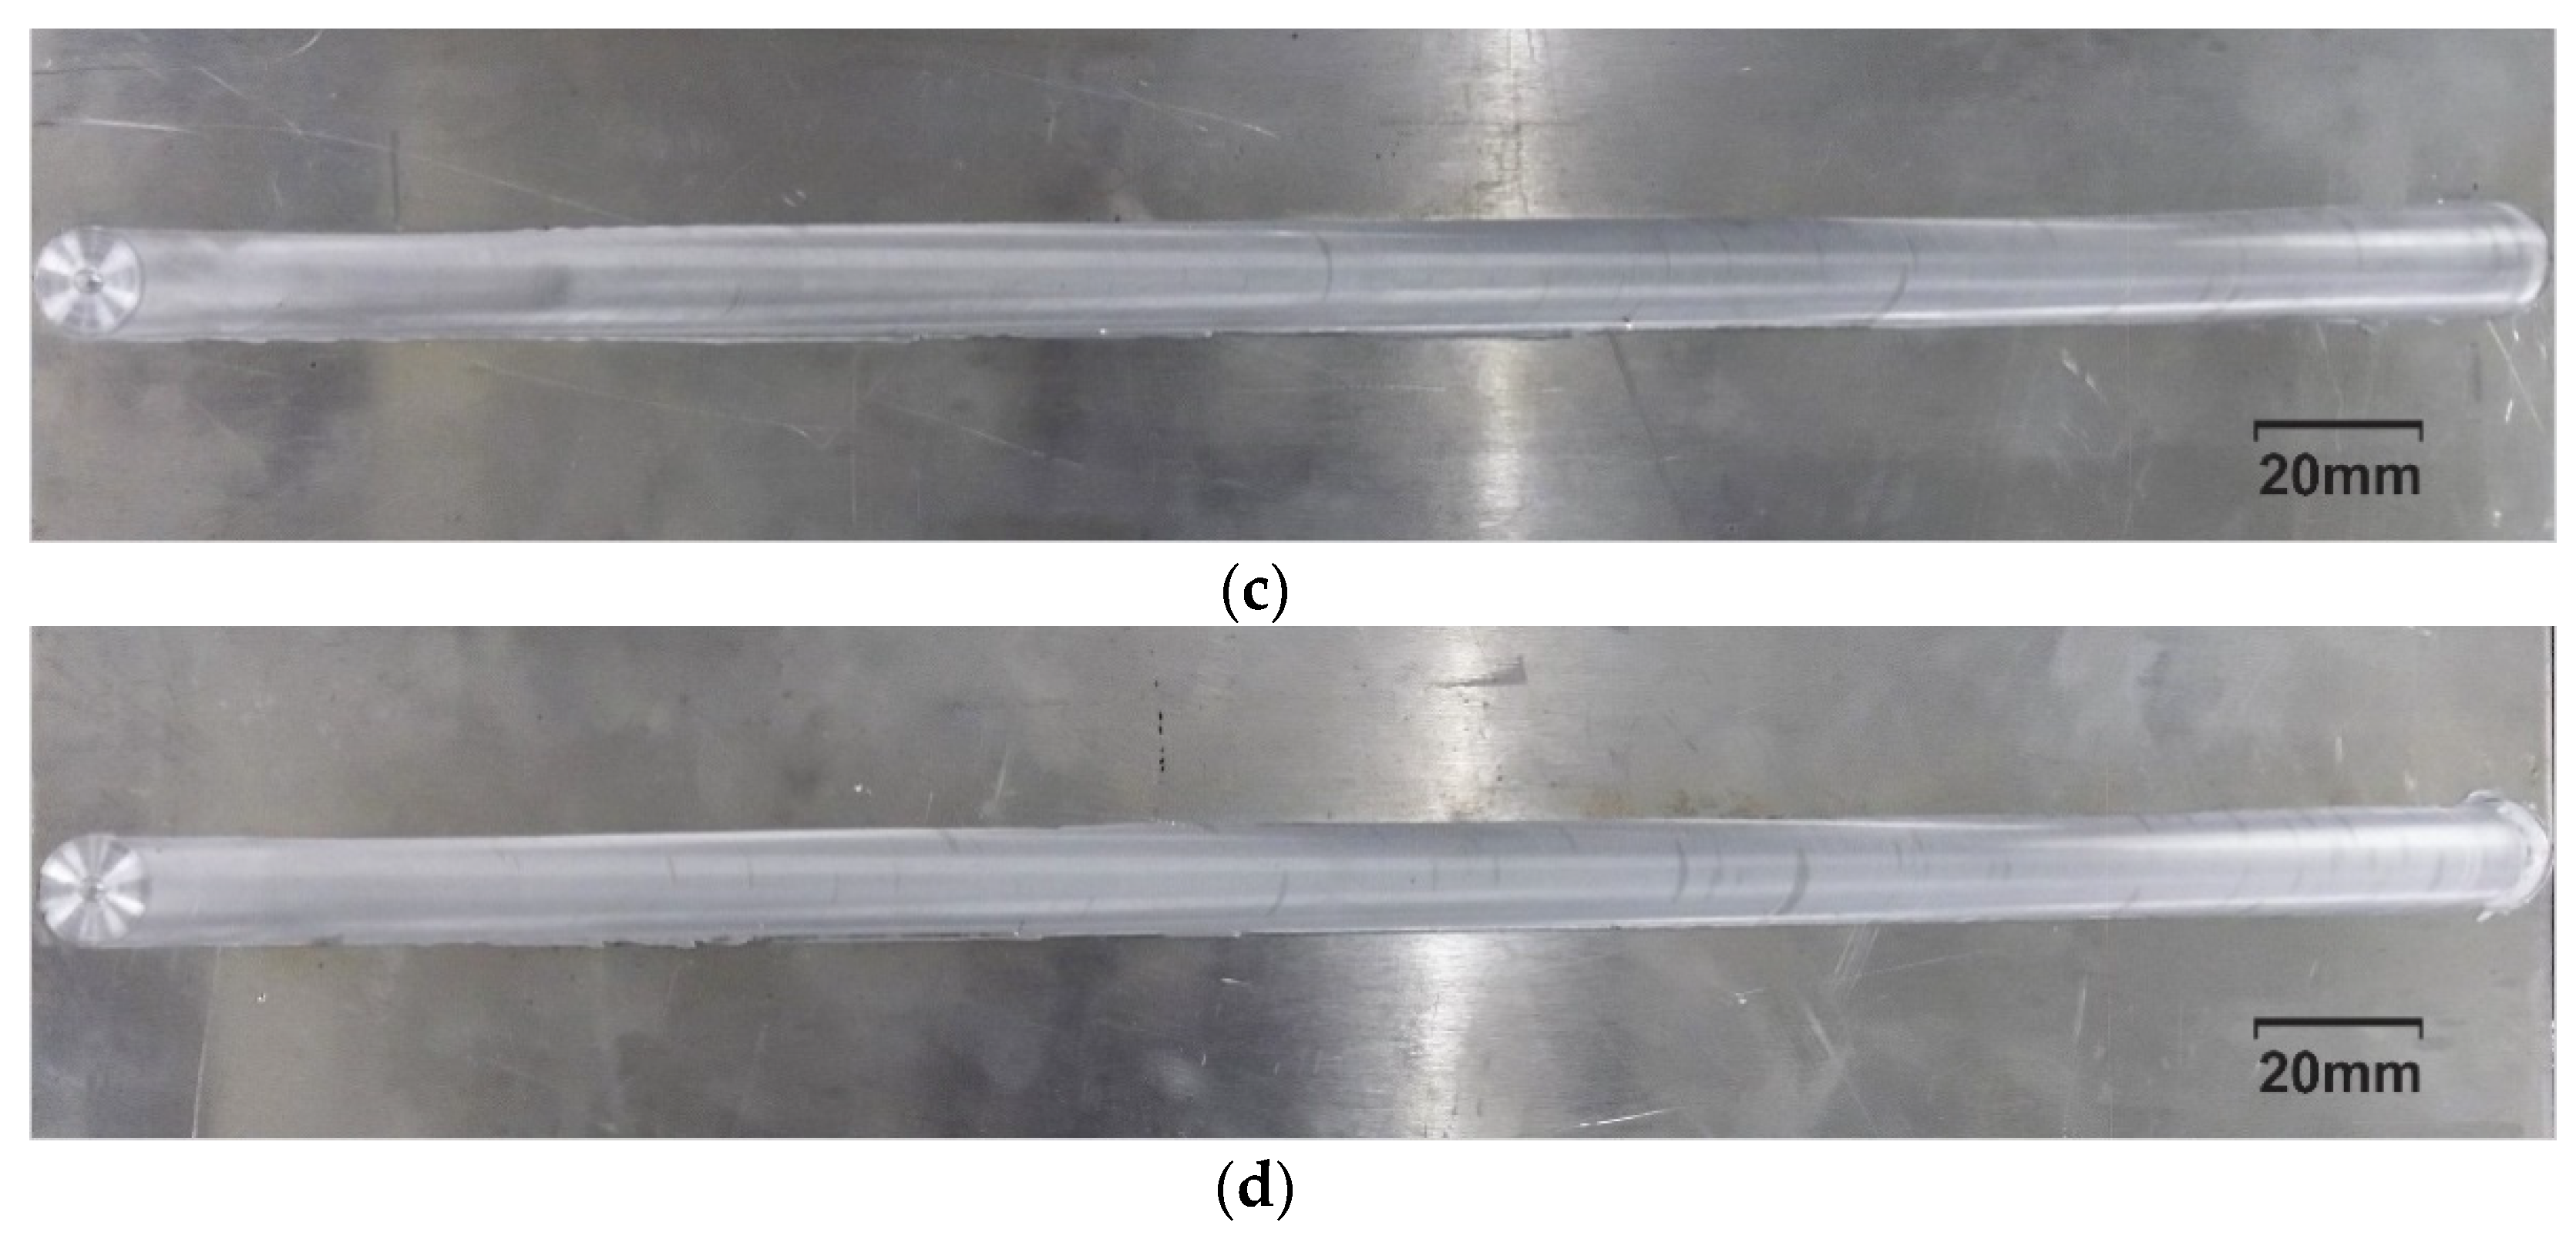
Welding was conducted on the cylindrical pin profiles at different preheat temperatures: 150 °C, 200 °C, 250 °C, and 300 °C, with several welding parameters, such as s rotational speed of 1125 rpm, a welding speed of 60 mm/min, a plunge depth of 3.95 mm, a tilt angle of 2°, a heater tilt angle of 45°, a heater and tool distance of 60 mm, and a heater height of 20 mm. The different temperatures resulted in the differences between the welded joints, as stated in Figure 9. The figure shows that welding using cylindrical pin profiles with varying preheating temperatures of 150 °C, 200 °C, 250 °C, and 300 °C results in a smoother surface roughness compared to the specimens that were achieved when using the same variation without preheating. There are no visible defects on the welding surface.

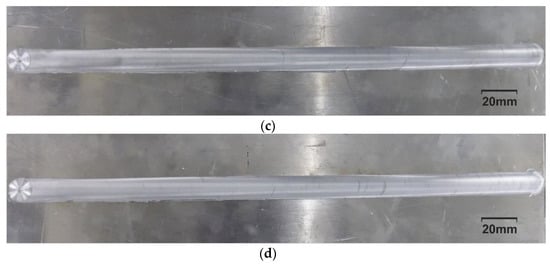
Figure 9.
Welded joints of cylindrical pin profiles with preheating temperatures of (a) 150 °C, (b) 200 °C, (c) 250 °C, and (d) 300 °C.
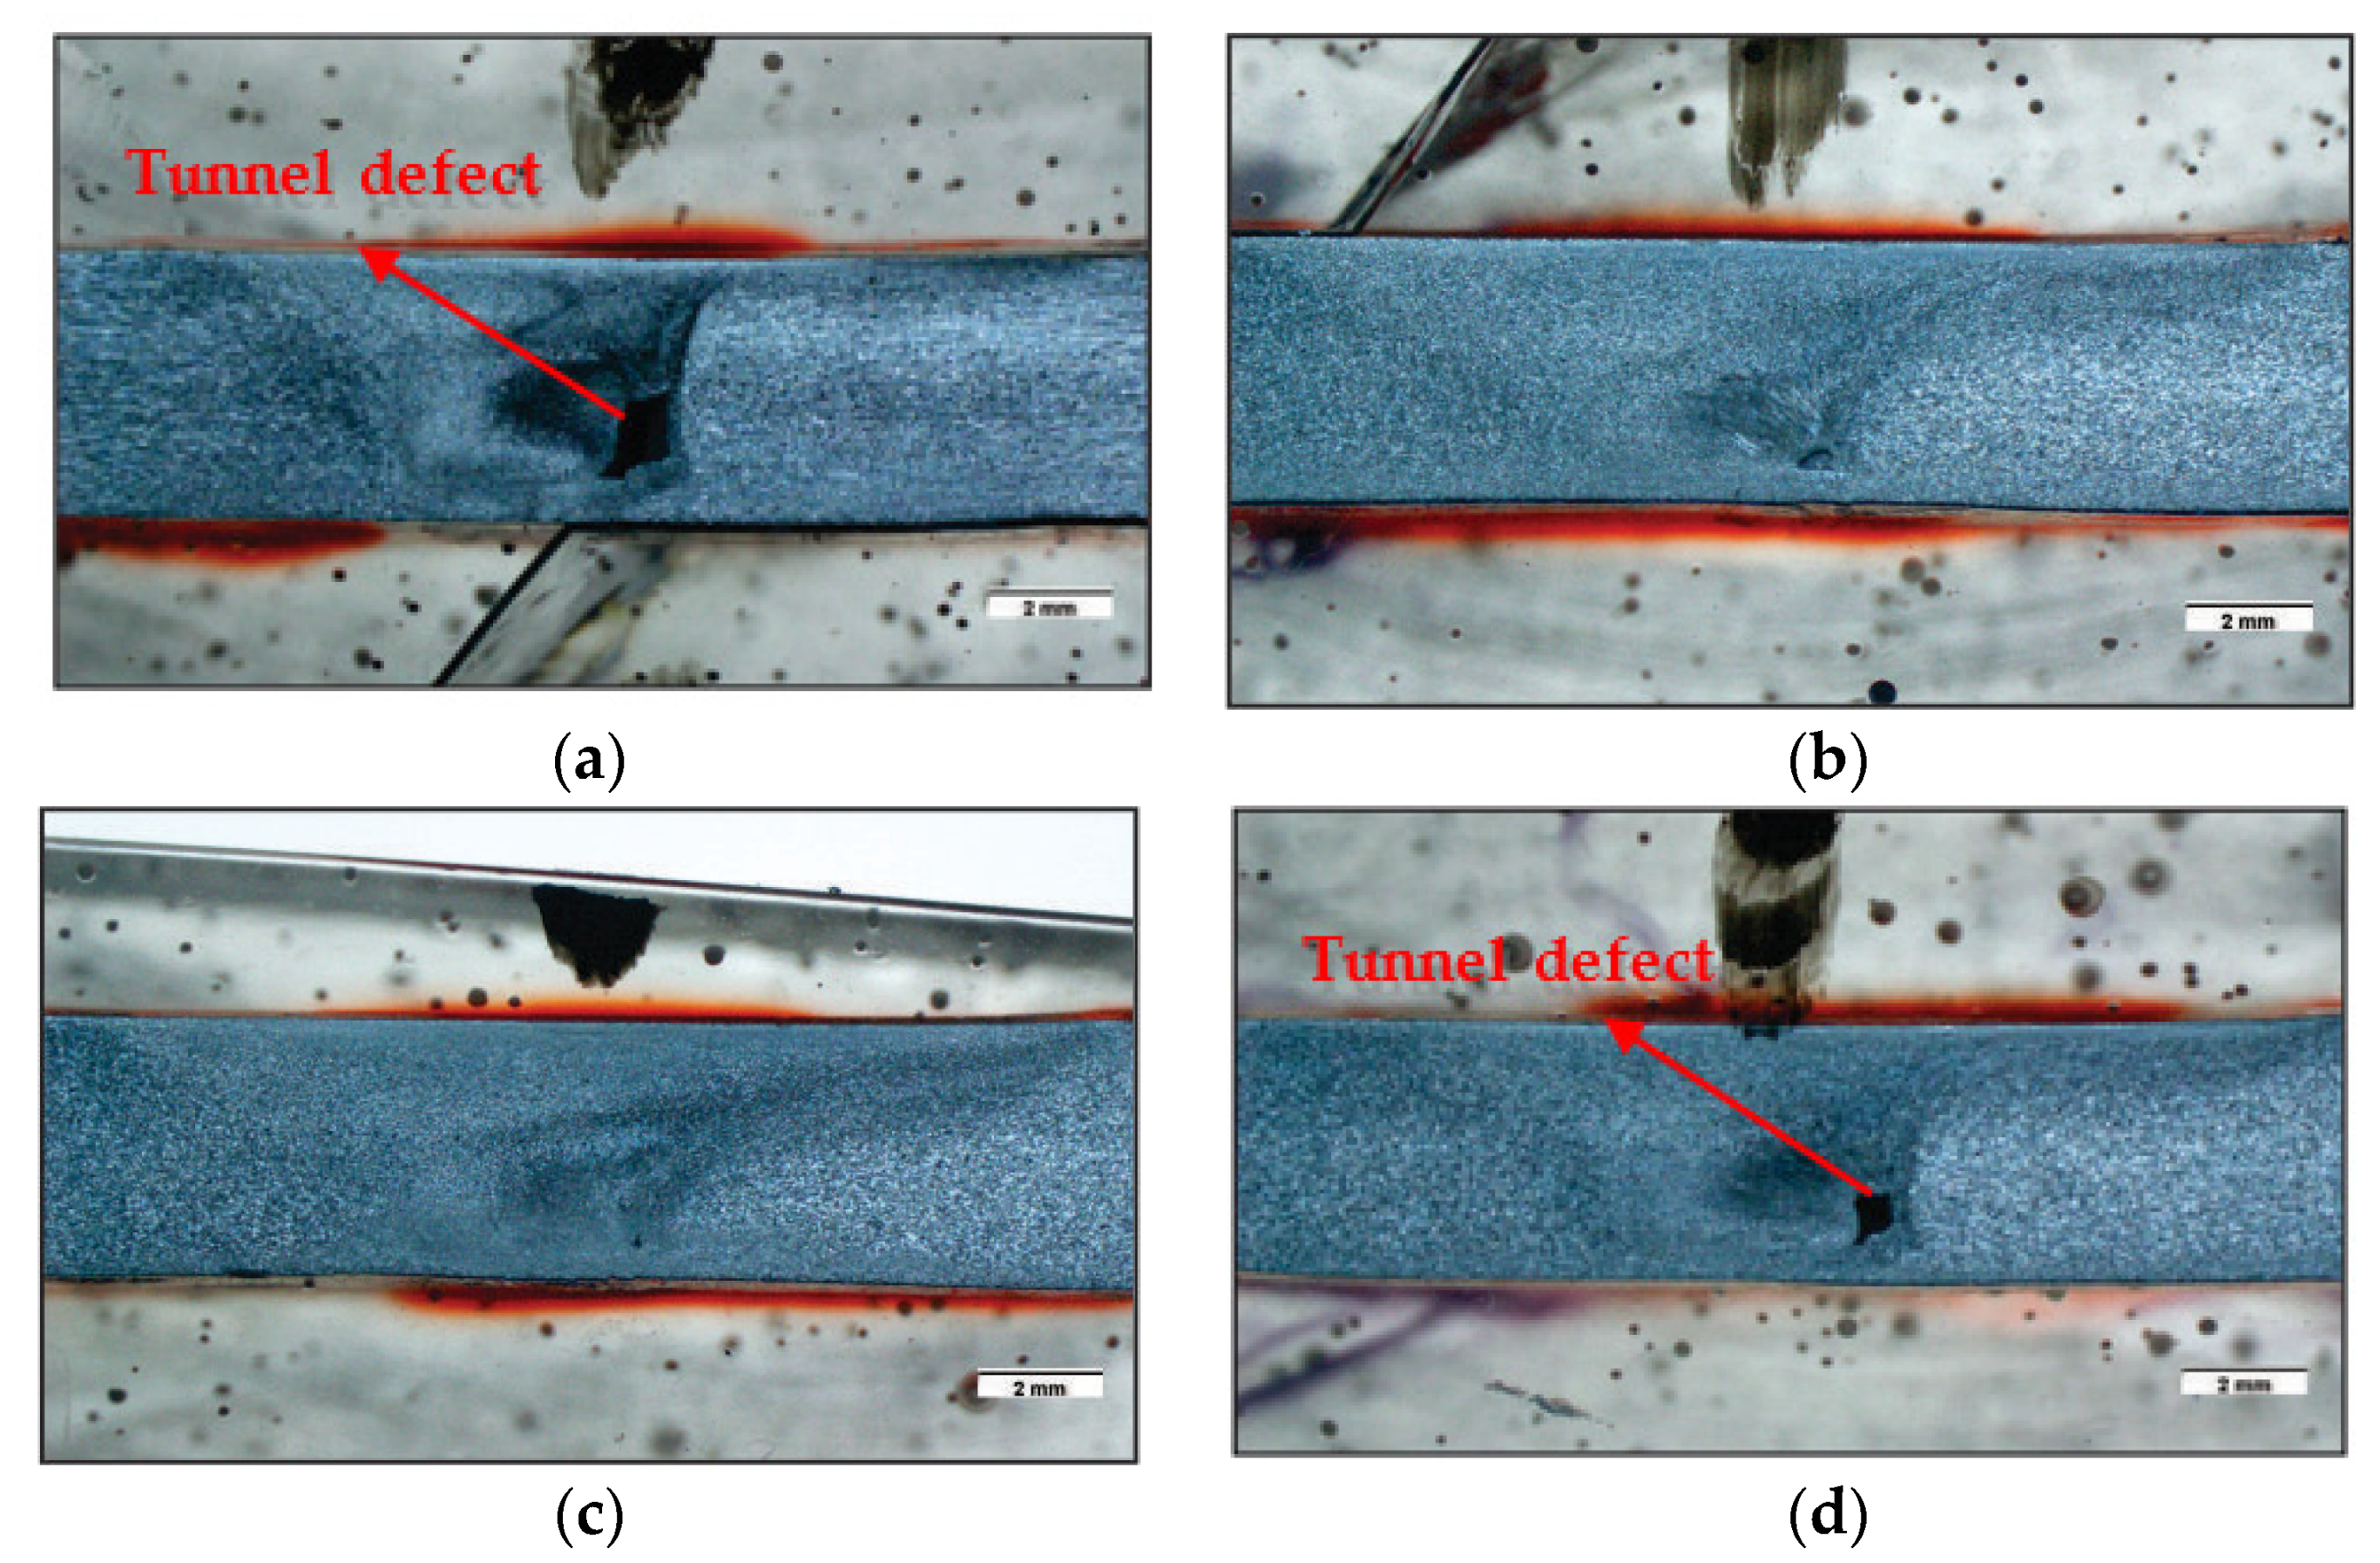
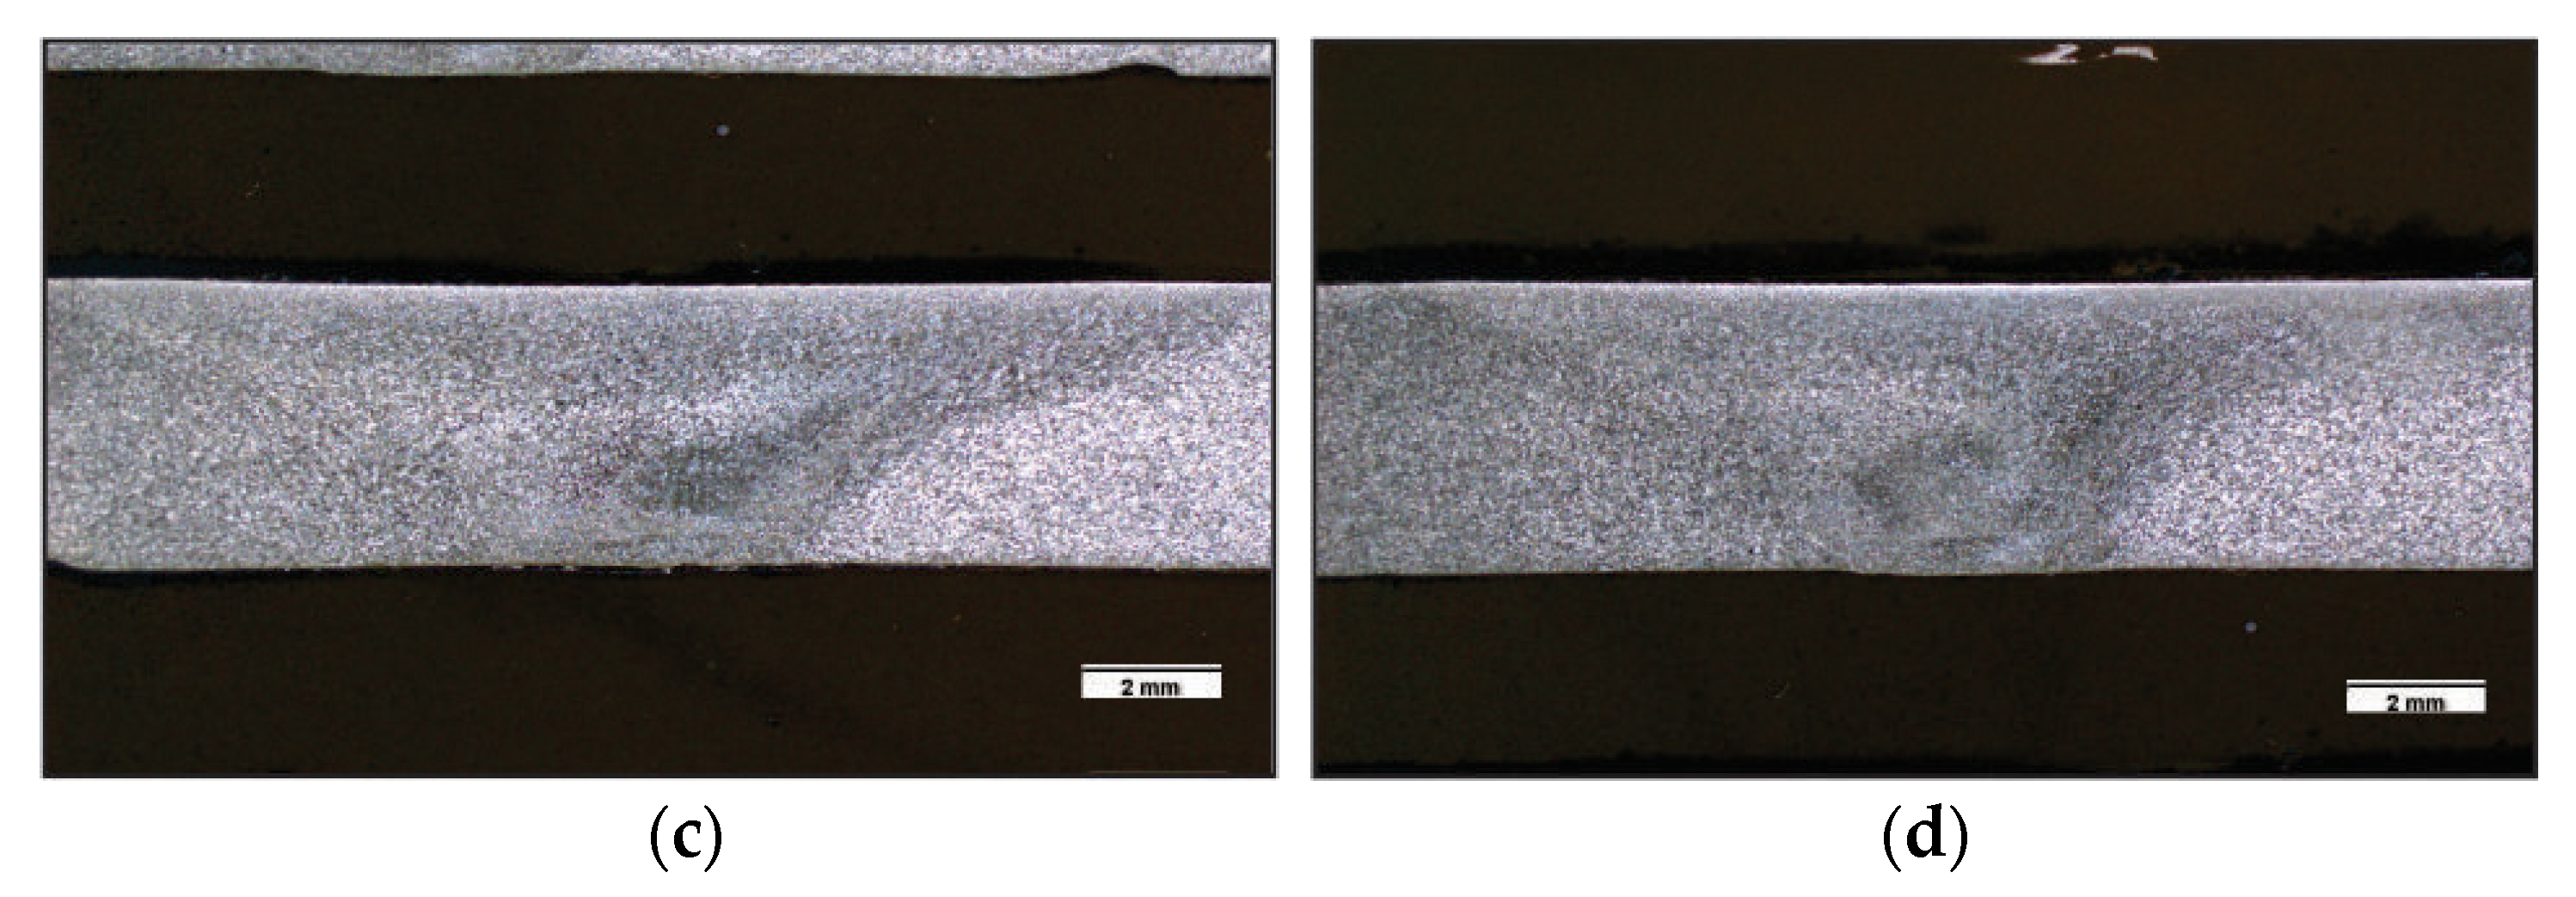
Figure 10 shows the macro photos of a cylindrical pin profile with different preheating temperatures of 150 °C, 200 °C, 250 °C, and 300 °C. The macro photos of the samples that were obtained from the 150 °C and 300 °C preheating variations show a tunnel defect due to incomplete mixing. However, the macro photos of the samples that were obtained in the preheating temperatures of 200 °C and 250 °C do not show any defects.

Figure 10.
Macro photo data of cylindrical pin profile with preheating temperatures of (a) 150 °C, (b) 200 °C, (c) 250 °C, and (d) 300 °C (scale in (a–d) is 2 mm).
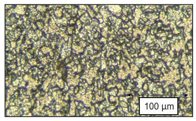
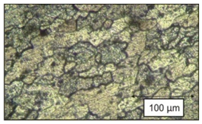
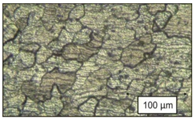
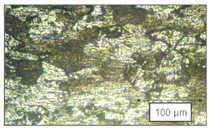
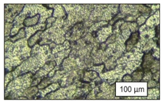
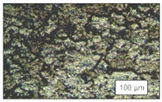
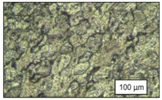
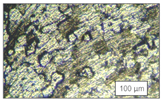
Table 5 shows the photo of the microstructure of the cylindrical pin profile with different preheating temperatures of 150 °C, 200 °C, 250 °C, and 300 °C. When observing the microstructure in the weld nugget area, which is affected by deformation due to the pin mortar, the grain size becomes finer and smaller, but at the preheating temperature of 300 °C, the grain size looks larger than the one obtained in the previous heating variation. The TMAZ area tends to be affected by pin mixing, with the microstructure increasing in size, while in the HAZ region, which is affected by high temperatures, the microstructure becomes larger.

Table 5.
Microstructure photo data of cylindrical pin profile with different preheat temperatures (view scale is 100 μm).
Table 6 shows the test results for tensile strength, face bending, root bending and average hardness of the cylindrical pin profile. The highest tensile strength results were obtained at a preheating temperature of 250 °C, and the lowest tensile strength results were obtained at a preheating temperature of 150 °C. This result is directly proportional to other results, such as those that have been obtained in previous studies for face bending and root bending. In contrast to the average hardness values, the highest yield was seen at the 150 °C preheating temperature, and the lowest yield was determined at the 300 °C preheating temperature.

Table 6.
Data properties of cylindrical pin profiles with different preheating temperatures.
3.4. Experimental Data of Two Flat Sides Pin Profile with Different Preheat Temperature
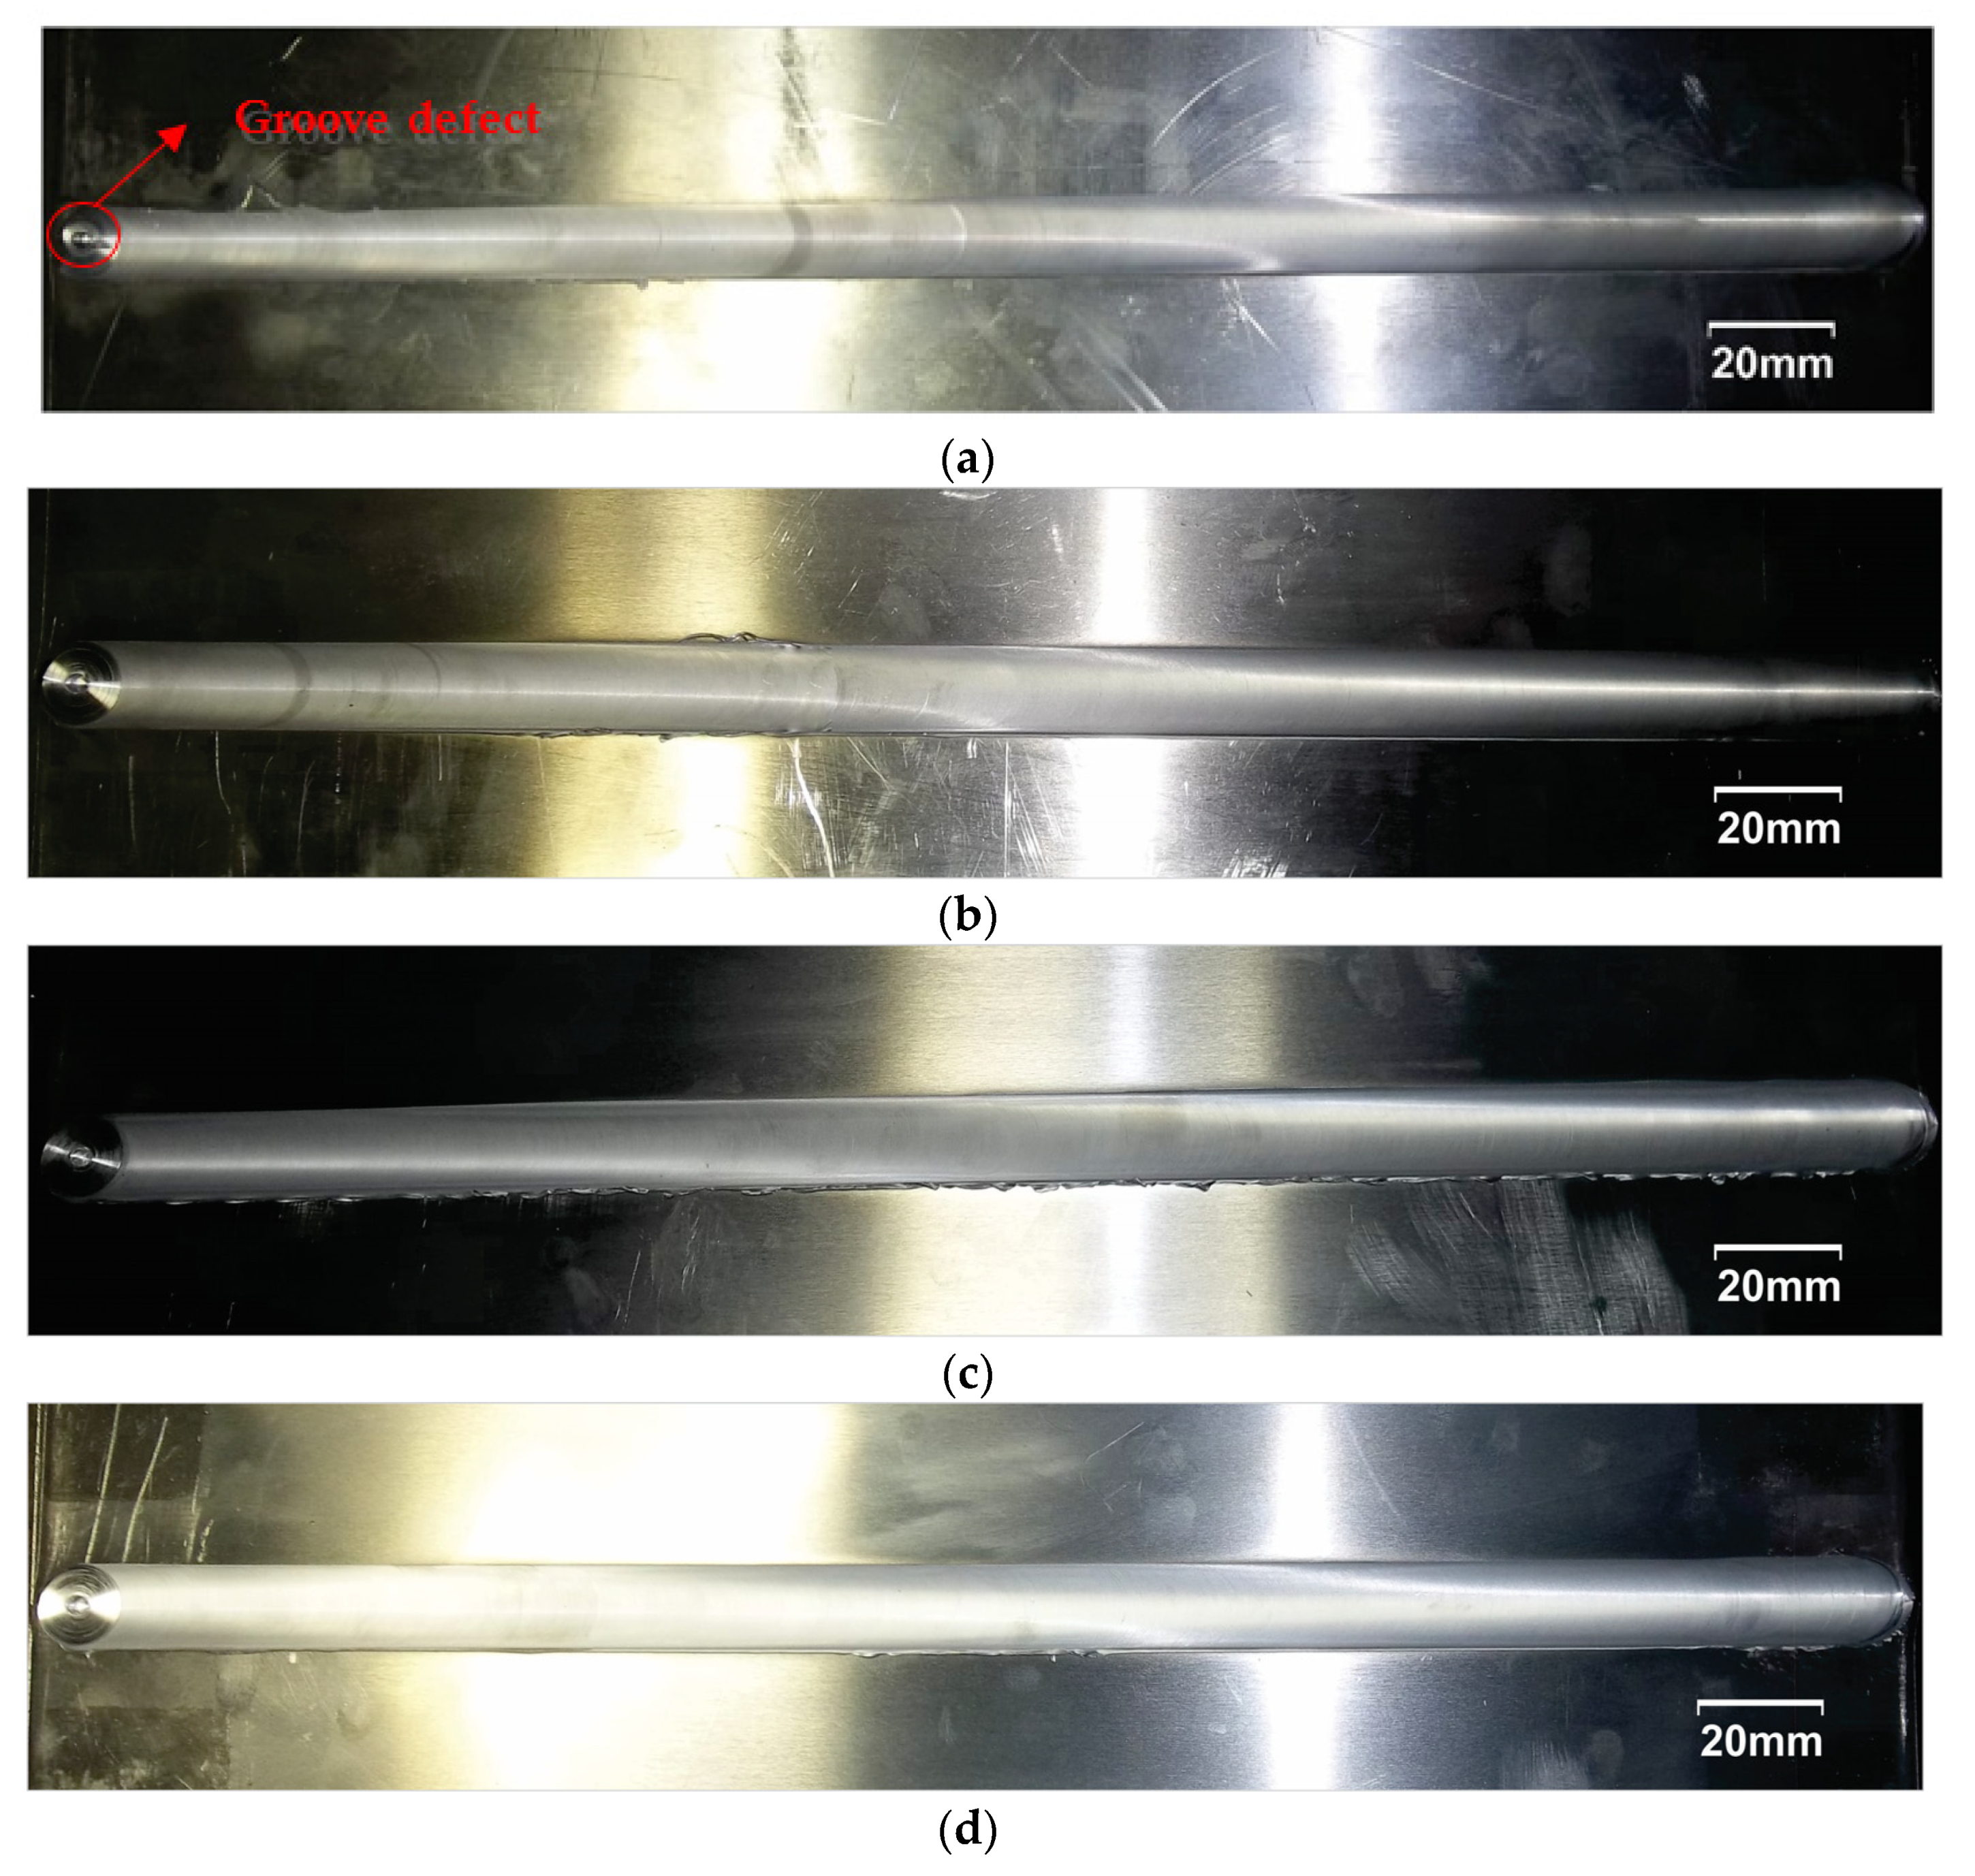
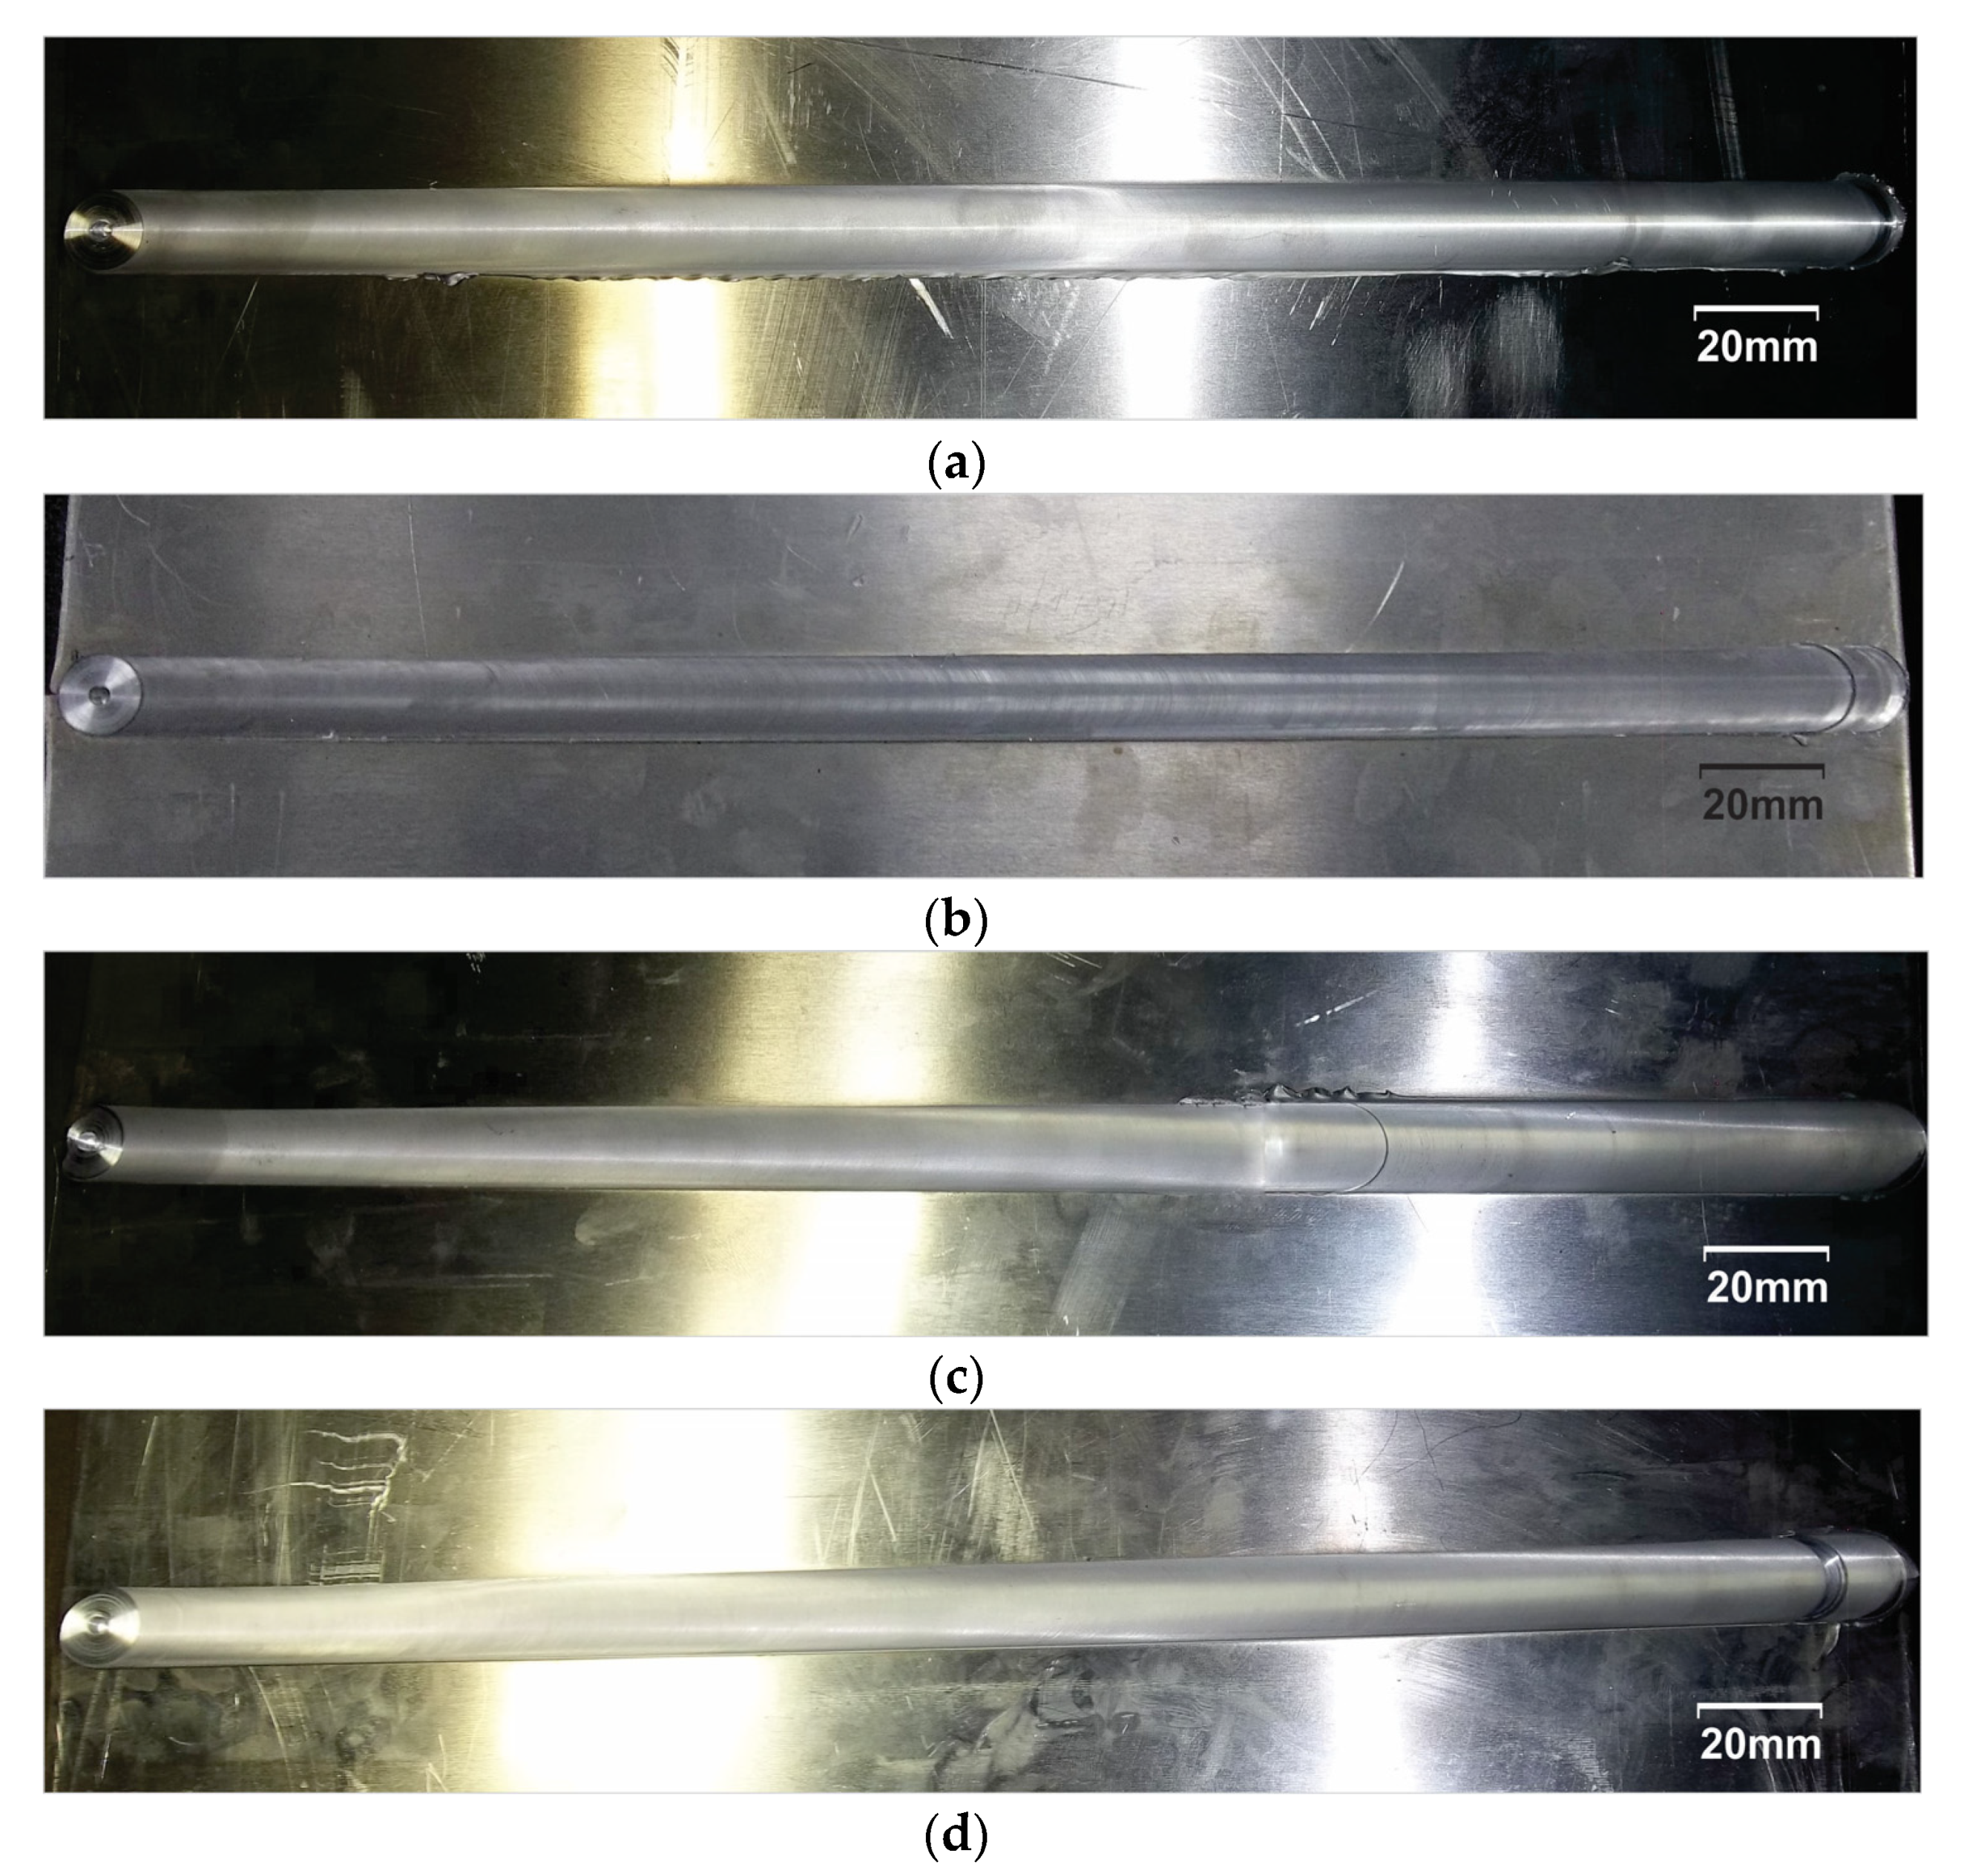
Welding was carried out using a cylindrical pin with two flat sides at the preheating temperatures of 150 °C, 200 °C, 250 °C, and 300 °C and with the same welding parameters as those mentioned previously. As seen in Figure 11, the different preheating temperatures result in the welded joints being different. Figure 11 shows the welding results on a flat two-sided pin profile after variations in the preheating temperature of 150 °C, 200 °C, 250 °C, and 300 °C. A groove defect can be found at the exit hole at a preheating temperature of 150 °C. There are no visible defects on the other welding surfaces.
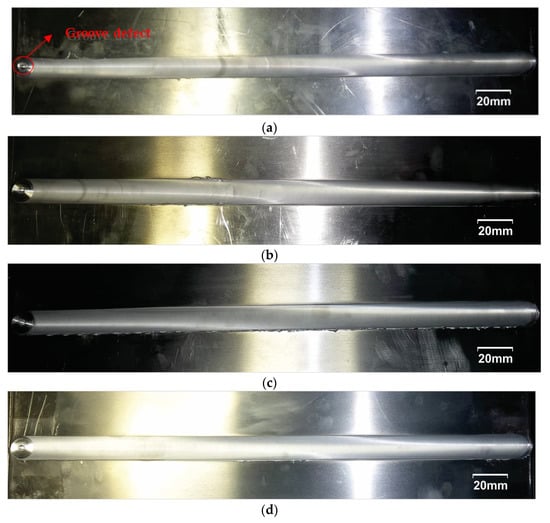
Figure 11.
Welded joints of a pin profile with two flat sides at the preheating temperatures of (a) 150 °C, (b) 200 °C, (c) 250 °C, and (d) 300 °C.
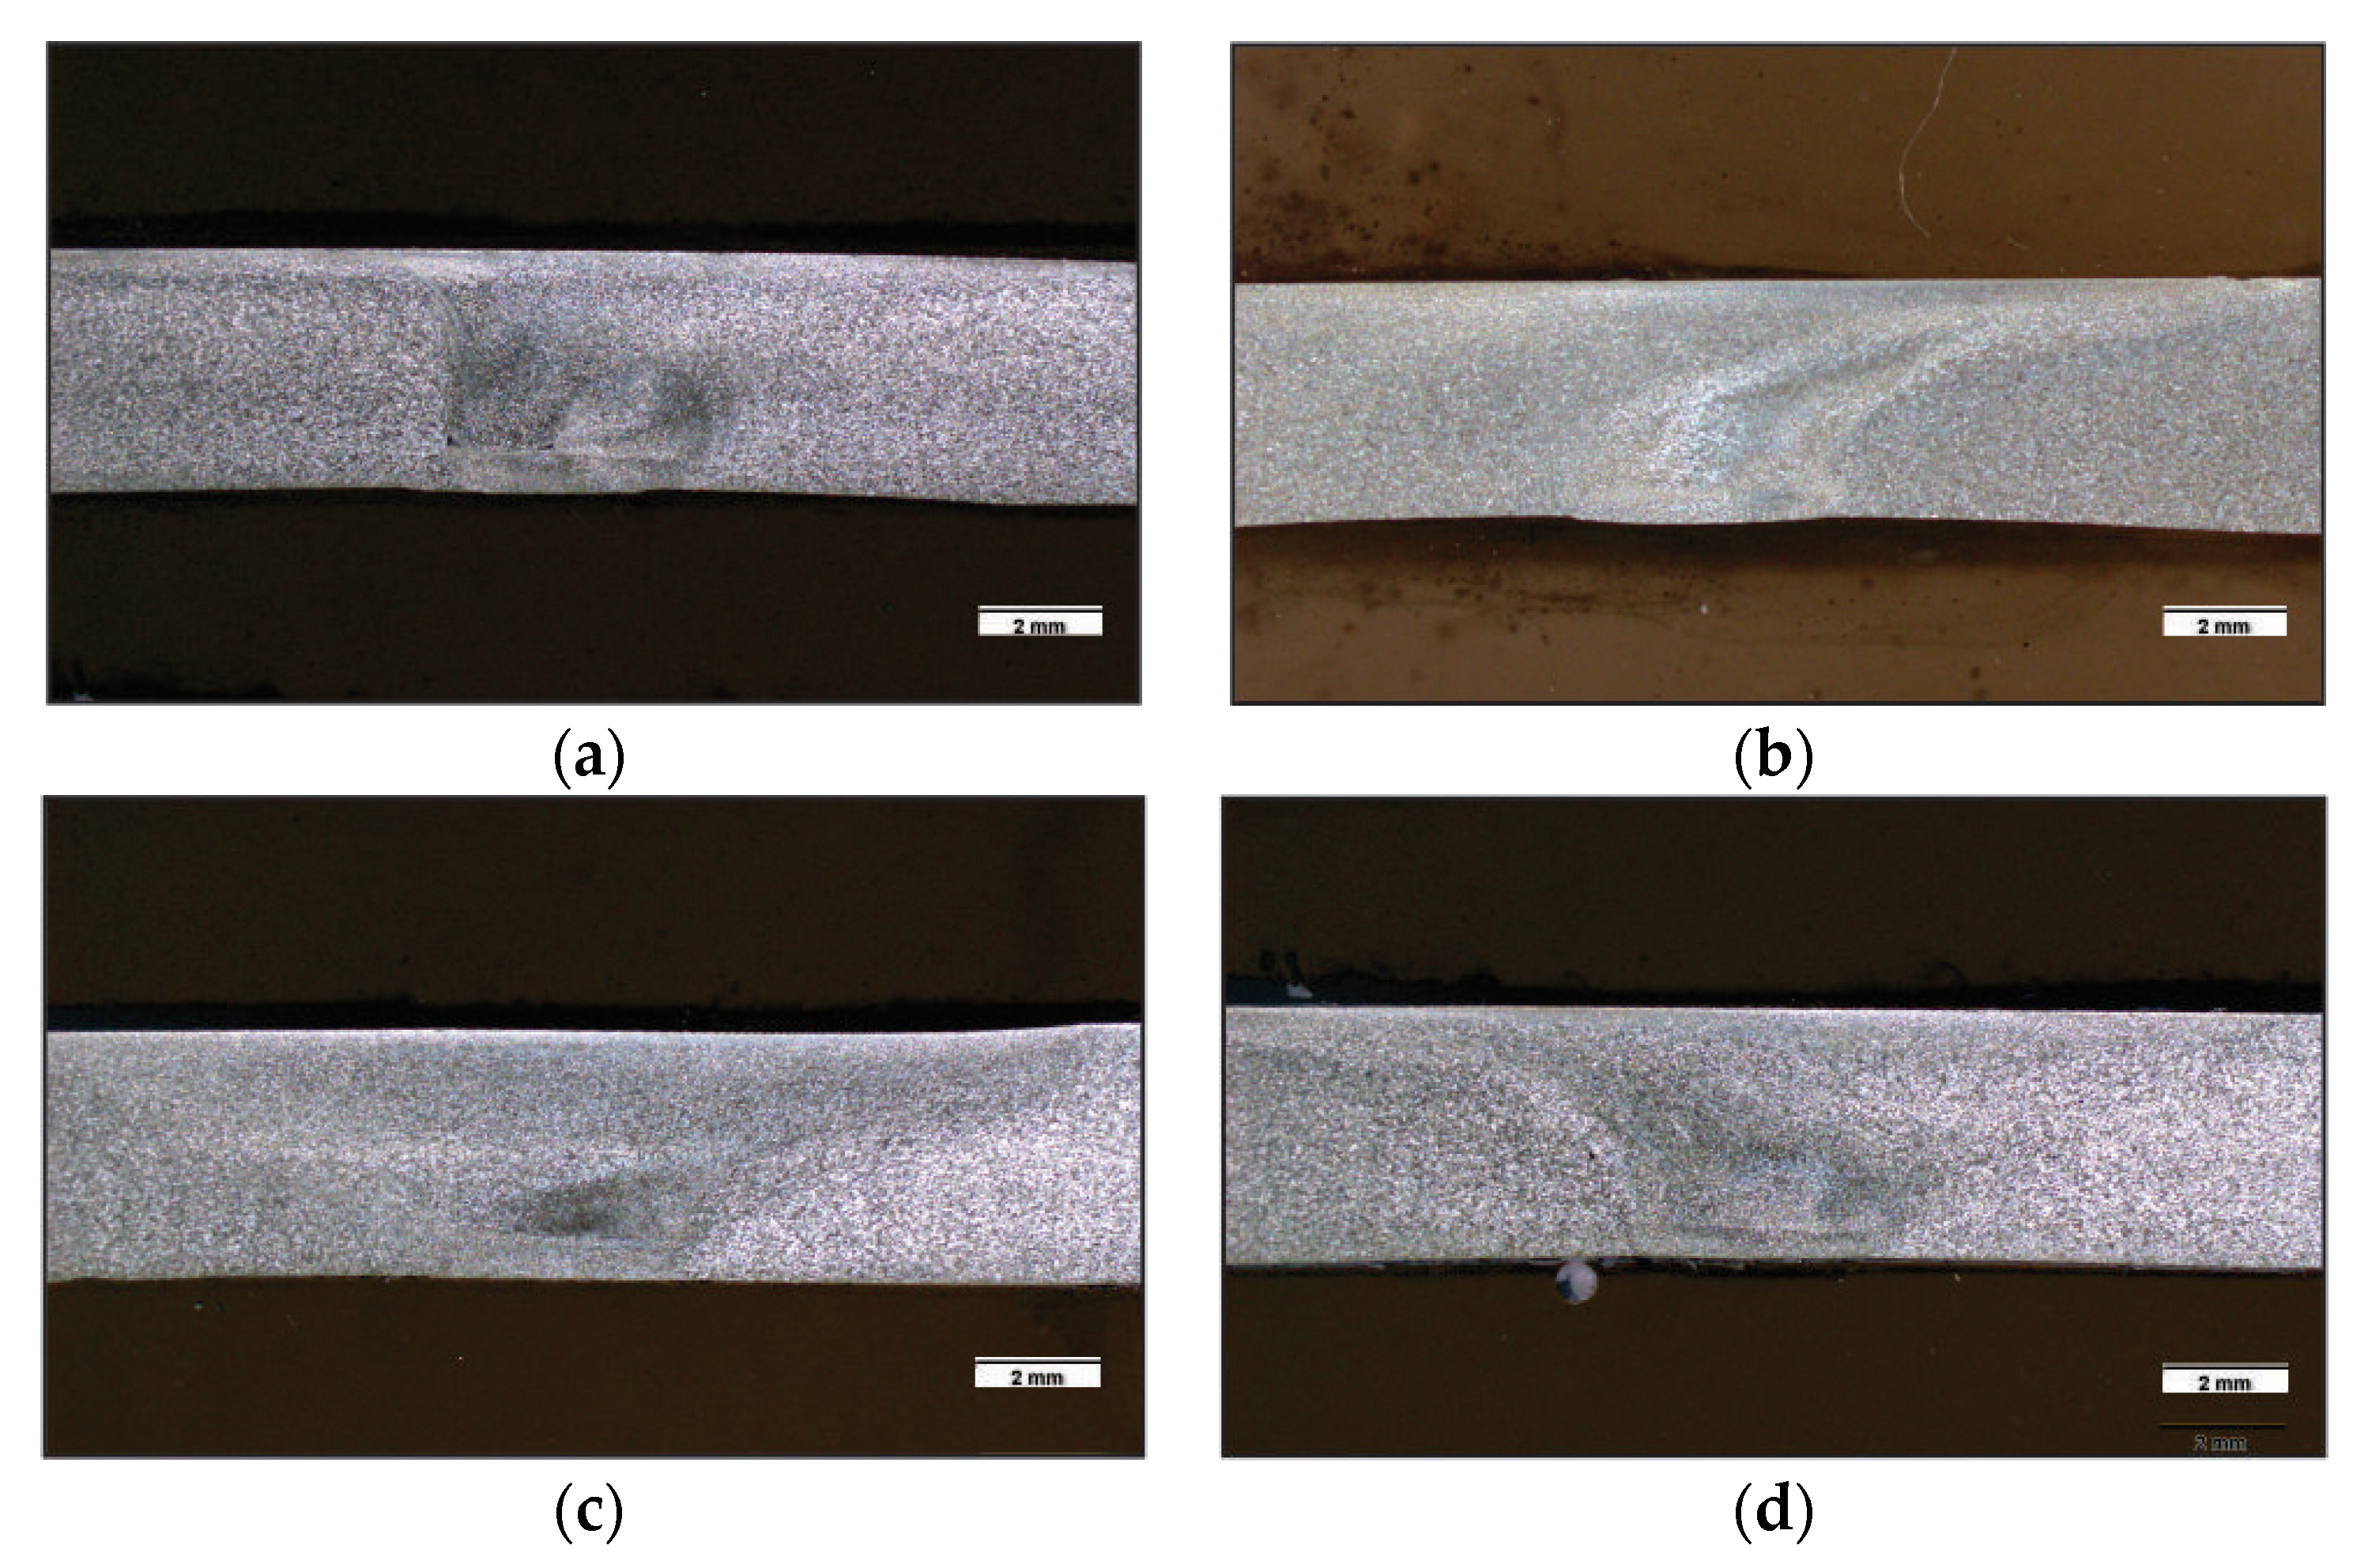
Figure 12 shows macro photos of the two-flat-sided pin profile and the different preheating variations at 150 °C, 200 °C, 250 °C, and 300 °C. The macro photos that were taken at the 150 °C preheat variation show a welding defect in the form of a tunnel defect. On the other hand, the macro photos that were taken at the preheating variations of 200 °C, 250 °C, and 300 °C do not show any defects.

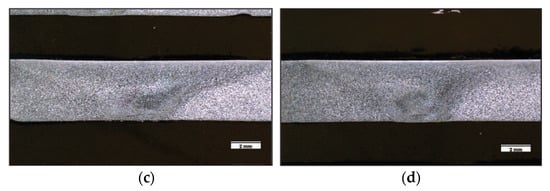
Figure 12.
Macro photo data of two-flat-sided pin profile at the preheating temperatures of (a) 150 °C, (b) 200 °C, (c) 250 °C, and (d) 300 °C (scale in (a–d) is 2 mm).
Table 7 shows the macro photos that were taken of the microstructures of the two-flat-sided pin profile at different preheating temperatures. Upon observing the microstructure in the weld nugget area, which is affected by deformation due to the pin mortar, the grain size became finer and smaller, but at the 300 °C preheating variation, the grain size looked larger than it did during the previous heating variation. The TMAZ area is affected by pin mixing, and as seen in the macro photos, the microstructure becomes rather larger sizes, while in the HAZ region, the area that is affected by high temperatures, it can be observed that the microstructure becomes larger sizes.

Table 7.
Microstructure photo data of two-flat-sided pin profiles with preheating temperatures (view scale is 100 μm).
Table 8 shows the test results for tensile strength, face bending, root bending, and average hardness on a pin profile with two flat sides at different preheating temperatures. The highest tensile strength results were obtained at a preheating temperature of 250 °C, and the lowest tensile strength results were obtained at a preheating temperature of 150 °C. This result is directly proportional to other parameters such as face bending and root bending. In contrast to the average hardness value, the highest yield was seen at the 200 °C preheating temperature, and the lowest yield was obtained at the 300 °C preheating temperature.

Table 8.
Data properties of two-flat-sided pin profiles at different preheat temperatures.
3.5. Experimental Data of Three-Flat-Sided Pin Profile at Different Preheat Temperatures
For the last experiment, welding was carried out on a cylindrical pin with three flat sides at the preheating temperatures of 150 °C, 200 °C, 250 °C, and 300 °C, with the same welding parameters as those mentioned above. The welded joints of the pin profiles with three flat sides and for three different preheat temperatures are shown in Figure 13. There are no visible defects on the welding surfaces.

Figure 13.
Welded joints of pin profile with three flat sides at the preheating temperatures of (a) 150 °C, (b) 200 °C, (c) 250 °C, and (d) 300 °C.
Similar results can be determined from the macro photos. Figure 14 shows the results of the macro photos that were taken of a pin profile with three flat sides and preheating temperatures of 150 °C, 200 °C, 250 °C, and 300 °C. The macro photos show no defects, regardless of the preheating temperature
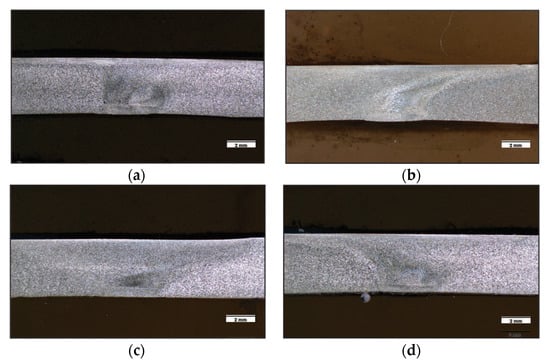
Figure 14.
Macro photo data of the pin profile with three flat sides at preheating temperatures of (a) 150 °C, (b) 200 °C, (c) 250 °C, and (d) 300 °C (scale in (a–d) is 2 mm).
Table 9 shows photos of the microstructure of a three-flat-sided pin profile at the different preheating temperatures of 150 °C, 200 °C, 250 °C, and 300 °C. Observing the microstructure in the weld nugget area, which is affected by deformation due to the pin mortar, the grain size became finer and smaller. However, at the 300 °C preheating variation, the grain size looks larger than it did at the previous heating variation. The TMAZ region, the area that is affected by pin stirring, demonstrates a slightly larger microstructure. However, in the HAZ area, which is an area that is affected by high temperatures, the microstructure becomes larger.

Table 9.
Microstructure photo data of three-flat-sided pin profile at different preheat temperatures (view scale is 100 μm).
Table 10 shows the test results for tensile strength, face bending, root bending, and average hardness on a pin profile with three flat sides and at the preheating temperature of 150 °C, 200 °C, 250 °C, and 300 °C. The highest tensile strength results were observed at the preheating temperature of 250 °C, and the lowest tensile strength results were observed at a preheating temperature of 150 °C. These results are directly proportional than other studies for face bending and root bending. In contrast to the average hardness value, the highest yield is seen at 250 °C, and the lowest yield is seen at the preheating temperature of 300 °C.

Table 10.
Data properties of pin profile with three flat sides at different preheat temperatures.
4. Results of Microstructure Observation and Mechanical Properties
4.1. Macrostructure Analysis
Macro observation aims to examine the cross-section of a welded joint, specifically in the weld zone. The macro photo observations provided quality data regarding possible defects that may appear during the FSW process. Table 11 shows a comparison of the macro photos that were taken of the pin profiles at various preheat temperatures. The tunnel defect can be seen in macro photos of the cylindrical pin profile specimens without preheating, and at the 150 °C and 300 °C preheating temperatures, as well as in the two-flat-sided pin profile specimens that were obtained without preheating and at the preheating temperature of 150 °C. This occurred due to the low heat input and imperfect stirring that took place during the welding process. Defects that are often seen in FSW occur due to parameter processing errors, such as tool rotation, welding speed, plunge depth, tool design, etc. These errors cause a lack of material plasticization and material flow around the pin. Low heat input causes high voltage flow due to the lack of material flow, causing delays in material splicing. Defects that occurred in the cylindrical and two-sided pin profiles were due to the improper design of the pin profile, resulting in them being unable to achieve sufficient mortar deformation, which is necessary for a good connection. Meanwhile, in the specimens that were produced without preheating and at a heating temperature of 150 °C, tunnel defects can be observed due to the insufficient heat input received by the specimen to soften the material, resulting in a large cavity. In contrast to the specimens that were created at an initial temperature variation of 300 °C, the heat input was too high, causing the material to be too soft, making it unable to support good pin profile design. This causes the material flow to only rub and not stir properly, which causes defects. The most prominent results can be observed in the three-flat-sided pin profile, as no visible defects were observed after any of the preheat temperature variations. It can be determined that the right profile design achieves good results, as a high heat input causes the material to be perfectly deformed compared to the cylindrical and two-flat-sided pin profiles.

Table 11.
Macro photos between different pin profiles at various preheat temperatures (scale for all preheat temperature is 2 mm).
4.2. Microstructure Observation
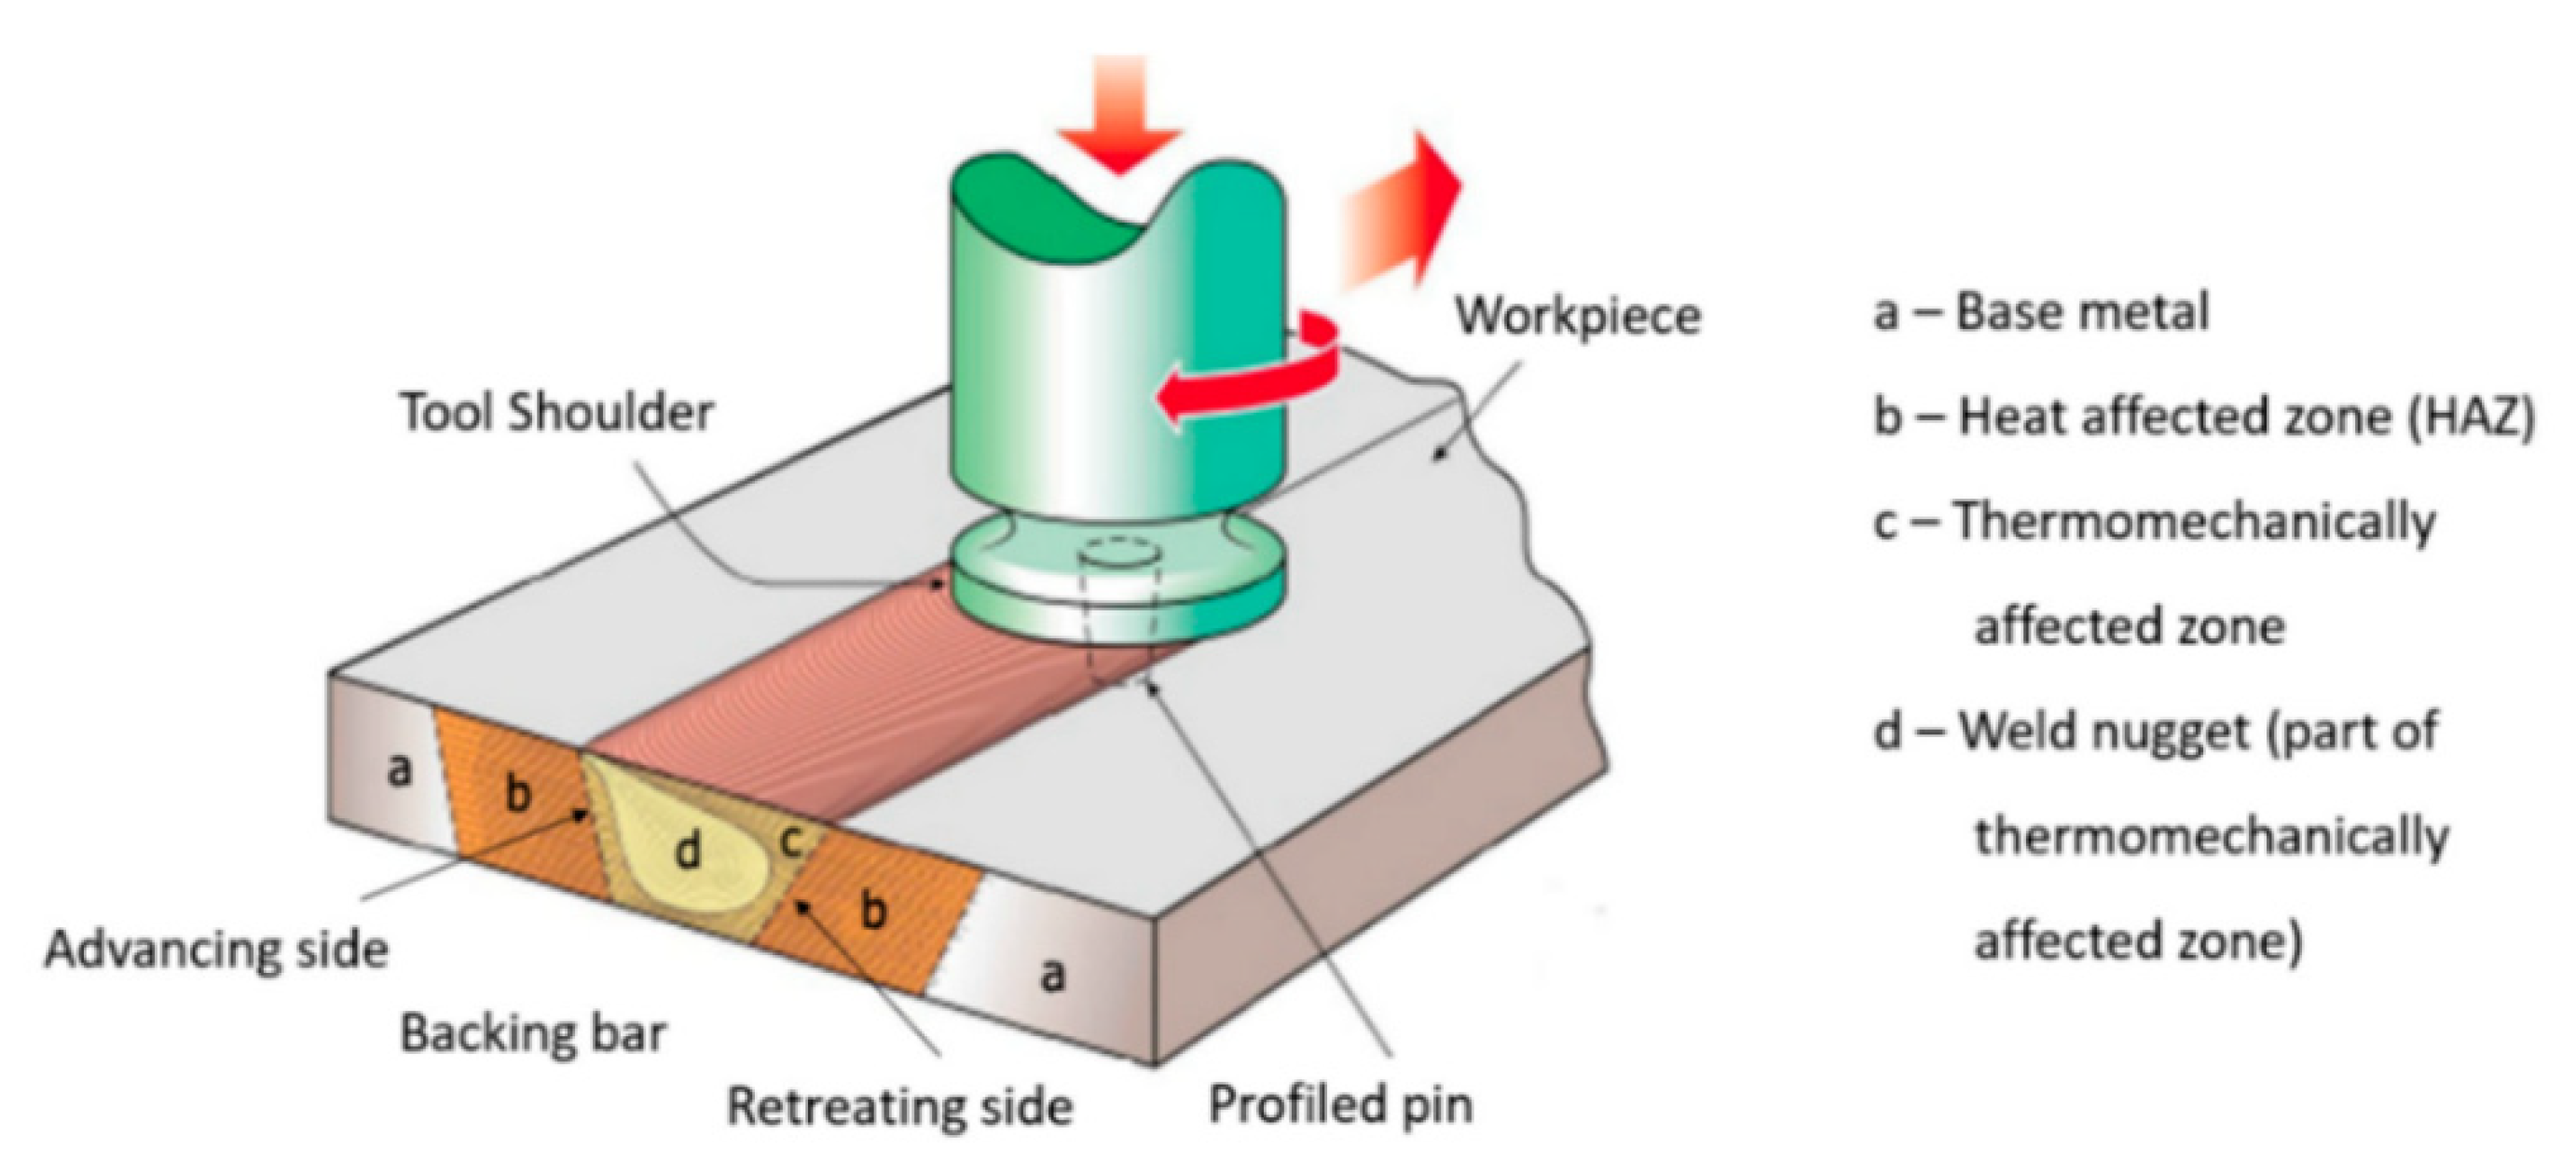
According to a recent study, friction stir-welded joints have asymmetric physical and mechanical characteristics [38]. These are the result of a temperature differential between the advancing and retreating sides of the welding material [37]. Microstructure analysis is the examination of the crystal structure using a microscope. In this study, one specimen was taken from each welding process parameter, and then microstructure observations were made in the HAZ, TMAZ, and weld nuggets in the advancing side and in the retreating side, as shown in Figure 15.
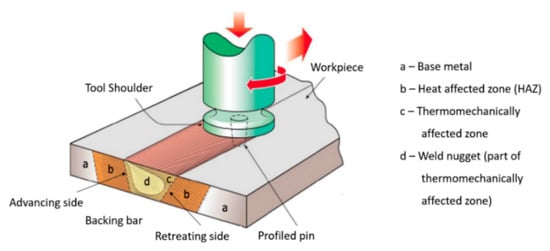
Figure 15.
The observed microstructural areas of the FSW nuggets [39].
4.2.1. Microstructure of Base Metal AA 5052-H32
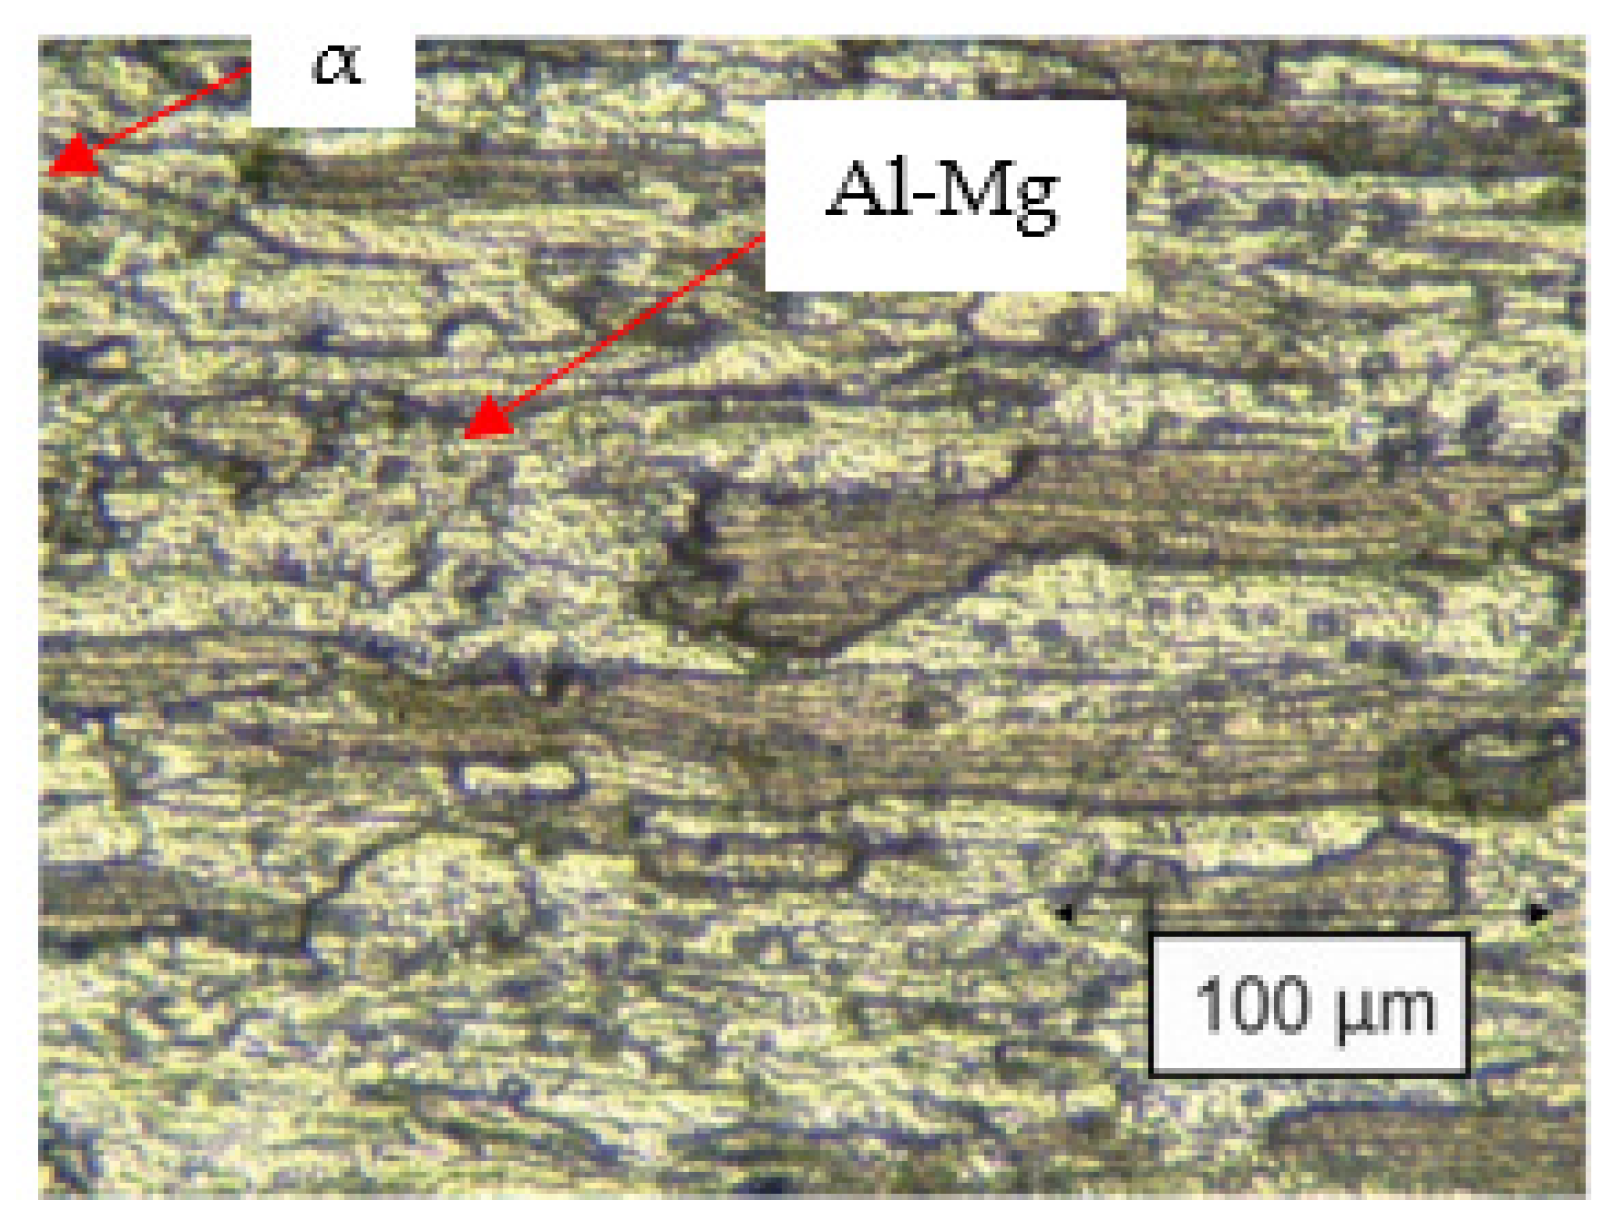
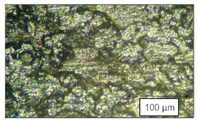
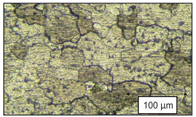
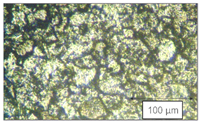
Figure 16 shows a photo of the microstructure of the base metal. The grain shape that appears in the base metal area of aluminum 5052 is slightly flattened due to the cold working or strain hardening treatment processes that take places during the manufacturing process. This treatment deforms the grain shape to a certain size through a roller or press process in order to obtain the desired strength and hardness. After cold working, the shape of these grains becomes flat, with the elongation direction being in accordance with the rolling direction. The microstructure of the base metal aluminum 5052 is generally dark in color, indicating the aluminum–magnesium (Al-Mg) phase, while the light color is the α aluminum phase.
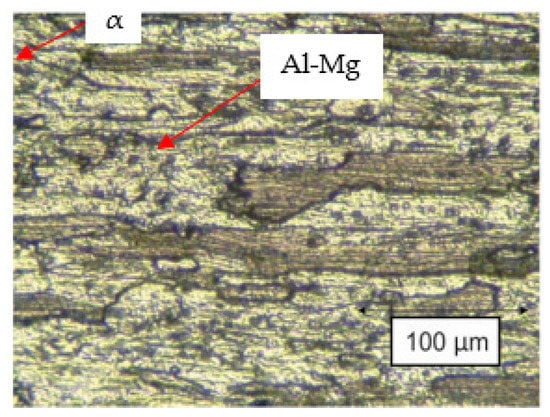
Figure 16.
Microstructure of the base metal.
4.2.2. Influence of Pin Profiles and Preheat Temperature at HAZ
The microstructural changes that occurred in the HAZ region can be seen in Table 12 and Table 13, which compare the grain sizes in each of the FSW specimens, especially in the HAZ retreating side (RS) and in the HAZ advancing side (AS) welds. These two images show that when there is greater variation in the preheating temperature, the grain size in the HAZ RS and AS areas become larger; this is because when there is a larger heat input, the cooling rate slows down.

Table 12.
Microstructure of friction stir-welded specimens at HAZ RS (view scale is 100 μm).

Table 13.
Microstructure of friction stir-welded specimens at HAZ AS (view scale is 100 μm).
4.2.3. Influence of Pin Profiles and Preheat Temperature at TMAZ
Table 14 and Table 15 depicts the microstructural changes in the TMAZ area at the RS and AS sides. Table 14 and Table 15 show that the areas affected by the tool mix have a flat and elongated microstructure. It is used by the tool to the weld the nugget area. The grain size in this zone looks smaller than in the HAZ area.

Table 14.
Microstructure of friction stir-welded specimens at TMAZ RS (view scale is 100 μm).

Table 15.
Microstructure of friction stir-welded specimens at TMAZ AS (view scale is 100 μm).
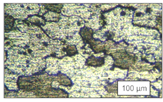
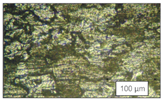
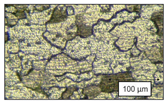
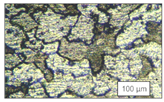
4.2.4. Influence of Pin Profiles and Preheat Temperature at Weld Nugget
Table 16 shows a photo of the microstructure in the weld nugget (stir zone). Compared to the grain size between the HAZ and TMAZ, the grain size becomes finer and denser because it is deformed by the mortar tool in the weld nugget. The weld nugget area was plastically deformed by the stirring from the FSW tool, and the grains become refined as a result of dynamic recrystallization, with the grain size becoming finer than it was in the HAZ and TMAZ regions. This proves that changes in the grain size of the microstructure in the welding process are inseparable from the heat behavior and plastic deformation that are caused during the welding process. Preheating softens the materials and increases the flow of the materials in the stir zone, thereby reducing the welding forces and enhancing efficiency. Verma et al. reports that in FSW, the joint strength increases by 8% with preheating compared to conventional FSW [33].

Table 16.
Microstructure of friction stir welding at weld nugget (view scale is 100 μm).
At a preheat temperature of 300 °C, the grain size became larger than at lower preheat temperatures. As the preheat temperature rises, the welding temperature spreads more uniformly over the tool, resulting in a slower cooling rate. A coarser grain size can be achieved when the cooling rate is slower [31]. Kwon et al. [40] indicated that some extra grain development occurred because the maximum temperature of the stir zone rose as the rotation speed of the tool increased.
4.3. Tensile Strength Result
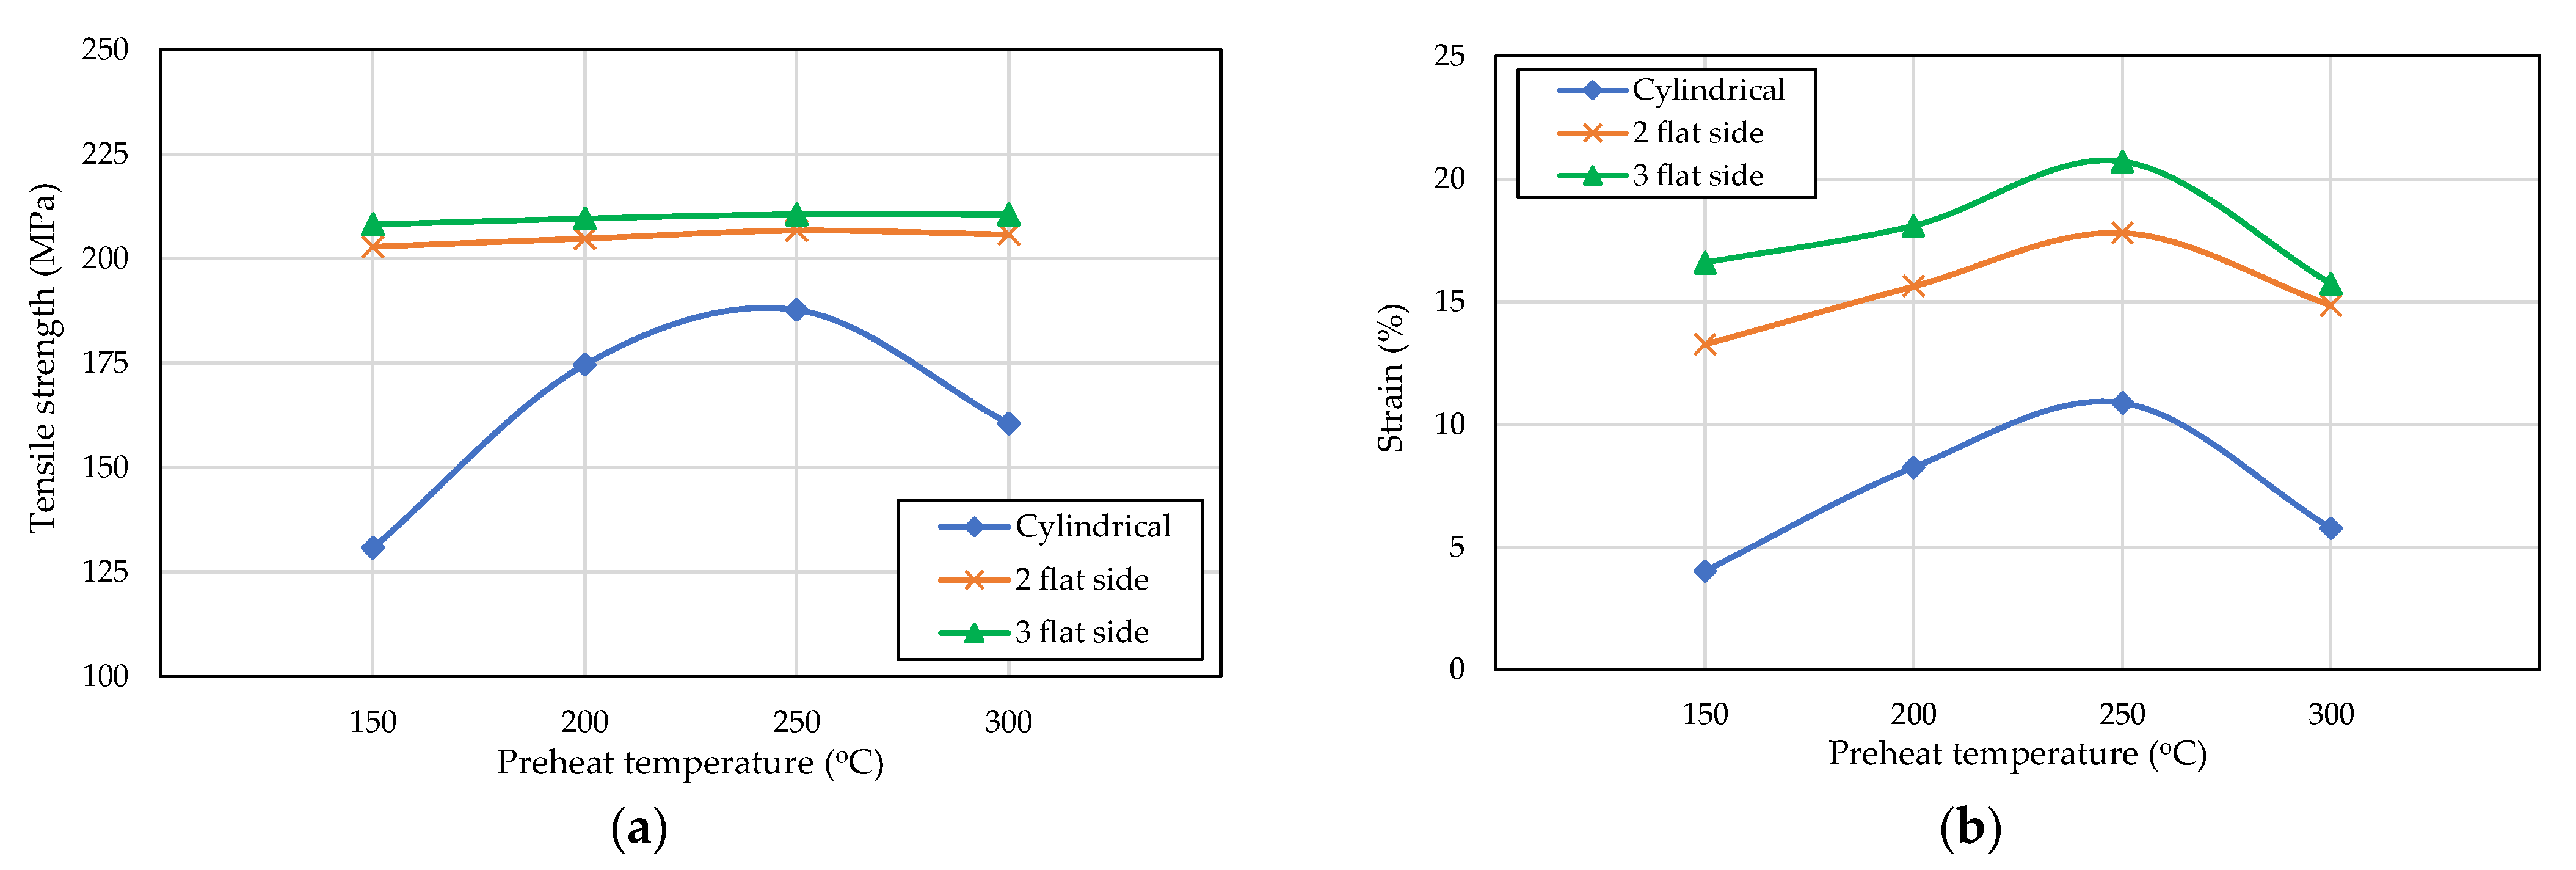
Figure 17a shows that the highest strength was achieved by a three-flat-sided pin profile with an initial temperature variation of 250 °C at 211.2 MPa, and the lowest strength was achieved by a cylindrical pin profile with an initial temperature variation of 150 °C at 131.8 MPa. This could have been caused by the concentration of stress creating defects in the weld joint. The cylindrical and two-flat-sided pin profiles without preheating and with preheating at 150 °C demonstrated tunnel defects, which resulted in low tensile strength, namely 128.3 MPa, 131.8 MPa, and 203.6 MPa. The three-flat-sided pin profile specimen demonstrated the highest test results compared to other specimens: 208.9 MPa, 210.1 MPa, 211.2 MPa, and 210.8 MPa.
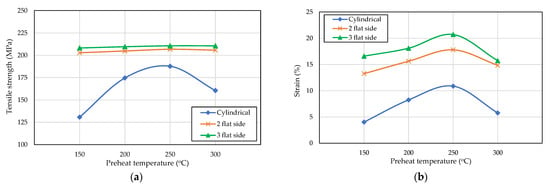
Figure 17.
Comparison of (a) tensile strength and (b) strain between the pin profile variations.
The macro photos also do not show any defects in the weld nugget. The strain value of each variation can be seen in Figure 17b. It shows that the strain is directly proportional to the tensile strength of the three welding specimens. Increasing the preheat temperature resulted in a coarser grain size, and it also resulted in a small difference in the tensile strength [31] which could be observed when the preheat temperature was 300 °C.
4.4. Bending Strength Result
During the face bending test, the top of the weld seam of the specimen faces downwards, and the pressed part is the reverse surface. A comparison of face bending strength is shown in Figure 18a. The highest face bending strength value was determined for the three-flat-sided pin at the initial temperature 250 °C, with the value of 425.3 MPa, and the lowest value was determined for the cylindrical pin when no preheating was induced, with a value of 368.8 MPa. This conclusion was reached because in the variation at the preheating temperature of 250 °C, the three-flat-sided pin produced a connection with no visible defects and demonstrated the highest tensile and bending strength.

Figure 18.
Comparison of (a) face bending strength and (b) root bending strength between the pin profile variations.
The dimensions of the specimen for the root bending test are the same as the face bending test, but the top of the welded joint instead faces up. A comparison of the root bending strength is shown in Figure 18b. The highest value of the root bending strength can be seen in the three-flat-sided specimens at an initial temperature of 250 °C, with a value of 430.6 MPa, and the lowest value was determined in a cylindrical specimen that was created without preheating, which demonstrated a value of 194.1 MPa. When connected with the macro photo analysis, the results show that the defects on the root side affect the root bending strength results. The cylindrical variations without an initial preheating temperature demonstrate tunnel defects, which cause the lowest tensile strength, face, and root bending strength.
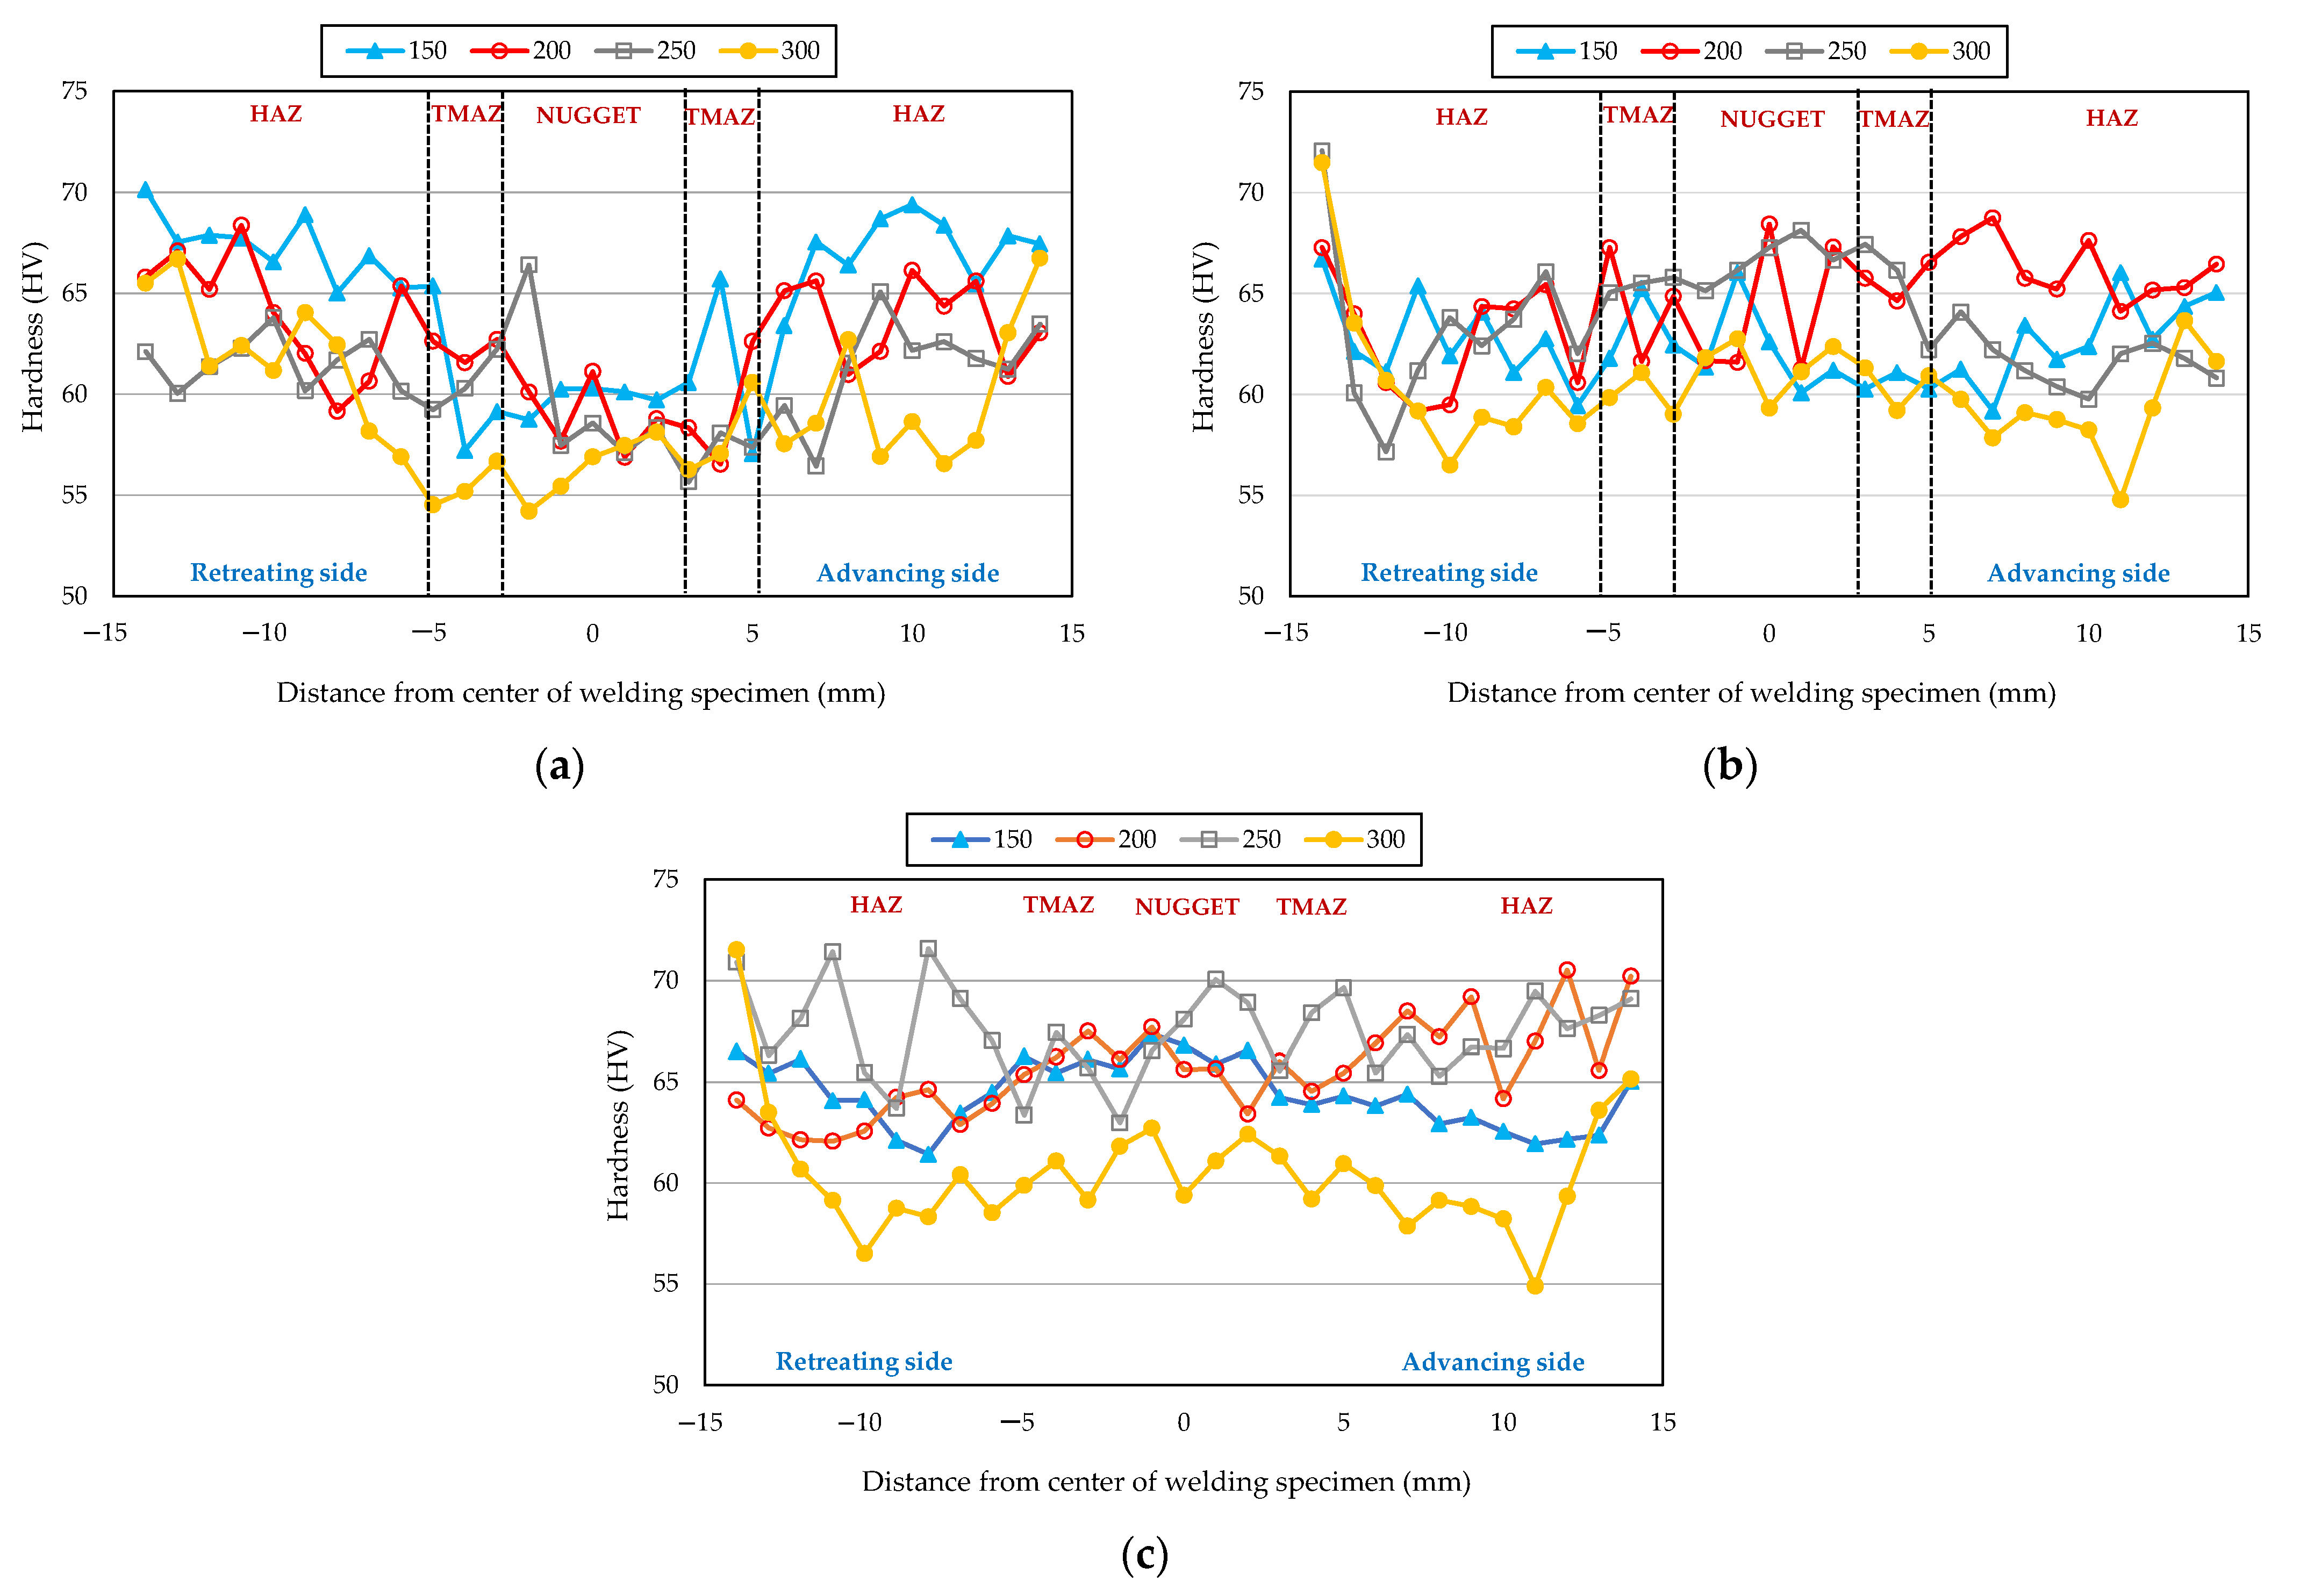
4.5. Hardness Test Result
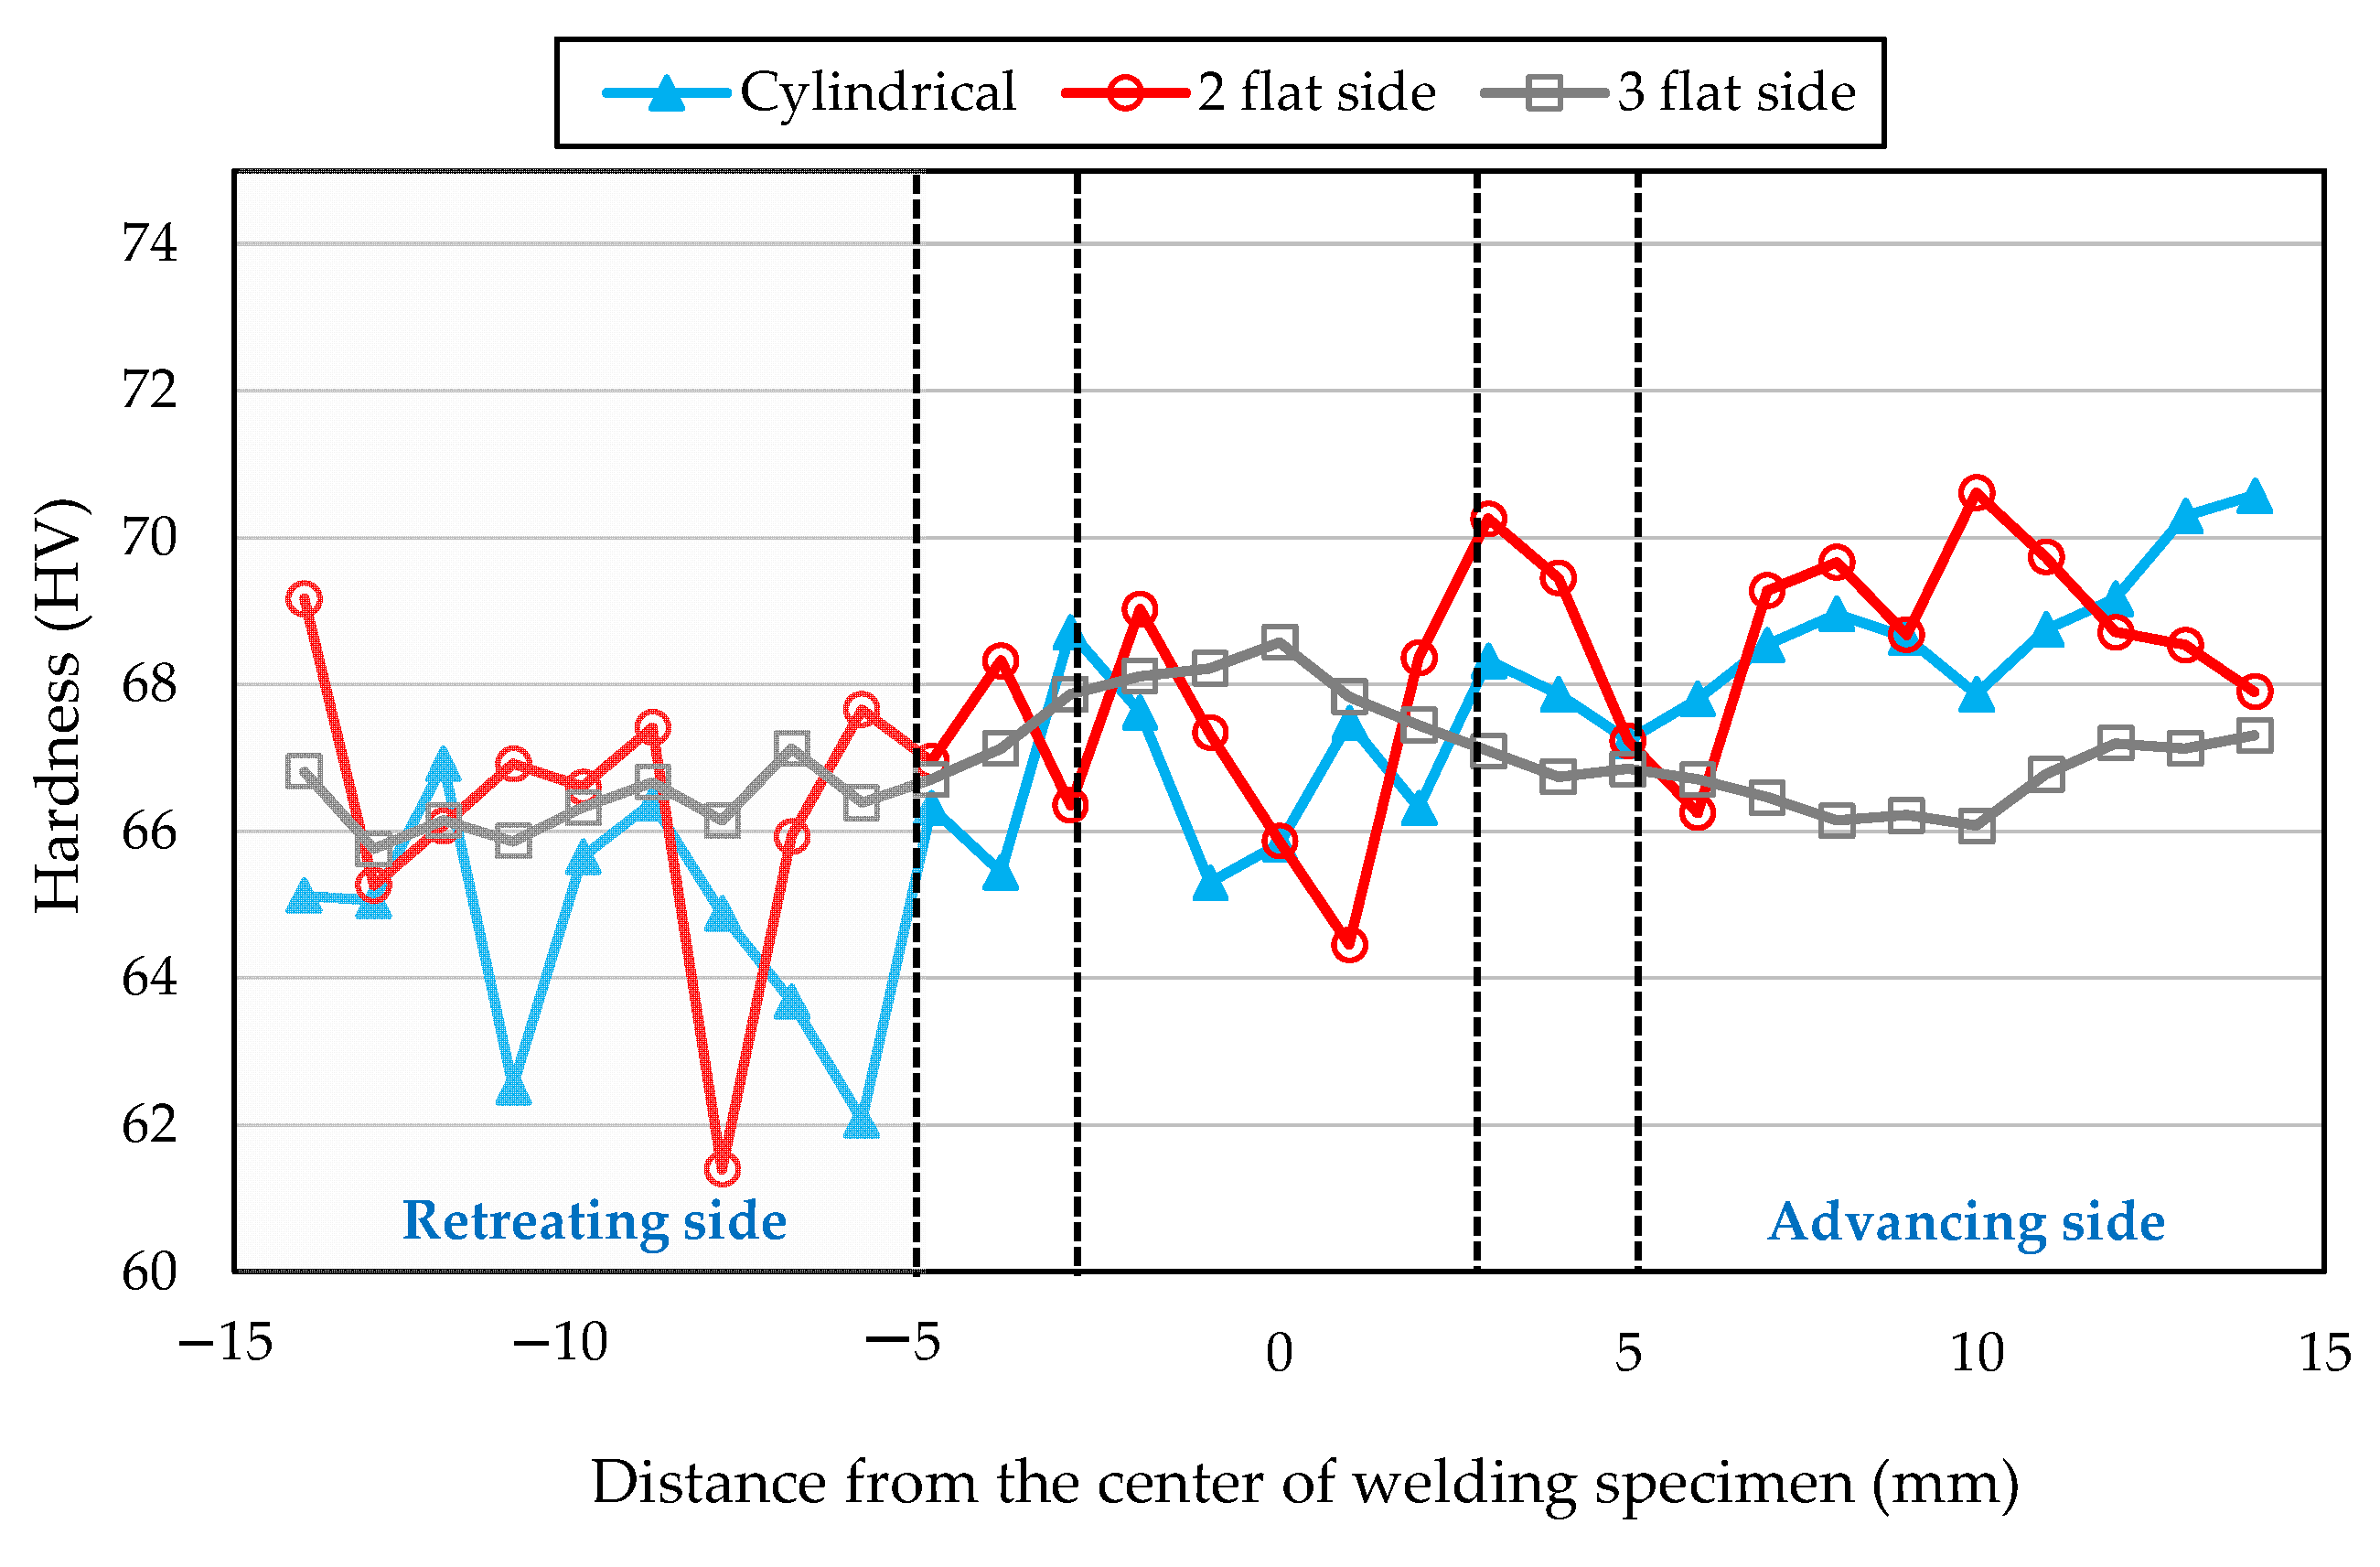
The hardness test in this study used a micro Vickers machine. Figure 19 and Figure 20 show that the hardness value at each test point had a relatively asymmetric value. Muhayat et al. [3] explained that an asymmetric hardness is the result of a difference in the welding temperature between the advancing and retreating sides. The lowest average hardness value was found in the specimens that were obtained at the preheating temperature of 300 °C for each pin profile variation. This is the result of the slower cooling rate, which results in the grain size being larger, meaning that it has less of an impact on the hardness. The average maximum hardness was achieved at a heating temperature of 250 °C. This is relevant to the tensile test results that were determined for each pin profile variation. The hardness characteristics increase as the preheating temperature increases due to grain refinement in the stirring area. This consideration may be extended to the thin-walled structure welding, e.g., ship, on offshore, and other vital structures [41,42,43,44,45,46,47,48].
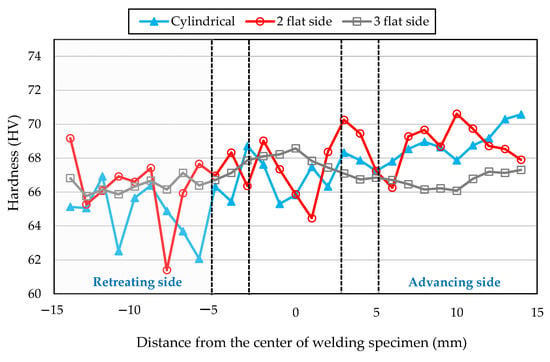
Figure 19.
Comparison of the hardness tests of different pin profiles without preheating.
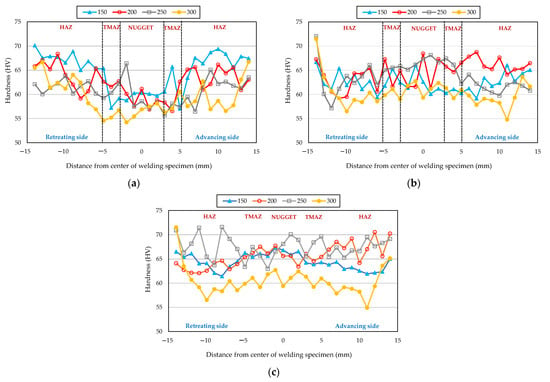
Figure 20.
Comparison of hardness test results at different preheat temperatures: (a) cylindrical pin profile, (b) two-flat-sided, and (c) three-flat-sided pin profiles.
5. Conclusions
The effect of welding parameters such as tool pin profile design and preheat temperature on welding performance, especially on the mechanical properties and microstructure characteristics of various welding zones resulting from the friction stir welding of AA 5052-H32 was investigated. A series of macrostructure and microstructure observations and experimental tests were conducted to compare the joint quality and weld strength. From the results that were obtained here, the following conclusions can be drawn:
- Tunnel defects are found in the macrostructure of the cylindrical pin profile design without preheating and at the 150 °C and 300 °C preheating temperatures as well as in the flat two-sided pin profile without preheating and at the 150 °C preheating temperature. However, none of the preheating temperatures resulted in any visible defects in the three-flat-sided pin profile designs. The defects which occur in the cylindrical and two-flat-sided pin profiles are due to the improper pin profile design. The specimens received insufficient heat input to soften the material in the sample without preheating and with aheating at 150 °C, causing the observed tunnel defect.
- The microstructural observations show that the weld nugget area was plastically deformed by stirring from the FSW tool, and the grain had grain refinement as a result of dynamic recrystallization. The grain size became finer than in the HAZ and TMAZ regions. Preheating softens the materials and increases the flow of the materials in the stir zone, but at a high preheating temperature (300 °C), it leads grain size growth due to a slow cooling rate.
- The tool pin profile design affects the joint strength and performance of the FSW. The three-flat-sided pin profile has better mechanical properties in terms of hardness, tensile strength, and bending strength than the two other designs. The mechanical properties of the three-flat-sided pin profile demonstrate an increase in the tensile strength of 12.2%, increases of 15.3% and 9.4% for the face and root bending strength, and an 11.2% increase in hardness compared to the cylindrical pin profile at the 250 °C preheating temperature.
- The optimal preheating temperature appears to be 250 °C, because it is best able to increase the mechanical properties of the joint. The increased preheat temperature produces a coarser grain size. It influences the small decrease that is seen in the mechanical properties at the preheat temperature of 300 °C.
Author Contributions
Conceptualization, N.M., M.S.H., Y.P.D.S.D. and T.T. (Triyono Triyono); methodology, N.M., M.S.H., Y.P.D.S.D. and T.T. (Triyono Triyono); software, A.R.P., E.D.W.S.P. and T.T. (Tuswan Tuswan); validation, A.R.P., E.D.W.S.P. and T.T. (Tuswan Tuswan); formal analysis, N.M. and T.T. (Triyono Triyono); investigation, N.M., M.S.H., Y.P.D.S.D. and T.T. (Triyono Triyono); resources, A.R.P. and T.T. (Triyono Triyono); data curation, A.R.P. and T.T. (Tuswan Tuswan); writing—original draft preparation, N.M.; A.R.P., T.T. (Triyono Triyono) and T.T. (Tuswan Tuswan); writing—review and editing, A.R.P., E.D.W.S.P. and T.T. (Tuswan Tuswan); visualization, A.R.P. and T.T. (Tuswan Tuswan); supervision, N.M., A.R.P. and T.T. (Triyono Triyono); project administration, N.M., A.R.P. and T.T. (Triyono Triyono); funding acquisition, N.M., M.S.H., Y.P.D.S.D. and T.T. (Triyono Triyono) All authors have read and agreed to the published version of the manuscript.
Funding
This work was supported by National Research Priority Program on Railway Technology—University Operational Grant (BOPTN), with grant contract number 2883/UN27.22/PT.01.03/2021. The support is gratefully acknowledged by the authors.
Institutional Review Board Statement
Not applicable.
Informed Consent Statement
Not applicable.
Data Availability Statement
The authors declare that the data supporting the findings of this study are available within the article.
Conflicts of Interest
The authors declare no conflict of interest.
References
- Chalmers, D.W. The Properties and Uses of Marine Structural Materials. Mar. Struct. 1988, 1, 47–70. [Google Scholar] [CrossRef]
- Purslow, M.A. Reducing the ecological impact of arc welding: Practical strategies are offered for reducing energy consumption when using various arc welding processes. Weld. J. 2012, 91, 24–27. [Google Scholar]
- Muhayat, N.; Zubaydi, A.; Sulistijono; Yuliadi, M.Z. Effect of Tool Tilt Angle and Tool Plunge Depth on Mechanical Properties of Friction Stir Welded AA 5083 Joints. Appl. Mech. Mater. 2014, 493, 709–714. [Google Scholar] [CrossRef]
- Suryanarayanan, R.; Sridhar, V.G. Influence of welding parameters on the weld properties in friction stir spot welding of aluminium alloys of varying thicknesses. Mater. Today Proc. 2021, 46, 8525–8531. [Google Scholar] [CrossRef]
- Praveen, P.; Yarlagadda, P.K.D.V.; Kang, M.J. Advancements in pulse gas metal arc welding. J. Mater. Process. Technol. 2005, 164–165, 1113–1119. [Google Scholar] [CrossRef]
- Soysal, T.; Kou, S. Effect of filler metals on solidification cracking susceptibility of Al alloys 2024 and 6061. J. Mater. Process. Technol. 2019, 66, 421–428. [Google Scholar] [CrossRef]
- Mahoney, M.W.; Rhodes, C.G.; Flintoff, J.G.; Bingel, W.H.; Spurling, R.A. Properties of friction-stir-welded 7075 T651 aluminum. Metall. Mater. Trans. A 1998, 29, 1955–1964. [Google Scholar] [CrossRef]
- Kah, P.; Rajan, R.; Martikainen, J.; Suoranta, R. Investigation of weld defects in friction-stir welding and fusion welding of aluminium alloys. Int. J. Mech. Mater. Eng. 2015, 10, 26. [Google Scholar] [CrossRef] [Green Version]
- Salih, O.S.; Ou, H.; Sun, W.; McCartney, D.G. A review of friction stir welding of aluminum matrix composites. Mater. Des. 2015, 86, 61–71. [Google Scholar] [CrossRef]
- Staron, P.; Kocak, M.; Williams, S.; Wescott, A. Residual stress in friction stir-welded Al sheets. Phys. B Condens. Matter 2004, 350, 491–493. [Google Scholar] [CrossRef]
- Somasekaran, A.C.; Murr, L.E. Microstructures in friction stir welded dissimilar magnesium alloys and magnesium alloys to 6061-T6 aluminum alloy. Mater. Charact. 2004, 52, 49–64. [Google Scholar] [CrossRef]
- Piccinia, J.M.; Svoboda, H.G. Effect of pin length on friction stir spot welding (FSSW) of dissimilar aluminum-steel joints. Procedia Mater. Sci. 2015, 9, 504–513. [Google Scholar] [CrossRef] [Green Version]
- Hirasawa, S.; Badarinarayan, H.; Okamoto, K.; Tomimura, T.; Kawanami, T. Analysis of effect of tool geometry on plastic flow during friction stir spot welding using particle method. J. Mater. Process. Technol. 2010, 210, 1455–1463. [Google Scholar] [CrossRef] [Green Version]
- Liu, H.; Chen, Y.; Feng, J. Effect of zigzag line on the mechanical properties of friction stir welded joints of an Al−Cu alloy. Scr. Mater. 2006, 55, 231–234. [Google Scholar] [CrossRef]
- Elangovan, K.; Balasubramanian, V. Influences of tool pin profile and welding speed on the formation of friction stir processing zone in AA2219 aluminium alloy. J. Mater. Process. Technol. 2008, 200, 163–175. [Google Scholar] [CrossRef]
- Gopi, S.; Manonmani, K. Influence of Shoulder Profile and Shoulder Penetration on Joint Strength of Friction Stir Welded AA6082 in Conventional Milling Machine. Eur. J. Sci. Res. 2012, 73, 20–32. [Google Scholar]
- Janeczek, A.; Tomków, J.; Fydrych, D. The Influence of Tool Shape and Process Parameters on the Mechanical Properties of AW-3004 Aluminium Alloy Friction Stir Welded Joints. Materials 2021, 14, 3244. [Google Scholar] [CrossRef] [PubMed]
- Dawood, H.I.; Mohammed, K.S.; Rahmat, A.; Uday, M.B. Effect of Small Tool Pin Profiles on Microstructures and Mechanical Properties of 6061 Aluminum Alloy by Friction Stir Welding. Trans. Nonferr. Met. Soc. China 2015, 25, 2856–2865. [Google Scholar] [CrossRef]
- Trueba, L.; Heredia, G.; Rybicki, D.; Johannes, L.B. Effect of Tool Shoulder Features on Defects and Tensile Properties of Friction Stir Welded Aluminum 6061-T6. J. Mater. Process. Technol. 2015, 219, 271–277. [Google Scholar] [CrossRef]
- Emamian, S.; Awang, M.; Hussai, P.; Meyghani, B.; Zafar, A. Influences of Tool Pin Profile on The Friction Stir Welding of AA6061. ARPN J. Eng. Appl. Sci. 2016, 11, 12258–12261. [Google Scholar]
- Marzbanrad, J.; Akbari, M.; Asadi, P.; Safaee, S. Characterization of the Influence of Tool Pin Profile on Microstructural and Mechanical Properties of Friction Stir Welding. Metall. Mater. Trans. B 2014, 45, 1887–1894. [Google Scholar] [CrossRef]
- Verma, S.; Gupta, M.; Misra, J.P. Effect of pin-profiles on thermal cycle, mechanical and metallurgical properties of friction stir–welded aviation-grade aluminum alloy. Proc. Inst. Mech. Eng. B J. Eng. Manuf. 2019, 233, 2183–2195. [Google Scholar] [CrossRef]
- Aldanondo, E.; Vivas, J.; Álvarez, P.; Hurtado, I. Effect of Tool Geometry and Welding Parameters on Friction Stir Welded Lap Joint Formation with AA2099-T83 and AA2060-T8E30 Aluminium Alloys. Metals 2020, 10, 872. [Google Scholar] [CrossRef]
- Muhayat, N.; Priatmana Putra, B.; Triyono. Mechanical Properties and Microstructure of Friction Stir Spot Welded 6082-T6 Aluminium Alloy Joint. MATEC Web Conf. 2019, 269, 01005. [Google Scholar] [CrossRef] [Green Version]
- Chupradit, S.; Bokov, D.O.; Suksatan, W.; Landowski, M.; Fydrych, D.; Abdullah, M.E.; Derazkola, H.A. Pin Angle Thermal Effects on Friction Stir Welding of AA5058 Aluminum Alloy: CFD Simulation and Experimental Validation. Materials 2021, 14, 7565. [Google Scholar] [CrossRef]
- Muhayat, N.; Triyono; Rahmanto, R.D.; Zubaydi, A. Effect of Tool Plunge Depth and Pin Profile on Mechanical Properties of Friction Stir Spot Welded AA5052 Joints. J. Mech. Eng. 2018, 5, 181–191. [Google Scholar]
- Heidarzadeh, A.; Javidani, M.; Mofarrehi, M.; Farzaneh, A.; Chen, X.-G. Submerged Dissimilar Friction Stir Welding of AA6061 and AA7075 Aluminum Alloys: Microstructure Characterization and Mechanical Property. Metals 2021, 11, 1592. [Google Scholar] [CrossRef]
- Sinclair, P.C.; Longhurst, W.R.; Cox, C.D.; Lammlein, D.H.; Strauss, A.M.; Cook, G.E. Heated Friction Stir Welding: An Experimental and Theoretical Investigation into How Preheating Influences Process Forces. Mater. Manuf. Process. 2010, 25, 4–37. [Google Scholar] [CrossRef]
- Verma, S.; Misra, J.P. Study on Temperature Distribution During Friction Stir Welding of 6082 Aluminum Alloy. Mater. Today Proc. 2017, 4, 1350–1356. [Google Scholar] [CrossRef]
- Yaduwanshi, D.K.; Bag, S.; Pal, S. Effect of Preheating on Mechanical Properties of Hybrid Friction Stir Welded Dissimilar Joint. In Proceedings of the 26th All India Manufacturing Technology, Design and Research Conference (AIMTDR), Assam, India, 12–14 December 2014. [Google Scholar]
- Muhayat, N.; Triyono; Kusharjanta, B.; Handika, R.T. Effect of Preheat Temperature on Friction Stir Welded Aluminum Alloy 5052 Joints. Appl. Mech. Mater. 2014, 597, 253–256. [Google Scholar]
- Jia, Y.; Lin, S.; Liu, J.; Qin, Y.; Wang, K. The Influence of Pre- and Post-Heat Treatment on Mechanical Properties and Microstructures in Friction Stir Welding of Dissimilar Age-Hardenable Aluminum Alloys. Metals 2019, 9, 1162. [Google Scholar] [CrossRef] [Green Version]
- Verma, S.; Gupta, M.; Misra, J.P. Effect of preheating and water cooling on the performance of friction-stir-welded aviation-grade aluminum alloy joints. J. Mater. Eng. Perform. 2019, 28, 4209–4220. [Google Scholar] [CrossRef]
- Rai, R.; De, A.; Bhadeshia, H.K.; DebRoy, T. Review: Friction stir welding tools. Sci. Technol. Weld. Join. 2011, 16, 325–342. [Google Scholar] [CrossRef]
- Fujii, H.; Cui, L.; Maeda, M.; Nogi, K. Effect of tool shape on mechanical properties and microstructure of friction stir welded aluminum alloys. Mater. Sci. Eng. A 2006, 419, 25–31. [Google Scholar] [CrossRef]
- Kumar, A.; Raju, L.S. Influence of tool pin-profiles on friction stir welding of copper. Mater. Manuf. Process. 2012, 27, 1414–1418. [Google Scholar] [CrossRef]
- Mishra, R.S.; Ma, Z.Y. Friction stir welding and processing. Mater. Sci. Eng. R Rep. 2005, 50, 1–78. [Google Scholar] [CrossRef]
- Rao, D.; Huber, K.; Heerens, J.; Dos Santos, J.F.; Huber, N. Asymmetric mechanical properties and tensile behaviour prediction of aluminium alloy 5083 friction stir welding joints. Mater. Sci. Eng. A 2013, 565, 44–50. [Google Scholar] [CrossRef] [Green Version]
- Vimalraj, C.; Kah, P. Experimental Review on Friction Stir Welding of Aluminium Alloys with Nanoparticles. Metals 2021, 11, 390. [Google Scholar] [CrossRef]
- Kwon, Y.J.; Shim, S.B.; Park, D.W. Friction stir welding of 5052 aluminum alloy plates. Trans. Nonferr. Met. Soc. China 2009, 19, 23–27. [Google Scholar] [CrossRef]
- Prabowo, A.R.; Tuswan, T.; Ridwan, R. Advanced development of sensors’ roles in maritime-based industry and research: From field monitoring to high-risk phenomenon measurement. Appl. Sci. 2021, 11, 3954. [Google Scholar] [CrossRef]
- Paik, J.K. Recent Advances and Future Trends on Plasticity and Impact Mechanics of Ships and Offshore Structures. Proc. Eng. 2017, 173, 17–24. [Google Scholar] [CrossRef]
- Prabowo, A.R.; Tuswan, T.; Prabowoputra, D.M.; Ridwan, R. Deformation of designed steel plates: An optimisation of the side hull structure using the finite element approach. Open Eng. 2021, 11, 1034–1047. [Google Scholar] [CrossRef]
- Ridwan, R.; Prabowo, A.R.; Muhayat, N.; Putranto, T.; Sohn, J.M. Tensile analysis and assessment of carbon and alloy steels using fe approach as an idealization of material fractures under collision and grounding. Curved Layer Struct. 2020, 7, 188–198. [Google Scholar] [CrossRef]
- Smaradhana, D.F.; Prabowo, A.R.; Ganda, A.N.F. Exploring the potential of graphene materials in marine and shipping industries—A technical review for prospective application on ship operation and material-structure aspects. J. Ocean Eng. Sci. 2021, 6, 299–316. [Google Scholar] [CrossRef]
- Rigueiro, C.; Ribeiro, J.; Santiago, A. Numerical assessment of the behaviour of a fixed offshore platform subjected to ship collision. Proc. Eng. 2017, 199, 2494–2499. [Google Scholar] [CrossRef]
- Prabowo, A.R.; Do, Q.T.; Cao, B.; Bae, D.M. Land and marine-based structures subjected to explosion loading: A review on critical transportation and infrastructure. Proc. Struct. Integ. 2020, 27, 77–84. [Google Scholar] [CrossRef]
- Akbar, M.S.; Prabowo, A.R.; Tjahjana, D.D.D.P.; Tuswan, T. Analysis of plated-hull structure strength against hydrostatic and hydrodynamic loads: A case study of 600 TEU container ships. J. Mech. Behav. Mater. 2021, 30, 237–248. [Google Scholar] [CrossRef]
Publisher’s Note: MDPI stays neutral with regard to jurisdictional claims in published maps and institutional affiliations. |
© 2021 by the authors. Licensee MDPI, Basel, Switzerland. This article is an open access article distributed under the terms and conditions of the Creative Commons Attribution (CC BY) license (https://creativecommons.org/licenses/by/4.0/).

